Configure X-Pack users
This section helps to configure the X-Pack users and roles mentioned on the previous article, using the interface provided by Kibana.
Using Kibana UI with the elastic user
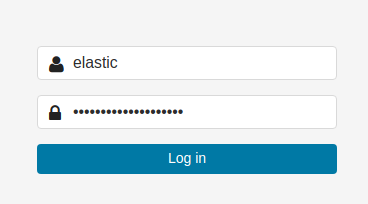
Login into Kibana using the
elasticuser:
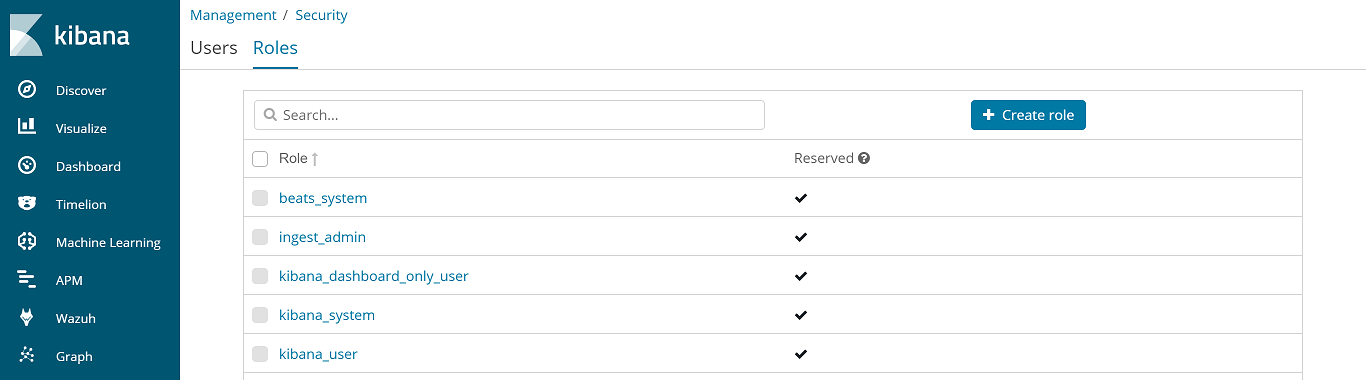
Go to Management > Security > Roles:
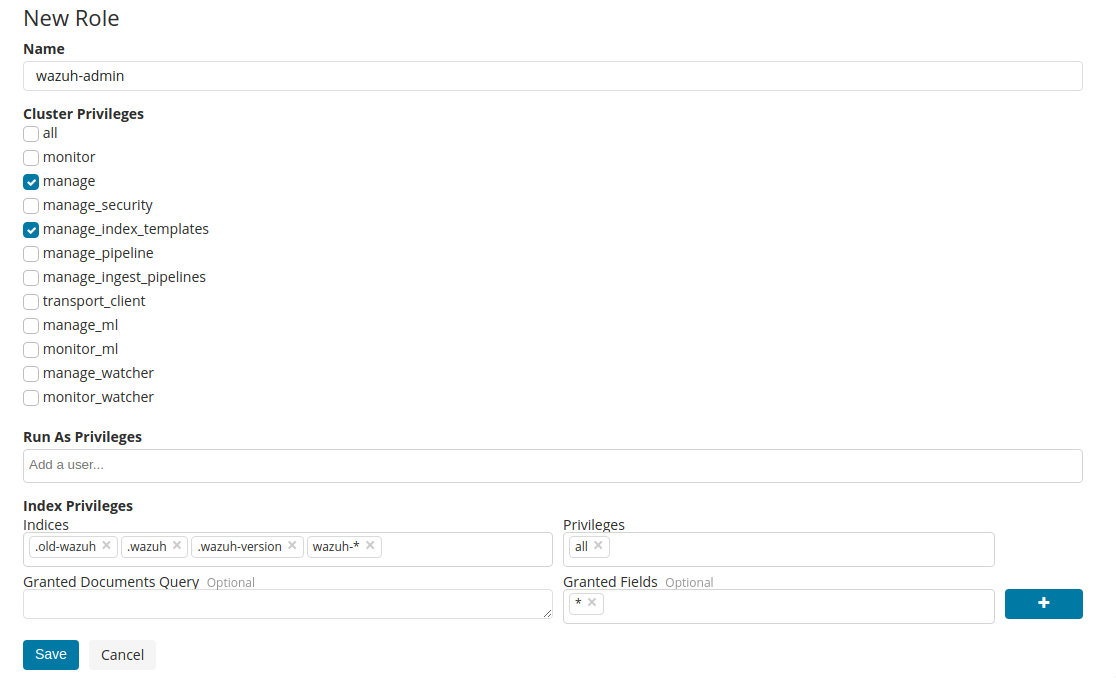
Create the
wazuh-adminrole:
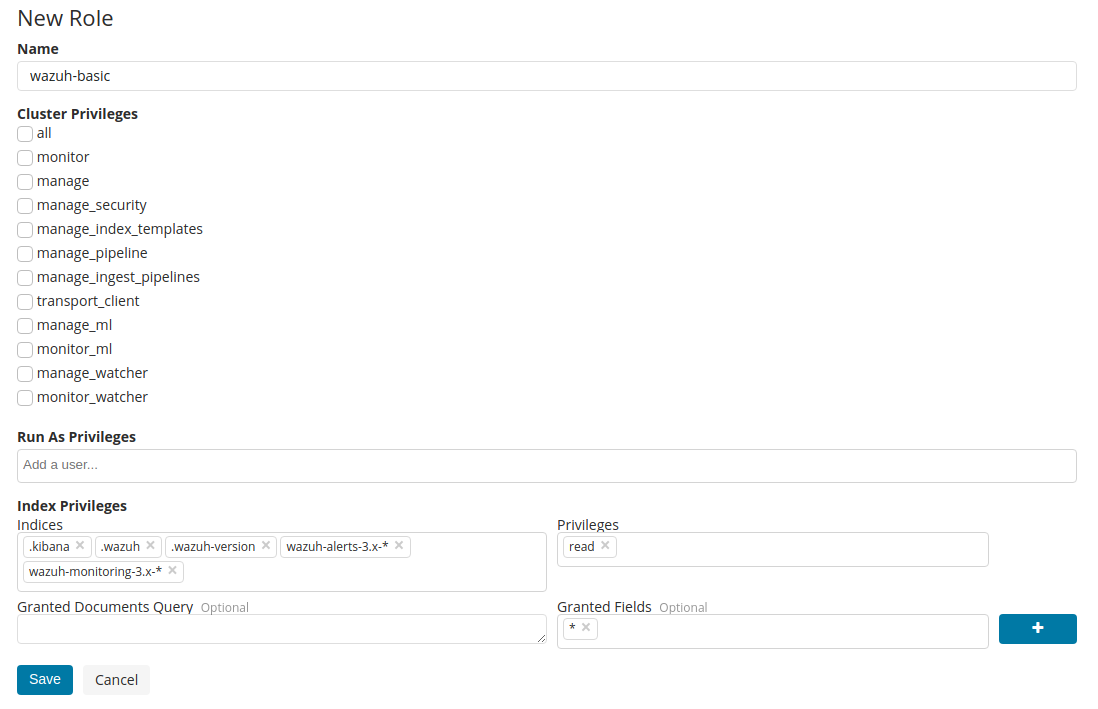
Create the
wazuh-basicrole:
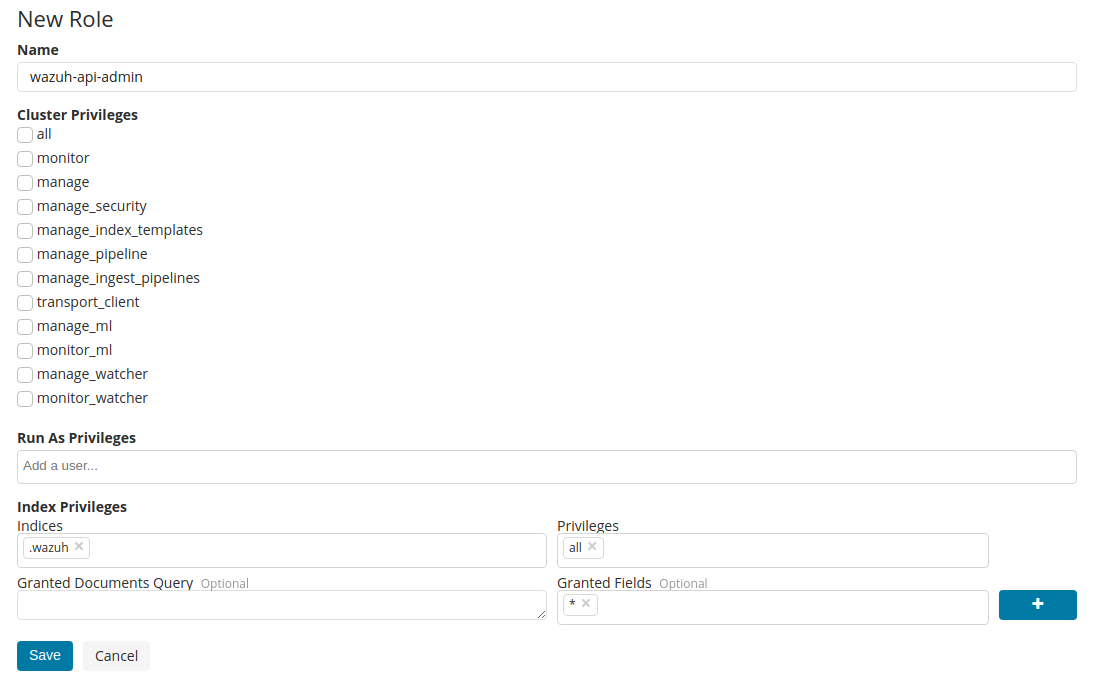
Create the
wazuh-api-adminrole:
Go to Management > Security > Users:

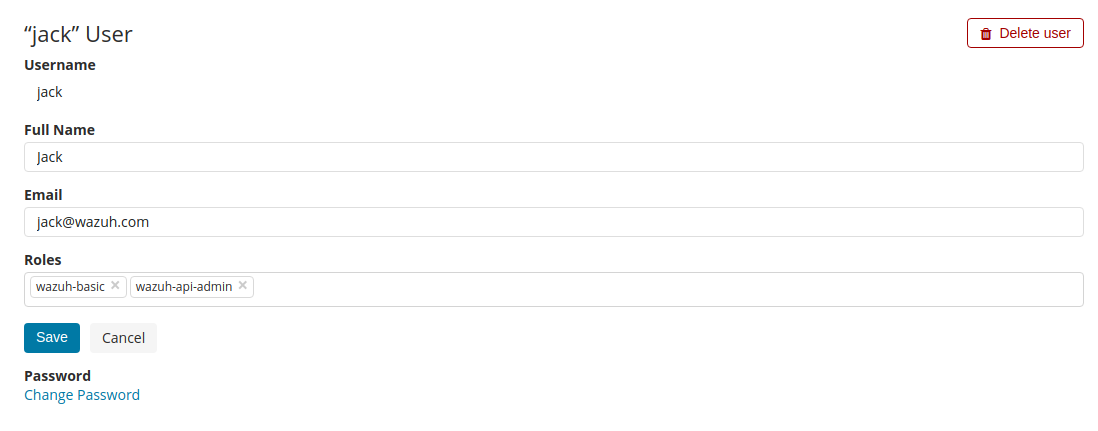
Create the Wazuh administrator user:
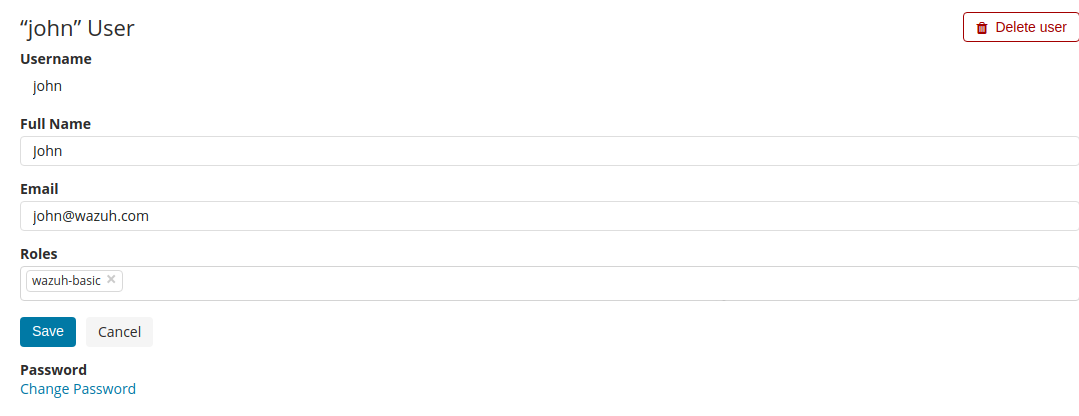
Create a standard user:
Note
This user is not able to add/remove/edit a Wazuh API, use the Wazuh administrator user instead (step 7).
Create the Kibana system user:
Warning
Ensure the password is strong enough, it will be the superuser for your environment.

Set the right user credentials on the
kibana.ymlfile:
# vi /etc/kibana/kibana.yml

elasticsearch.username: "wazuhsystem"
elasticsearch.password: "<wazuhsystem_password>"
Restart Kibana:
# systemctl restart kibana
Using the command-line interface (CLI)
Create the
wazuh-adminrole:
# curl -XPOST "http://localhost:9200/_xpack/security/role/wazuh-admin" -H 'Content-Type: application/json' -d'
{
  "cluster": [ "manage", "manage_index_templates" ],
  "indices": [
    {
      "names": [ ".old-wazuh", ".wazuh", ".wazuh-version", "wazuh-*" ],
      "privileges": ["all"]
    }
  ]
}' -u elastic:elastic_password

{"role":{"created":true}}
Create the
wazuh-basicrole:
# curl -XPOST "http://localhost:9200/_xpack/security/role/wazuh-basic" -H 'Content-Type: application/json' -d'
{
  "cluster": [],
  "indices": [
    {
      "names": [ ".kibana", ".wazuh", ".wazuh-version", "wazuh-alerts-3.x-*", "wazuh-monitoring-3.x-*" ],
      "privileges": ["read"]
    }
  ]
}' -u elastic:elastic_password

{"role":{"created":true}}
Create the
wazuh-api-adminrole:
# curl -XPOST "http://localhost:9200/_xpack/security/role/wazuh-api-admin" -H 'Content-Type: application/json' -d'
{
  "cluster": [],
  "indices": [
    {
      "names": [ ".wazuh" ],
      "privileges": ["all"]
    }
  ]
}' -u elastic:elastic_password

{"role":{"created":true}}
Create the Kibana system user:
Warning
Ensure the password is strong enough, it will be the superuser for your environment.
# curl -XPOST "http://localhost:9200/_xpack/security/user/wazuhsystem" -H 'Content-Type: application/json' -d'
{
  "password": "wazuhsystem",
  "roles":["wazuh-admin","kibana_system"],
  "full_name":"Wazuh System",
  "email":"wazuhsystem@wazuh.com"
}' -u elastic:elastic_password

{"user":{"created":true}}
Create the Wazuh administrator user:
# curl -XPOST "http://localhost:9200/_xpack/security/user/jack" -H 'Content-Type: application/json' -d'
{
  "password": "jackjack",
  "roles":["wazuh-basic","wazuh-api-admin"],
  "full_name":"Jack",
  "email":"jack@wazuh.com"
}' -u elastic:elastic_password

{"user":{"created":true}}
Create a standard user:
Note
This user is not able to add/remove/edit a Wazuh API, use the Wazuh administrator user instead (step 5).
# curl -XPOST "http://localhost:9200/_xpack/security/user/john" -H 'Content-Type: application/json' -d'
{
  "password": "johnjohn",
  "roles":["wazuh-basic"],
  "full_name":"John",
  "email":"john@wazuh.com"
}' -u elastic:elastic_password

{"user":{"created":true}}
Set the right user credentials on the
kibana.ymlfile:
# vi /etc/kibana/kibana.yml

elasticsearch.username: "wazuhsystem"
elasticsearch.password: "<wazuhsystem_password>"
Restart Kibana:
# systemctl restart kibana