Establish access to your EC2 instances
Before you can actually access your new EC2 instances you must first set up public IPs through which to reach them, as well as use your Wazuh Lab key pair for authentication.
Elastic IPs
We will set up an Elastic IP for each new EC2 instance. You will use these IPs only for reaching your EC2 instances from outside of the VPC, like for SSH, RDP, or HTTPS. The instances will communicate with each other exclusively via their VPC private IPs.
For each of the new EC2 instances (Wazuh Server, Linux Agent, Elastic Server, Windows Agent), do the following:
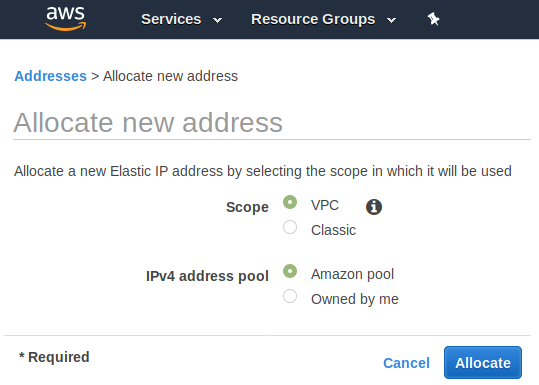
Access Elastic IPs from your EC2 Dashboard.
Click on [Allocate new address], choose "VPC", "Amazon pool", click on [Allocate] and on [Close].
Select the newly created Elastic IP (which has no Instance yet).
Click on [Actions] and choose "Associate address".
Click on the empty Instance field select your EC2 instance (Wazuh Server, Linux Agent, Elastic Server, Windows Agent) to assign this Elastic IP to it.
Click on the empty Private IP field and pick the IP that pops up. There will only be one.
Click on [Associate].
SSH access to Linux instances via command-line SSH client
Ensure the Wazuh_Lab.pem file has the correct permissions.
The SSH client will not use it if it is readable by all.
chmod 400 Wazuh_Lab.pem
Then log in to the linux EC2 instances:
ssh -i Wazuh_Lab.pem centos@N.N.N.N
Replace N.N.N.N with the Elastic IP of your Linux instance (Wazuh Server, Linux Agent or Elastic Server).
The exact syntax of this command may vary depending on your operating system and specific SSH client. Consult your system's and/or SSH client's documentation if the above does not work for you.
SSH access to Linux instances via Windows Putty client
Putty is a popular Windows SSH client. Download and run the MSI installer for Putty here.
Use PuTTYgen to convert your key file into a form Putty can authenticate with
Run PuTTYgen (C:\Program Files (x86)\PuTTY\puttygen.exe)
File -> Load private key
Change file type selector to "All Files"
Browse to and Open your
Wazuh_Lab.pemfile. It will be imported and look like this: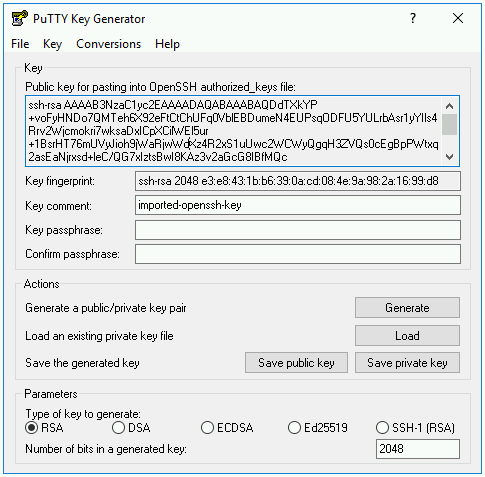
Click on [Save private key], confirm that you don't want to use a password and click [Yes].
Store the key in a location convenient to you. For the following example, we will assume you put it in C:\ssh\ under the name "WazuhLab" with .ppk file extension.
Close PuTTYgen.
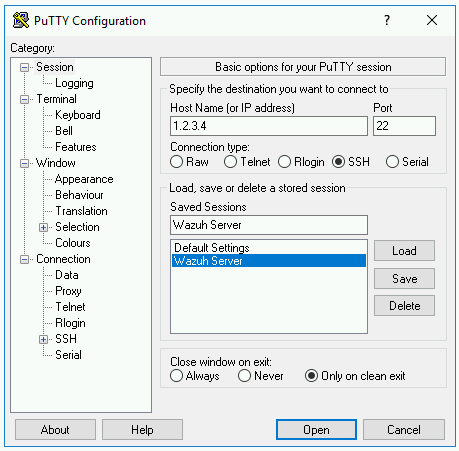
Run PuTTY (C:\Program Files (x86)\PuTTY\putty.exe)
Under Host Name put the Elastic IP associated with the Linux EC2 instance.
Under Saved Session put the instance name (i.e. Wazuh Server)
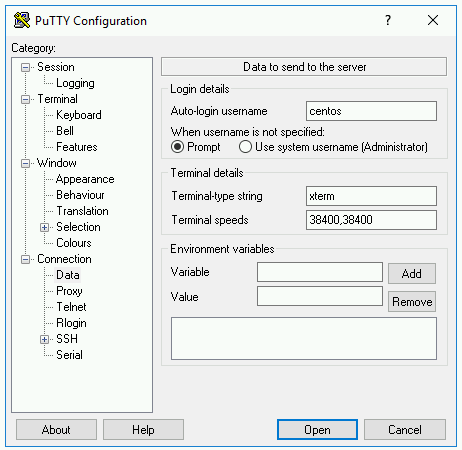
Under Connection->Data, set the Auto-login username to "centos".
Under Connection->SSH->Auth, click on [Browse] and choose the WazuhLab.ppk file you just saved from PuTTYgen.

Scroll back up on the left bar and click on "Session" and then on [Save] to save this configuration for future use.
Click on [Open] and on [Yes] for the security alert.
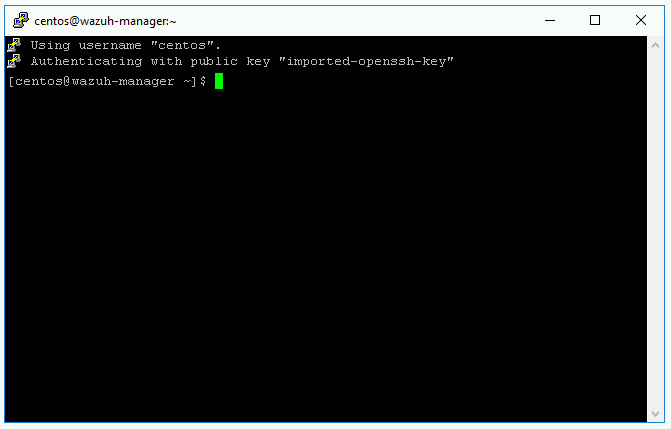
You should be in now:
RDP access to Windows instance
Access the Instances section from your EC2 Dashboard.
Select only the "Windows Agent" instance.
Click on [Actions] and on [Get Windows Password].
Click on [Browse] and select the Wazuh_Lab.pem that was downloaded when you created the key pair.
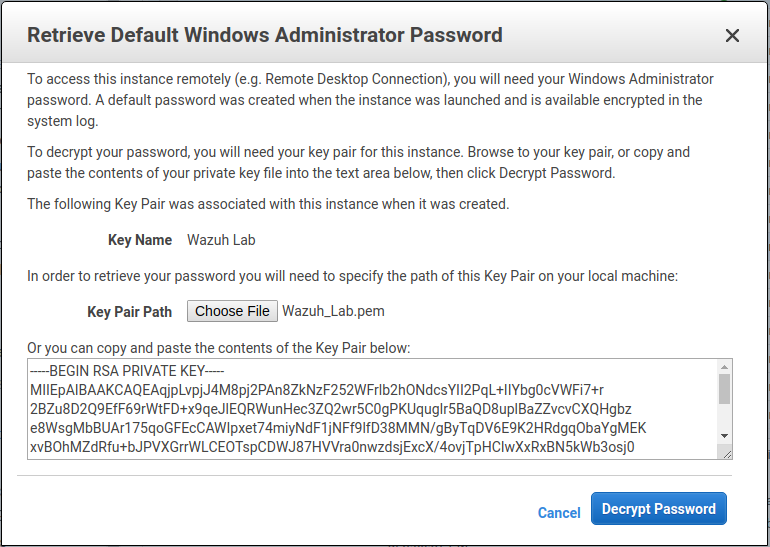
Click on [Decrypt Password].
Save the Administrator password somewhere so you don't lose it.
Open an RDP session with the Elastic IP you associated with your Windows instance, using the Administrator account and the password you just acquired.
When prompted in Windows about making your PC be discoverable, choose "No".