Wazuh app and X-Pack
X-Pack provides RBAC (role based access control) capabilities, among other features, for the Elastic Stack. This guide provides steps to configure specific users to use the Wazuh app with X-Pack, using the Security plugin.
In this link you can learn more about the X-Pack features for the Elastic Stack, and all the advanced capabilities that add to your Elastic installation.
Note
As of the 6.3.0 version of the Elastic Stack, X-Pack comes pre-installed on the Elastic products. You can read more about this on their announcement.
Warning
If you're using the OSS (Apache license) distribution of the Elastic Stack packages, X-Pack is not available.
Follow these steps to enable X-Pack:
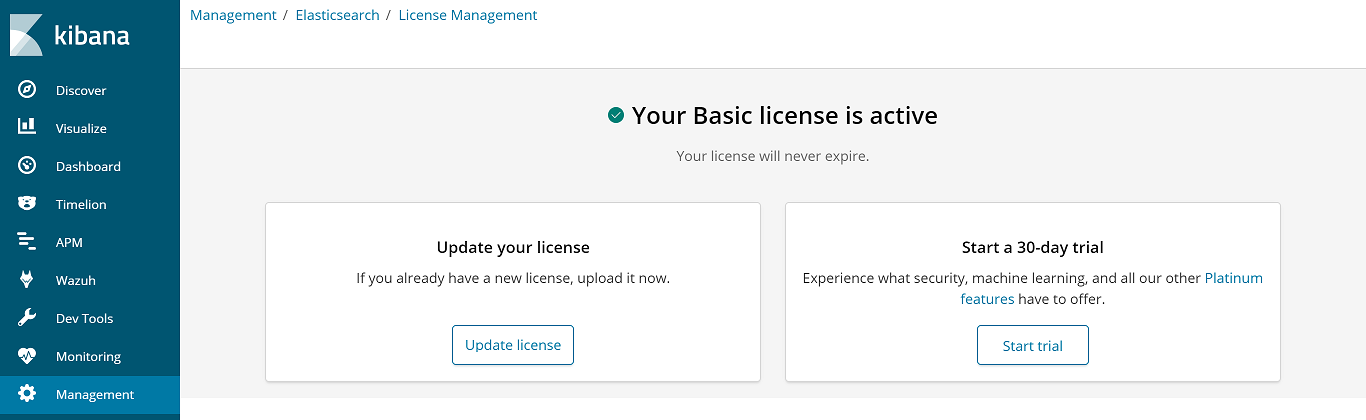
Open Management > License Management on the Kibana interface. On this section, you can choose between a free 30-day trial to try the advanced X-Pack features, or upload a license if you already purchased one.
Enable the Security plugin on Elasticsearch. On the same machine where Elasticsearch is installed, open the
/etc/elasticsearch/elasticsearch.ymlfile and set this option totrue:
# Set this option in /etc/elasticsearch/elasticsearch.yml
xpack.security.enabled: true
Restart Elasticsearch:
# systemctl restart elasticsearchIt's important to wait until Elasticsearch finishes loading. Check the current status with the following command:
# curl "http://localhost:9200/?pretty"

{
  "name" : "116m4ct",
  "cluster_name" : "elasticsearch",
  "cluster_uuid" : "2TbJlE6MRBKB6uHybVSQJA",
  "version" : {
    "number" : "6.5.4",
    "build_flavor" : "default",
    "build_type" : "deb",
    "build_hash" : "424e937",
    "build_date" : "2018-06-11T23:38:03.357887Z",
    "build_snapshot" : false,
    "lucene_version" : "7.3.1",
    "minimum_wire_compatibility_version" : "5.6.0",
    "minimum_index_compatibility_version" : "5.0.0"
  },
  "tagline" : "You Know, for Search"
}
Create the passwords for the built-in users. The interactive mode prompts the user to enter new passwords for the
elastic,kibana,logstash_system, andbeats_systemusers:
# /usr/share/elasticsearch/bin/elasticsearch-setup-passwords interactive
Note
Find more information about built-in users in this Elastic documentation article.
The Logstash configuration file also needs some modifications in order to properly connect with Elasticsearch and send the alerts. Open the file at
/etc/logstash/conf.d/01-wazuh.confand add theelasticuser credentials on theoutputsection as follows:
output {
    elasticsearch {
        hosts => ["localhost:9200"]
        index => "wazuh-alerts-3.x-%{+YYYY.MM.dd}"
        document_type => "wazuh"
        user => "elastic"
        password => "<elastic_password>"
    }
}
Restart Logstash
# systemctl restart logstash
On the host where Kibana is installed, set the elastic user in its configuration, editing the
/etc/kibana/kibana.ymlfile as follow:
# Set these options in /etc/kibana/kibana.yml
elasticsearch.username: "elastic"
elasticsearch.password: "<elastic_password>"
Restart Kibana
# systemctl restart kibana
Login into the Kibana interface using the
elasticuser when prompted. Now you can continue configuring X-Pack Security on the following sections.

Note
For more extended documentation about the Security plugin, you can read the Securing the Elastic Stack guide from the Elastic documentation.