Configure X-Pack Security
Since your Wazuh Server and Elastic Server instances are located on separate instances, it's actually important to set up SSL encryption along with the verification between Filebeat and Elasticsearch. Also, since your Kibana is publicly exposed to internet, it's important to add authentication to access it as well.
Setting up SSL for Elasticsearch
Create the file
/usr/share/elasticsearch/instances.ymland fill it with the instances you want to secure.
[root@elastic-server ~]# cat > /usr/share/elasticsearch/instances.yml << EOF
instances:
    - name: "wazuh-manager"
      ip:
        - "172.30.0.10"
    - name: "elasticsearch"
      ip:
        - "172.30.0.20"
    - name: "kibana"
      ip:
        - "172.30.0.20"
EOF
Create the required certificates, private keys and the certificate authority (CA) structure using the native elasticsearch-certutil tool.
[root@elastic-server ~]# /usr/share/elasticsearch/bin/elasticsearch-certutil cert ca --pem --in instances.yml --out certs.zip
Extract the generated
/usr/share/elasticsearch/certs.zipfile from the previous step:
# unzip /usr/share/elasticsearch/certs.zip -d /usr/share/elasticsearch/
Note
The ca.crt file is shared for all the instances. The .crt and .key pairs are unique for each instance.
Configure SSL in Elasticsearch
Create the directory
/etc/elasticsearch/certs, then copy the certificate authorities, the certificate and the key there.
# mkdir /etc/elasticsearch/certs/ca -p
# cp /usr/share/elasticsearch/ca/ca.crt /etc/elasticsearch/certs/ca
# cp /usr/share/elasticsearch/elasticsearch/elasticsearch.crt /etc/elasticsearch/certs
# cp /usr/share/elasticsearch/elasticsearch/elasticsearch.key /etc/elasticsearch/certs
# chown -R elasticsearch: /etc/elasticsearch/certs
# chmod -R 770 /etc/elasticsearch/certs
Add the proper settings for both the transport and the HTTP layers in
/etc/elasticsearch/elasticsearch.yml.
[root@elastic-server ~]# cat >> /etc/elasticsearch/elasticsearch.yml << EOF

# Unbind to a specific IP:
network.host: 0.0.0.0
discovery.seed_hosts: ["172.30.0.20"]

# Transport layer
xpack.security.transport.ssl.enabled: true
xpack.security.transport.ssl.verification_mode: certificate
xpack.security.transport.ssl.key: /etc/elasticsearch/certs/elasticsearch.key
xpack.security.transport.ssl.certificate: /etc/elasticsearch/certs/elasticsearch.crt
xpack.security.transport.ssl.certificate_authorities: [ "/etc/elasticsearch/certs/ca/ca.crt" ]

# HTTP layer
xpack.security.http.ssl.enabled: true
xpack.security.http.ssl.verification_mode: certificate
xpack.security.http.ssl.key: /etc/elasticsearch/certs/elasticsearch.key
xpack.security.http.ssl.certificate: /etc/elasticsearch/certs/elasticsearch.crt
xpack.security.http.ssl.certificate_authorities: [ "/etc/elasticsearch/certs/ca/ca.crt" ]
EOF
Restart the service:
# systemctl restart elasticsearch
Configure SSL in Kibana
Create the directory
/etc/kibana/certs, then copy the certificate authorities, the certificate and the key there.
# mkdir /etc/kibana/certs/ca -p
# cp /usr/share/elasticsearch/ca/ca.crt /etc/kibana/certs/ca
# cp /usr/share/elasticsearch/kibana/kibana.crt /etc/kibana/certs
# cp /usr/share/elasticsearch/kibana/kibana.key /etc/kibana/certs
# chown -R kibana: /etc/kibana/certs
# chmod -R 770 /etc/kibana/certs
Add the proper settings in
/etc/kibana/kibana.yml.
[root@elastic-server ~]# cat >> /etc/kibana/kibana.yml << EOF

# Elasticsearch from/to Kibana
elasticsearch.hosts: ["https://172.30.0.20:9200"]
elasticsearch.ssl.certificateAuthorities: ["/etc/kibana/certs/ca/ca.crt"]
elasticsearch.ssl.certificate: "/etc/kibana/certs/kibana.crt"
elasticsearch.ssl.key: "/etc/kibana/certs/kibana.key"

# Browser from/to Kibana
server.ssl.enabled: true
server.ssl.certificate: "/etc/kibana/certs/kibana.crt"
server.ssl.key: "/etc/kibana/certs/kibana.key"
EOF
Restart the service:
# systemctl restart kibana
Configure SSL for Filebeat
We must now copy the generated certificate, private key and CA from the Elastic server to the Wazuh Manager. In order to do so, you may place the
Wazuh_Lab.pemfile in your Elastic Server:
Using scp from Linux:
# scp -i Wazuh_Lab.pem Wazuh_Lab.pem centos@N.N.N.N:Where N.N.N.N must be replaced with the Elastic IP of your Elastic Server.
Alternatively you may copy and paste the content of this file onto this file on the Elasticsearch instance.
Now copy the SSL files from the Elastic Server onto the Wazuh Manager
[root@elastic-server ~]# scp -i /home/centos/Wazuh_Lab.pem /usr/share/elasticsearch/ca/ca.crt /usr/share/elasticsearch/wazuh-manager/wazuh-manager.* centos@172.30.0.10:
From the Wazuh Manager instance, create the directory
/etc/filebeat/certs, then copy the certificate authorities, the certificate and the key there.
[root@wazuh-manager ~]# mkdir /etc/filebeat/certs/ca -p
[root@wazuh-manager ~]# mv /home/centos/ca.crt /etc/filebeat/certs/ca
[root@wazuh-manager ~]# mv /home/centos/wazuh-manager.crt /etc/filebeat/certs
[root@wazuh-manager ~]# mv /home/centos/wazuh-manager.key /etc/filebeat/certs
[root@wazuh-manager ~]# chmod 770 -R /etc/filebeat/certs
Add the proper settings in
/etc/filebeat/filebeat.yml.
[root@wazuh-manager ~]# sed -i "s#http://##g" /etc/filebeat/filebeat.yml
[root@wazuh-manager ~]# cat >> /etc/filebeat/filebeat.yml << EOF
output.elasticsearch.protocol: https
output.elasticsearch.ssl.certificate: "/etc/filebeat/certs/wazuh-manager.crt"
output.elasticsearch.ssl.key: "/etc/filebeat/certs/wazuh-manager.key"
output.elasticsearch.ssl.certificate_authorities: ["/etc/filebeat/certs/ca/ca.crt"]
EOF
Note
You can test Filebeat output using filebeat test output.
Restart the service:
# systemctl restart filebeat
Adding authentication for Elasticsearch
X-Pack security also provides authentication within each component. The credentials are configured in the Elastic Server using Elasticsearch directly.
Add
x.pack.security.enabledto/etc/elasticsearch/elasticsearch.yml.
[root@elastic-server ~]# echo 'xpack.security.enabled: true' >> /etc/elasticsearch/elasticsearch.yml
Restart Elasticsearch and wait for the service to be ready.
[root@elastic-server ~]# systemctl restart elasticsearch
When Elasticsearch finishes restarting, generate credentials for all the Elastic Stack pre-built roles and users.
[root@elastic-server ~]# /usr/share/elasticsearch/bin/elasticsearch-setup-passwords interactive
When prompted confirm you wish to continue and provide a password. Then provide a password for each one of the components as prompted.
Restart Elasticsearch and wait for the service to be ready.
[root@elastic-server ~]# systemctl restart elasticsearch
Set up credentials for Kibana by adding the following lines to
/etc/kibana/kibana.yml:
[root@elastic-server ~]# cat >> /etc/kibana/kibana.yml << EOF

xpack.security.enabled: true
elasticsearch.username: "elastic"
elasticsearch.password: "password_provided_for_elastic"
EOF
Note that you may use the "elastic" user and the password you configured for it in the previous step.
Restart Kibana.
[root@elastic-server ~]# systemctl restart kibana
Set up credentials for Filebeat on the Wazuh server by adding the following lines to
/etc/filebeat/filebeat.yml.
[root@wazuh-manager ~]# cat >> /etc/filebeat/filebeat.yml << EOF

output.elasticsearch.username: "elastic"
output.elasticsearch.password: "password_provided_for_elastic"
EOF
Restart Filebeat
[root@wazuh-manager ~]# systemctl restart filebeat
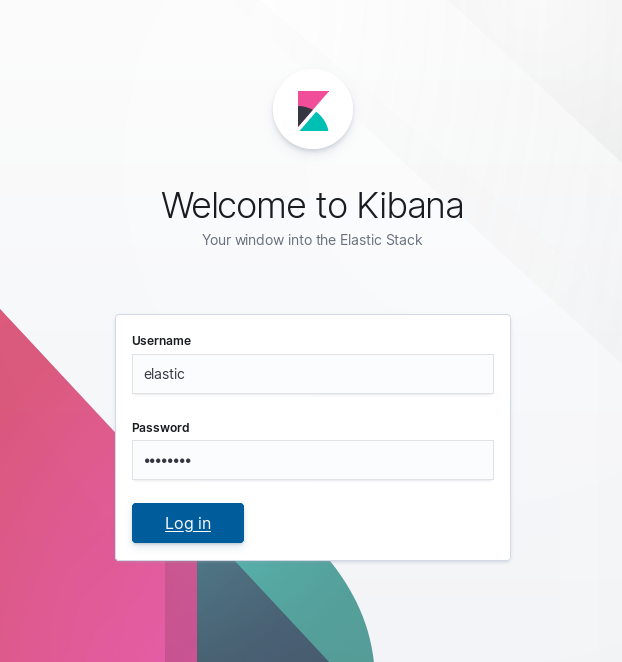
Log in to Kibana to verify it is working
Now use your local web browser to surf to
https://SERVER_IPwhere SERVER_IP is the Elastic IP assigned to your Elastic Server instance. Bypass the security warnings caused by the fact that we are using a self-signed certificate. You should then be prompted to authenticate with the "elastic" username, and the password you just created.