X-Pack
Elastic Stack security features give the right access to the right people. IT, operations, and application teams rely on them to manage well-intentioned users and keep malicious actors at bay, while executives and customers can rest easy knowing data stored in the Elastic Stack is safe and secure.
Configure Elastic Stack to use encrypted connections
This section describes how to secure the communications between the involved components, adding an SSL layer.
Create the file
/usr/share/elasticsearch/instances.ymland fill it with the instances you want to secure.
instances:
    - name: "wazuh-manager"
      ip:
        - "10.0.0.2"
    - name: "elasticsearch"
      ip:
        - "10.0.0.3"
    - name: "kibana"
      ip:
        - "10.0.0.4"
Create the certificates using the elasticsearch-certutil tool.
# /usr/share/elasticsearch/bin/elasticsearch-certutil cert ca --pem --in instances.yml --out certs.zip
certs.zip
|-- ca
|   |-- ca.crt
|-- wazuh-manager
|   |-- wazuh-manager.crt
|   |-- wazuh-manager.key
|-- elasticsearch
|   |-- elasticsearch.crt
|   |-- elasticsearch.key
|-- kibana
    |-- kibana.crt
    |-- kibana.key
Extract the generated
/usr/share/elasticsearch/certs.zipfile from the previous step. You can useunzip:
# unzip /usr/share/elasticsearch/certs.zip -d /usr/share/elasticsearch/
Note
The ca.crt file is shared for all the instances. The .crt and .key pairs are unique for each instance.
Configure the Elasticsearch instance
Create the directory
/etc/elasticsearch/certs, then copy the certificate authorities, the certificate and the key there.
Note
The following commands are assuming a single-host installation, if the components are distributed each file should be distributed to its components (via scp or other available means).
# mkdir /etc/elasticsearch/certs/ca -p
# cp ca/ca.crt /etc/elasticsearch/certs/ca
# cp elasticsearch/elasticsearch.crt /etc/elasticsearch/certs
# cp elasticsearch/elasticsearch.key /etc/elasticsearch/certs
# chown -R elasticsearch: /etc/elasticsearch/certs
# chmod -R 770 /etc/elasticsearch/certs
Add the proper settings for both the transport and the HTTP layers in
/etc/elasticsearch/elasticsearch.yml.
# Transport layer
xpack.security.transport.ssl.enabled: true
xpack.security.transport.ssl.verification_mode: certificate
xpack.security.transport.ssl.key: /etc/elasticsearch/certs/elasticsearch.key
xpack.security.transport.ssl.certificate: /etc/elasticsearch/certs/elasticsearch.crt
xpack.security.transport.ssl.certificate_authorities: [ "/etc/elasticsearch/certs/ca/ca.crt" ]

# HTTP layer
xpack.security.http.ssl.enabled: true
xpack.security.http.ssl.verification_mode: certificate
xpack.security.http.ssl.key: /etc/elasticsearch/certs/elasticsearch.key
xpack.security.http.ssl.certificate: /etc/elasticsearch/certs/elasticsearch.crt
xpack.security.http.ssl.certificate_authorities: [ "/etc/elasticsearch/certs/ca/ca.crt" ]
Restart the service:
# systemctl restart elasticsearch
Configure the Filebeat instance (Wazuh manager instance)
Create the directory
/etc/filebeat/certs, then copy the certificate authorities, the certificate and the key there.
# mkdir /etc/filebeat/certs/ca -p
# cp ca/ca.crt /etc/filebeat/certs/ca
# cp wazuh-manager/wazuh-manager.crt /etc/filebeat/certs
# cp wazuh-manager/wazuh-manager.key /etc/filebeat/certs
# chmod 770 -R /etc/filebeat/certs
Add the proper settings in
/etc/filebeat/filebeat.yml.
output.elasticsearch.hosts: ['10.0.0.3:9200']
output.elasticsearch.protocol: https
output.elasticsearch.ssl.certificate: "/etc/filebeat/certs/wazuh-manager.crt"
output.elasticsearch.ssl.key: "/etc/filebeat/certs/wazuh-manager.key"
output.elasticsearch.ssl.certificate_authorities: ["/etc/filebeat/certs/ca/ca.crt"]
Note
You can test Filebeat output using filebeat test output.
Restart the service:
# systemctl restart filebeat
Configure the Kibana instance
Create the directory
/etc/kibana/certs, then copy the certificate authorities, the certificate and the key there.
# mkdir /etc/kibana/certs/ca -p
# cp ca/ca.crt /etc/kibana/certs/ca
# cp kibana/kibana.crt /etc/kibana/certs
# cp kibana/kibana.key /etc/kibana/certs
# chown -R kibana: /etc/kibana/certs
# chmod -R 770 /etc/kibana/certs
Add the proper settings in
/etc/kibana/kibana.yml.
# Elasticsearch from/to Kibana
elasticsearch.hosts: ["https://10.0.0.3:9200"]
elasticsearch.ssl.certificateAuthorities: ["/etc/kibana/certs/ca/ca.crt"]
elasticsearch.ssl.certificate: "/etc/kibana/certs/kibana.crt"
elasticsearch.ssl.key: "/etc/kibana/certs/kibana.key"

# Browser from/to Kibana
server.ssl.enabled: true
server.ssl.certificate: "/etc/kibana/certs/kibana.crt"
server.ssl.key: "/etc/kibana/certs/kibana.key"
Restart the service:
# systemctl restart kibana
Adding authentication for Elasticsearch
Add the next line to
/etc/elasticsearch/elasticsearch.yml.
xpack.security.enabled: true
Restart Elasticsearch and wait for the service to be ready.
# systemctl restart elasticsearch
Generate credentials for all the Elastic Stack pre-built roles and users.
# /usr/share/elasticsearch/bin/elasticsearch-setup-passwords auto
Note down at least the password for the
elasticuser.Setting up credentials for Filebeat. Add the next two lines to
/etc/filebeat/filebeat.yml.
output.elasticsearch.username: "elastic"
output.elasticsearch.password: "password_generated_for_elastic"
Restart Filebeat.
# systemctl restart filebeat
Setting up credentials for Kibana. Add the next lines to
/etc/kibana/kibana.yml.
xpack.security.enabled: true
elasticsearch.username: "elastic"
elasticsearch.password: "password_generated_for_elastic"
Restart Kibana.
# systemctl restart kibana
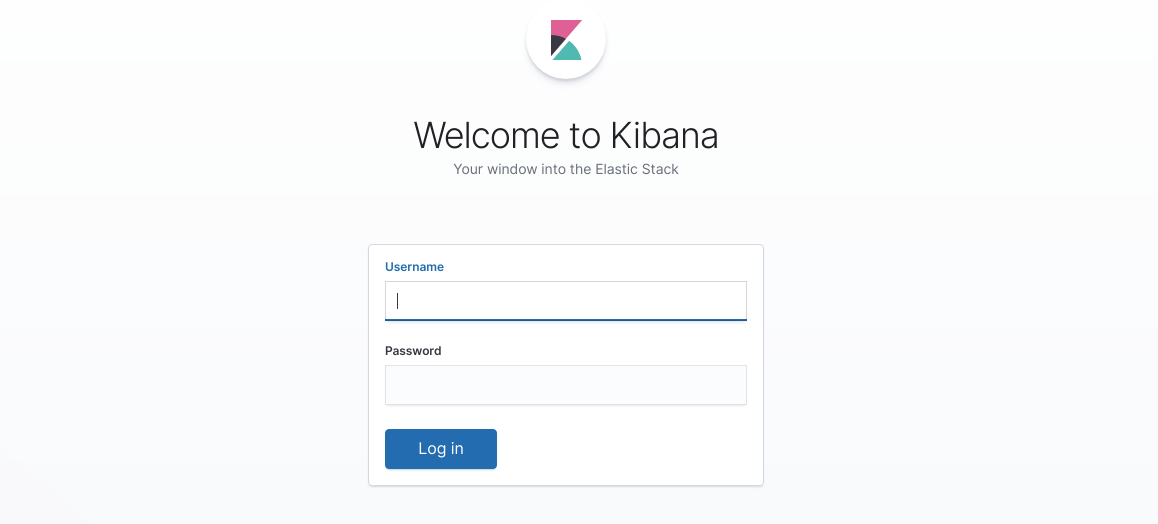
You may now login to your Kibana web interface and use the elastic user credentials to login: