Amazon WAF
Amazon WAF is a web application firewall that helps protect your web applications from common web exploits that could affect application availability, compromise security, or consume excessive resources. AWS WAF gives you control over which traffic to allow or block to your web applications by defining customizable web security rules.
Amazon configuration
Create a new S3 bucket. (If you want to use an already created one, skip this step).
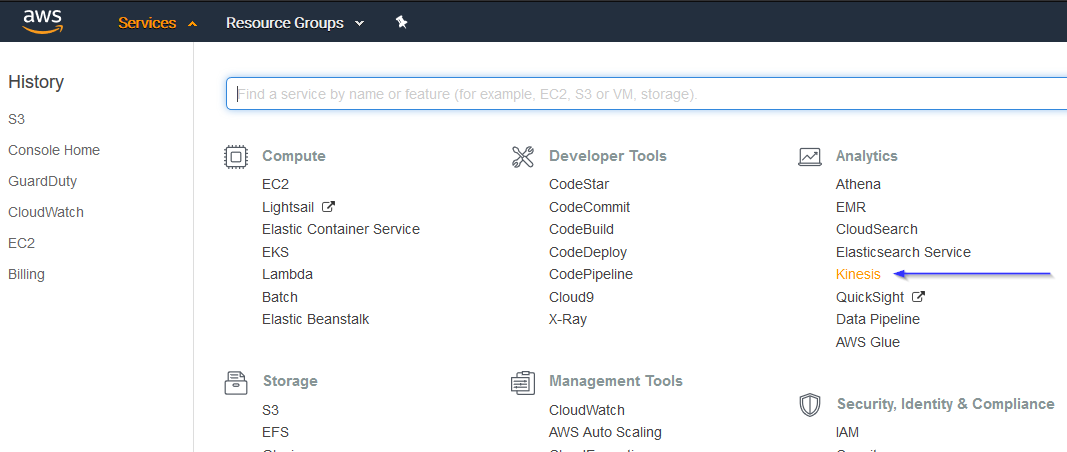
Go to Services > Analytics > Kinesis:
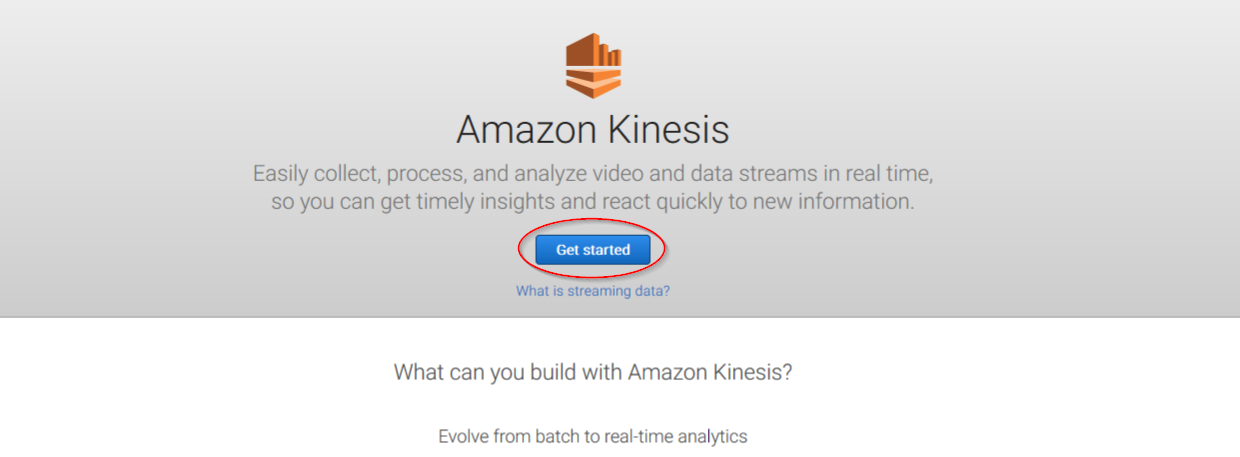
If it's the first time you're using this service, you'll see the following screen. Just click on Get started:
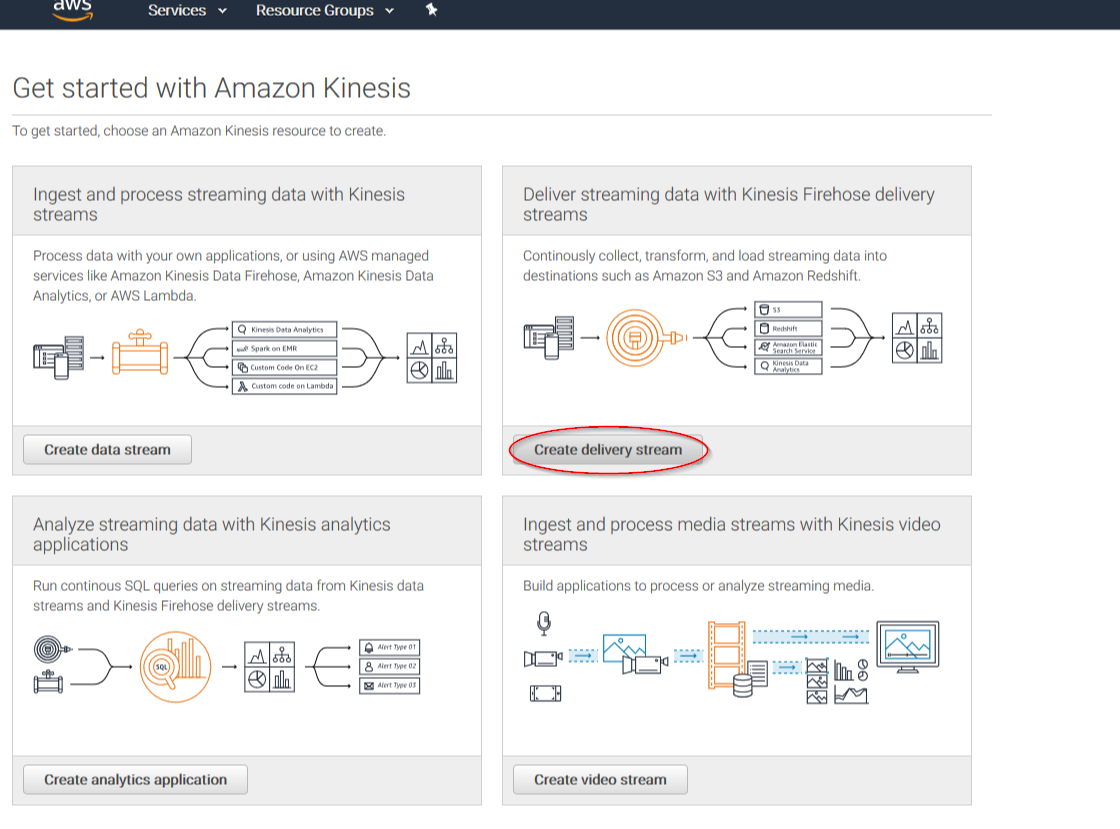
Click on Create delivery stream button:
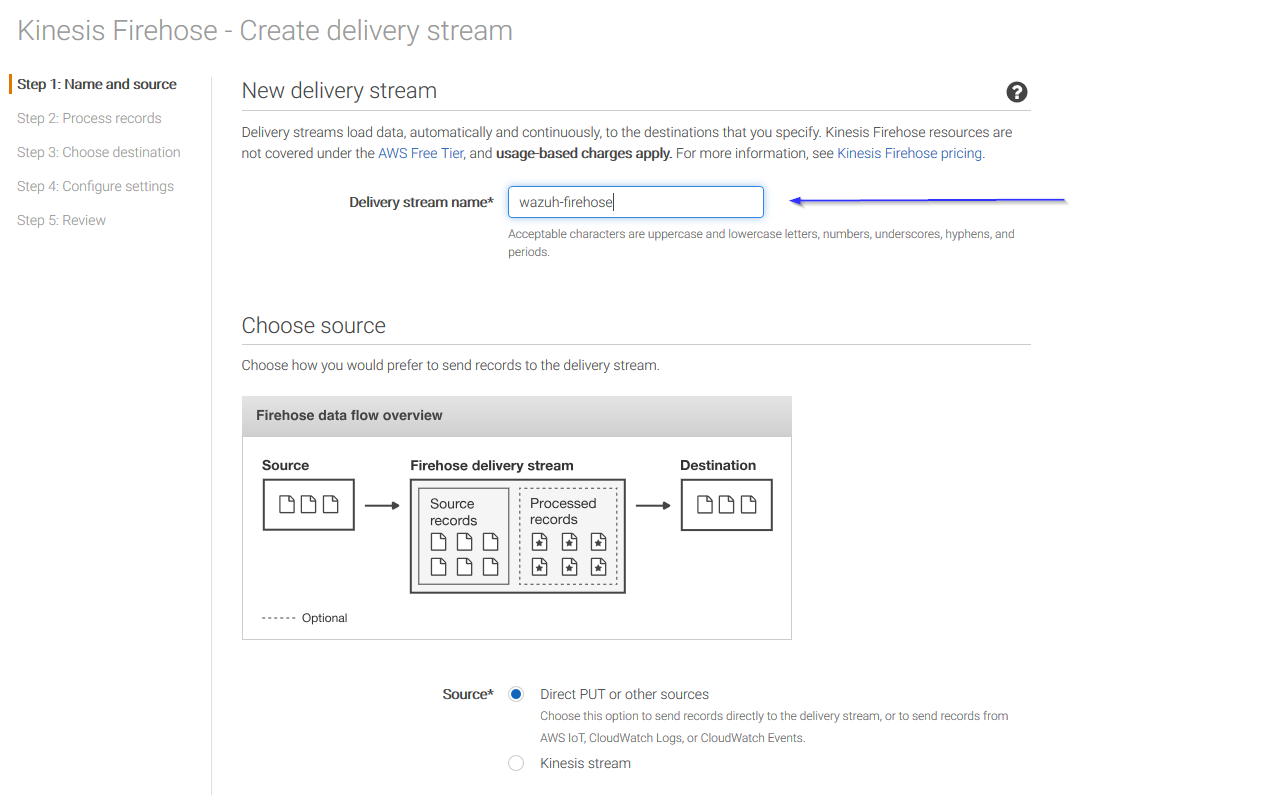
Put a name to your delivery stream and click on the Next button at the bottom of the page:
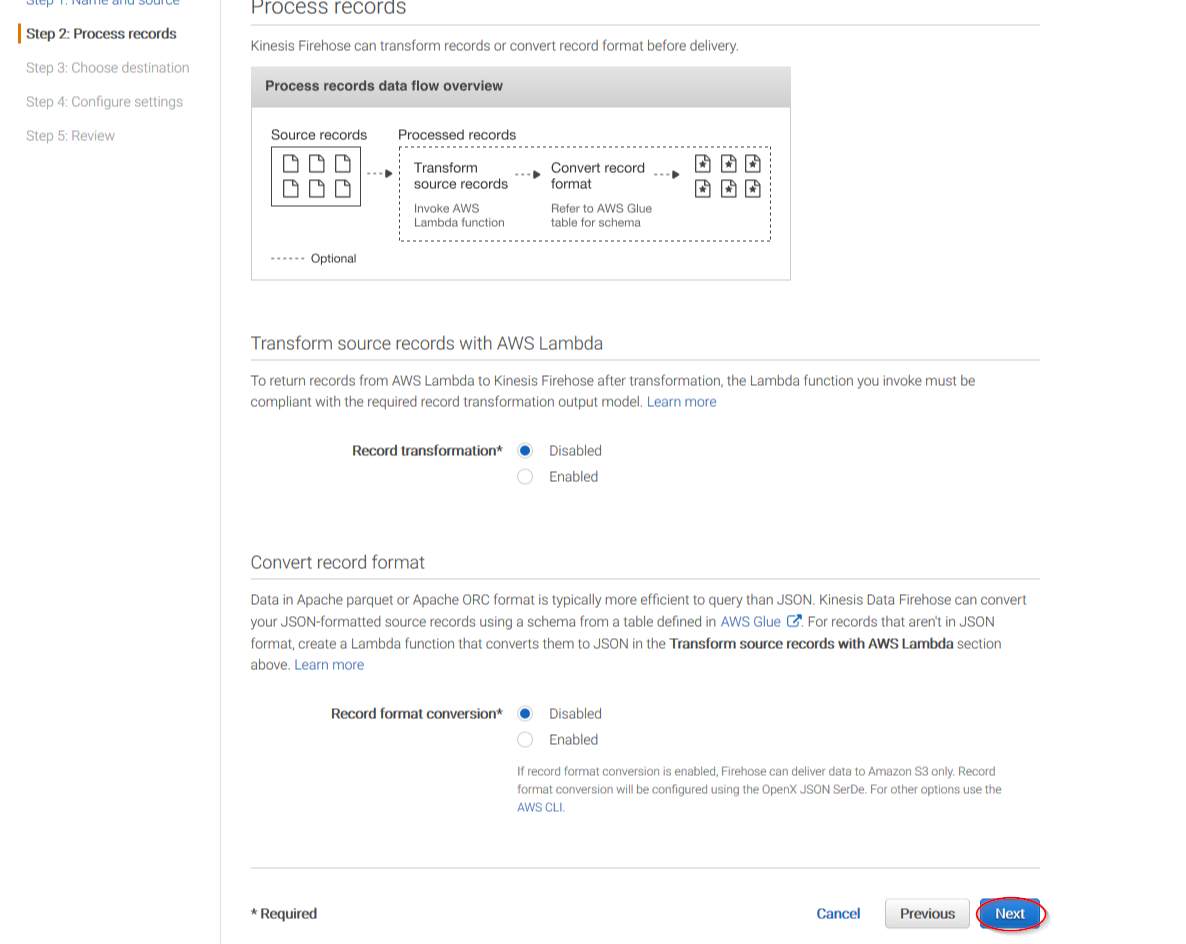
On the next page, leave both options as Disabled and click on Next:
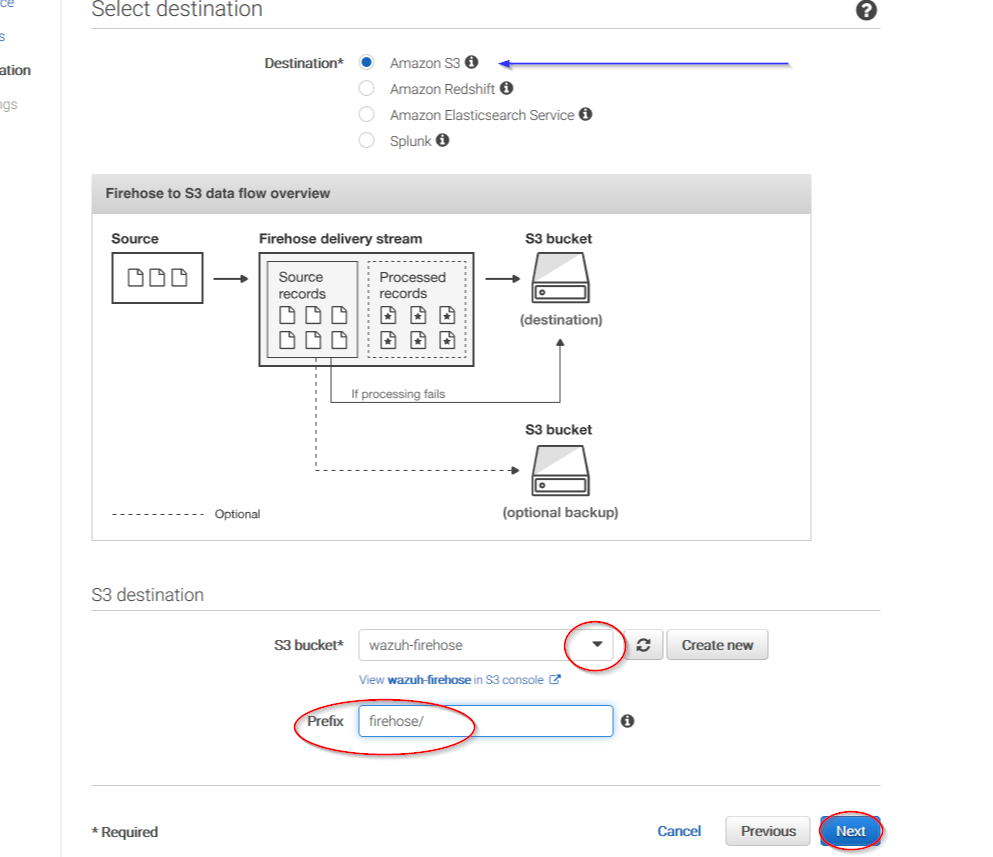
Select Amazon S3 as destination, then select the previously created S3 bucket and add a prefix where logs will be stored. AWS Firehose creates a file structure YYYY/MM/DD/HH, if a prefix is used the created file structure would be firehose/YYYY/MM/DD/HH. If a prefix is used it must be specified under the Wazuh Bucket configuration:
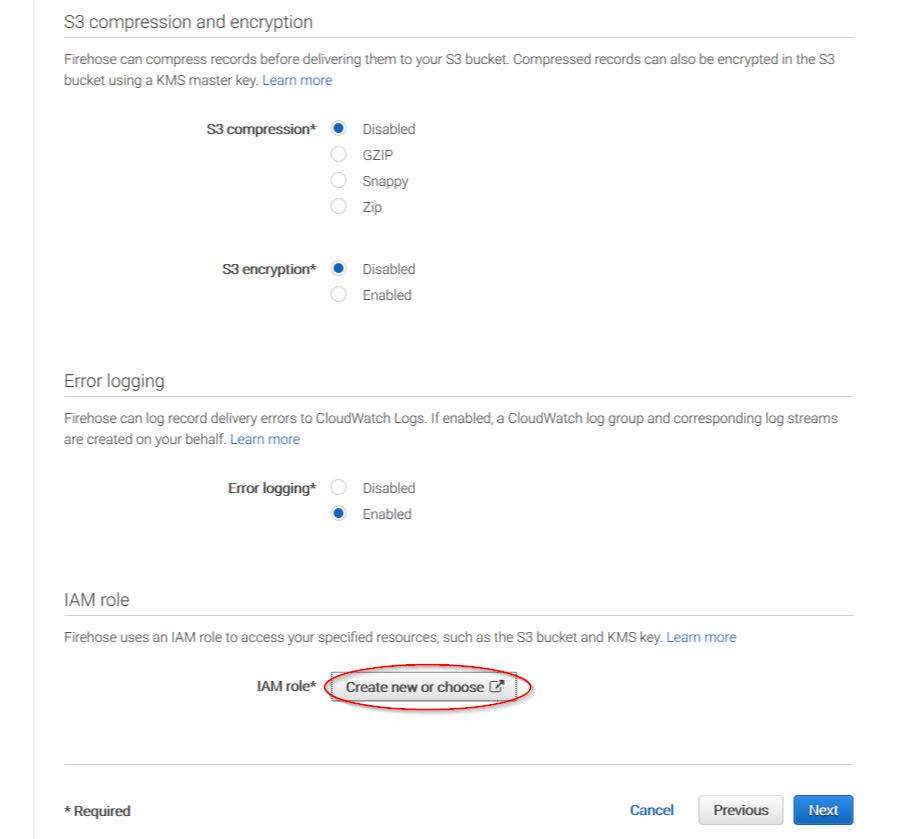
Users can select which compression do they prefer. Wazuh supports any kind of compression but Snappy. After that, click on Create new or choose:
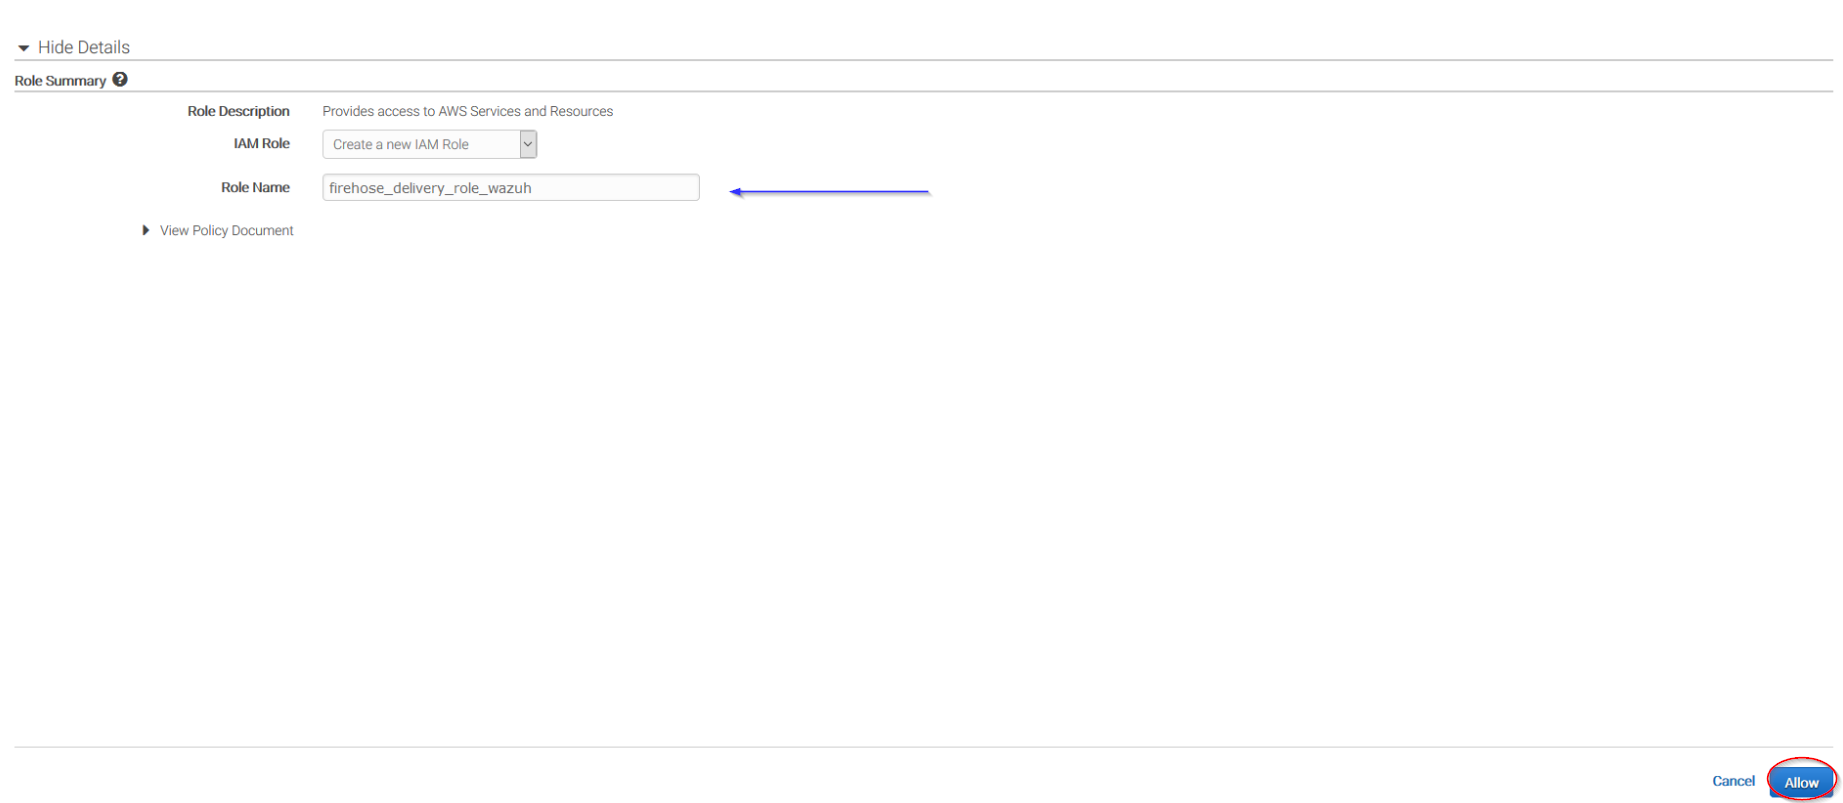
Give a proper name to the role and click on the Allow button:
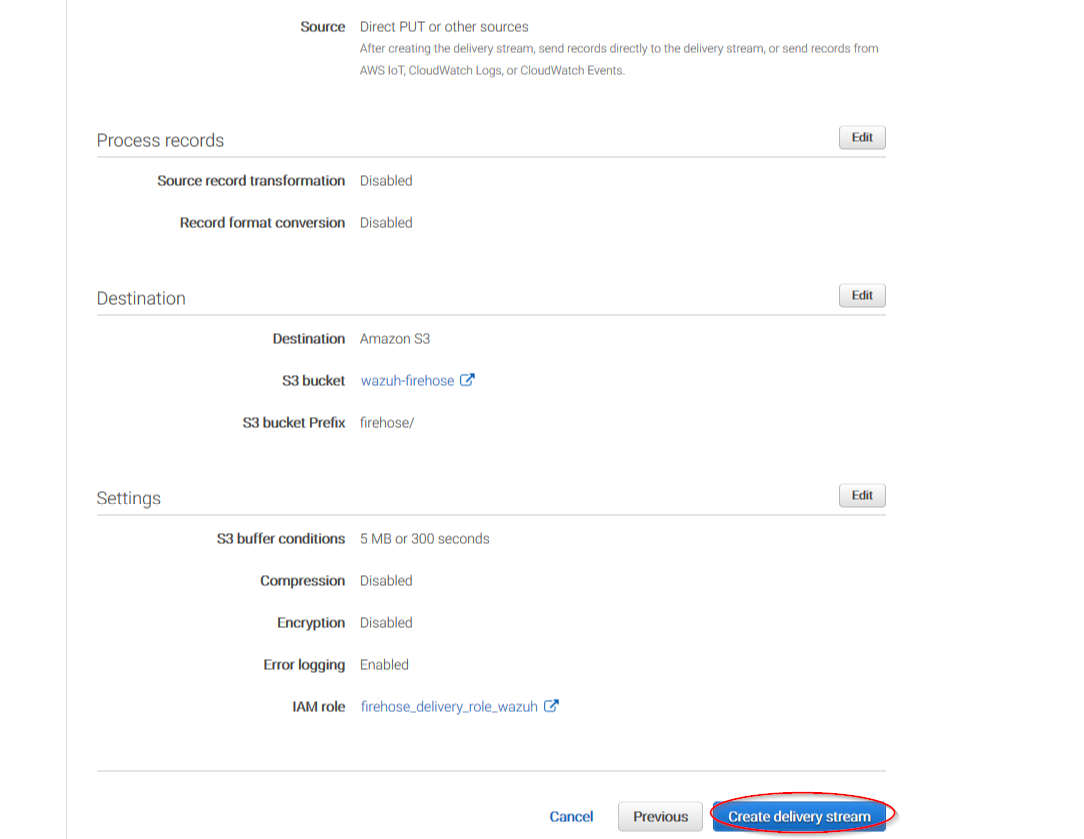
The following page is just a summary about the Firehose stream created, go to the bottom of the page and click on the Create delivery stream button:
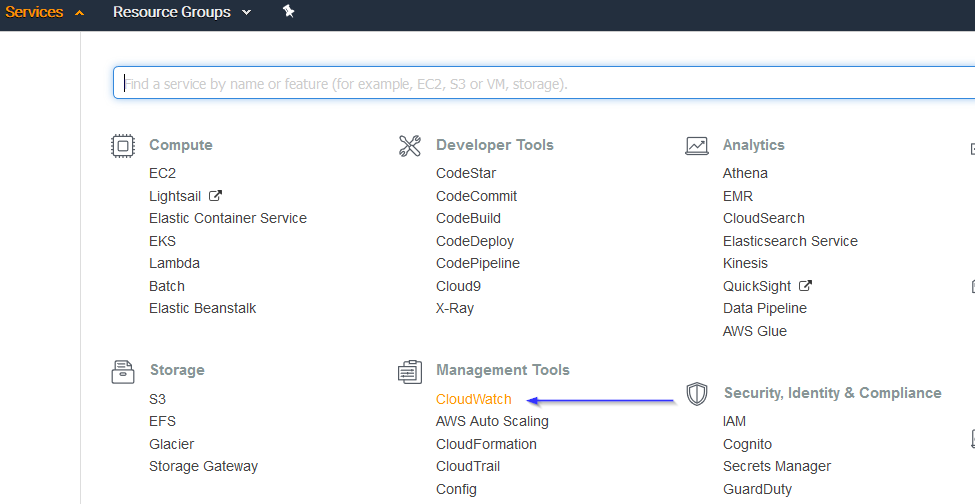
Go to Services > Management Tools > CloudWatch:
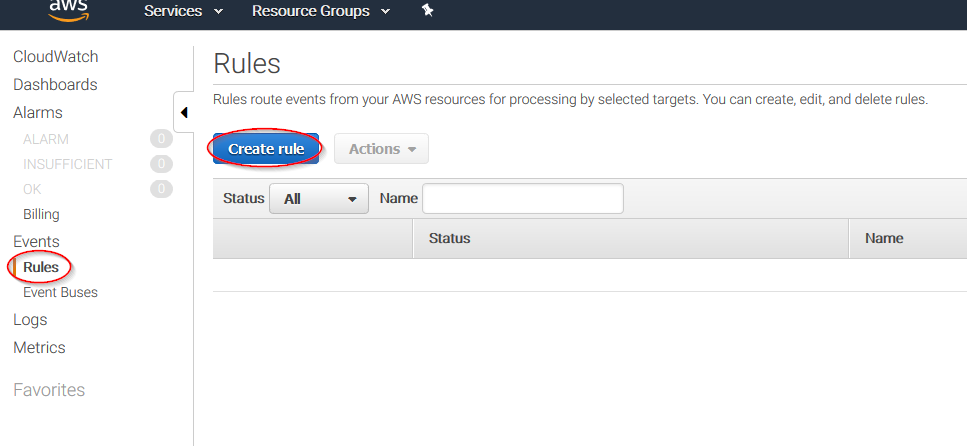
Select Rules on the left menu and click on the Create rule button:
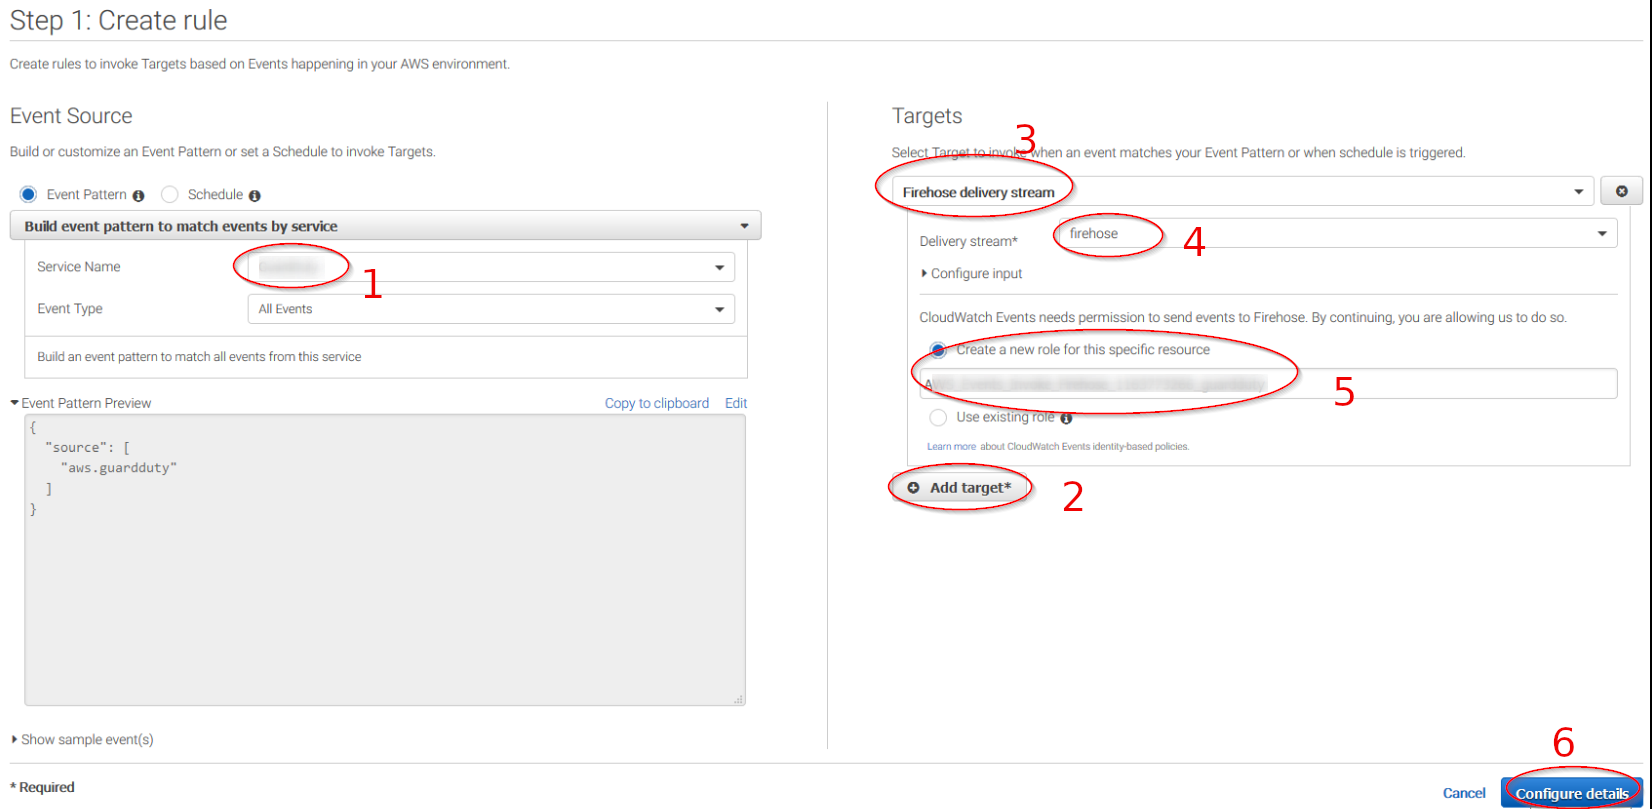
Select which service do you want to get logs from using the Service name slider, then, click on the Add target button and add the previously created Firehose delivery stream there. Also, create a new role to access the delivery stream:
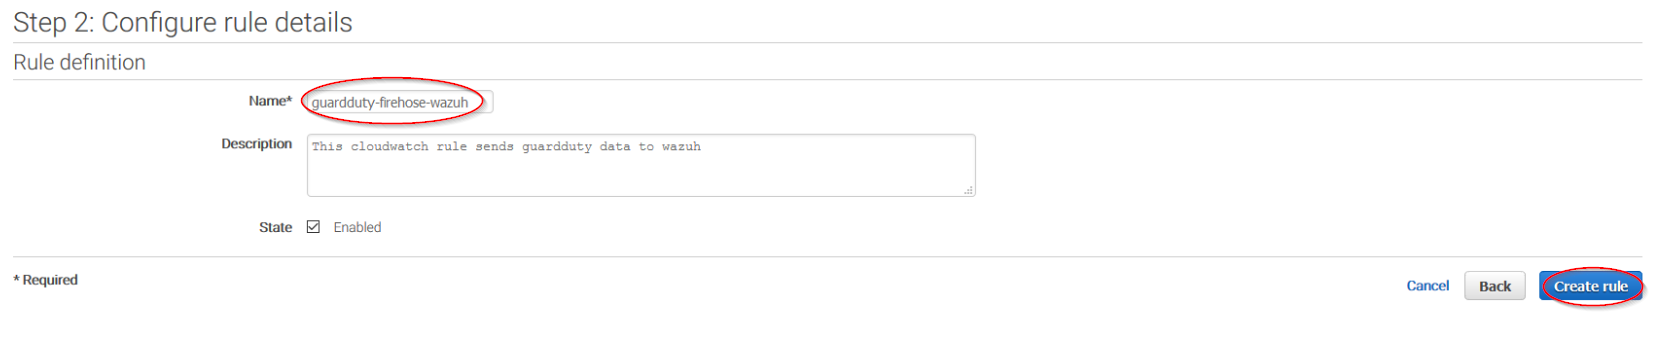
Give the rule some name and click on the Create rule button:
Once the rule is created, data will start to be sent to the previously created S3 bucket. Remember to first enable the service you want to monitor, otherwise you won't get any data.
Wazuh configuration
Open the Wazuh configuration file (
/var/ossec/etc/ossec.conf) and add the following block:<wodle name="aws-s3"> <disabled>no</disabled> <interval>10m</interval> <run_on_start>yes</run_on_start> <skip_on_error>yes</skip_on_error> <bucket type="waf"> <name>wazuh-aws-wodle</name> <!-- PUT HERE THE S3 BUCKET CHOSEN IN STEP 7 --> <path>waf</path> <!-- PUT HERE THE PREFIX CHOSEN IN STEP 7 --> <aws_profile>default</aws_profile> </bucket> </wodle>
Note
Check the AWS S3 module reference manual to learn more about each setting.
Restart Wazuh in order to apply the changes:
If you're configuring a Wazuh manager:
For Systemd:
# systemctl restart wazuh-manager
For SysV Init:
# service wazuh-manager restart
If you're configuring a Wazuh agent:
For Systemd:
# systemctl restart wazuh-agent
For SysV Init:
# service wazuh-agent restart
HTTP Request headers
The Wazuh AWS WAF implementation parses the header information present in the httpRequest field, allowing filtering by these headers and their values in the Wazuh UI. During this parsing, any non-standard header will be extracted and removed from the event before sending it to Analysisd. Here is the complete list of the allowed standard header fields:
a-im
accept
accept-charset
accept-encoding
accept-language
access-control-request-method
access-control-request-headers
authorization
cache-control
connection
content-encoding
content-length
content-type
cookie
date
expect
forwarded
from
host
http2-settings
if-match
if-modified-since
if-none-match
if-range
if-unmodified-since
max-forwards
origin
pragma
prefer
proxy-authorization
range
referer
te
trailer
transfer-encoding
user-agent
upgrade
via
warning
x-requested-with
x-forwarded-for
x-forwarded-host
x-forwarded-proto