Build the Wazuh Lab VPC
Here we will create the VPC and take care of all the VPC components that our EC2 instances will need to operate.
To get started, sign into your AWS console at this link. If you do not already have an AWS account, sign up for one here.
Note
There will be costs involved in maintaining a Wazuh lab environment in AWS but they should be small. Most costs only apply when your instances are actually running. It should cost you an estimated USD $3-4 per day to operate this lab with all EC2 instances running. When all instances are shut down, and all Elastic IP addresses are released, a dormant lab would only cost around $3 per month (just the cost of EC2 block storage). These are only estimates. See this page for authoritative details on Amazon EC2 pricing.
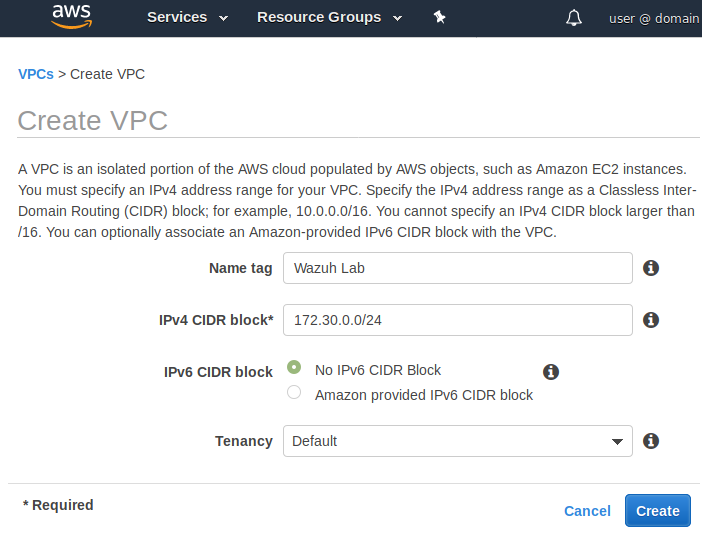
Create VPC
Even if you already have one or more VPCs, you will be creating a new one. Go to your AWS VPC Dashboard and click on [Create VPC]. Specify the Name and IPv4 CIDR block below, and then click on [Create].
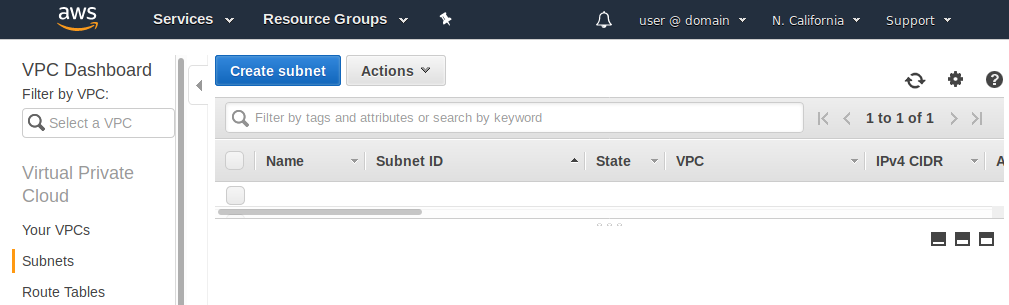
Subnet
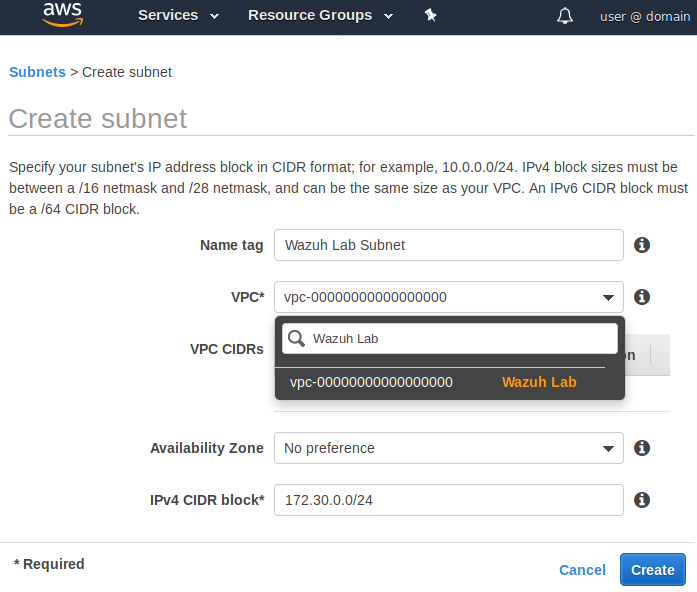
This VPC only needs one subnet, which we will set to the same as the CIDR block of the VPC itself. Click on the Subnets link in your VPC Dashboard
and create a subnet with the Name and IPv4 CIDR block below. Make sure to associate it with your "Wazuh Lab" VPC. Then click on [Create].
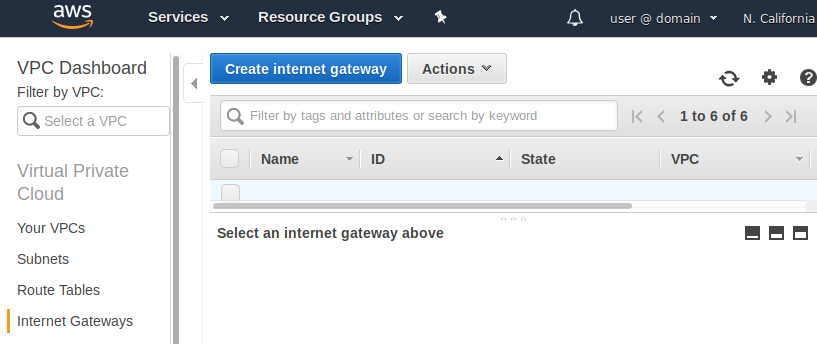
Internet Gateway
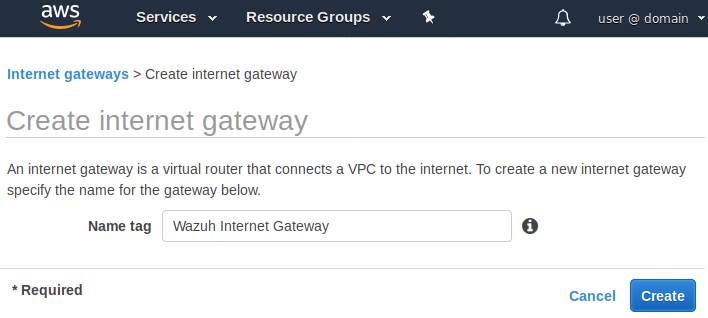
Your VPC needs an Internet Gateway so it can communicate with the Internet. Click on the Internet Gateways in your VPC Dashboard and click on [Create Internet Gateway].
Name it as below and click on [Create].
Next, click on [Close] then select the gate way and from the [Action] menu, select [Attach to VPC],
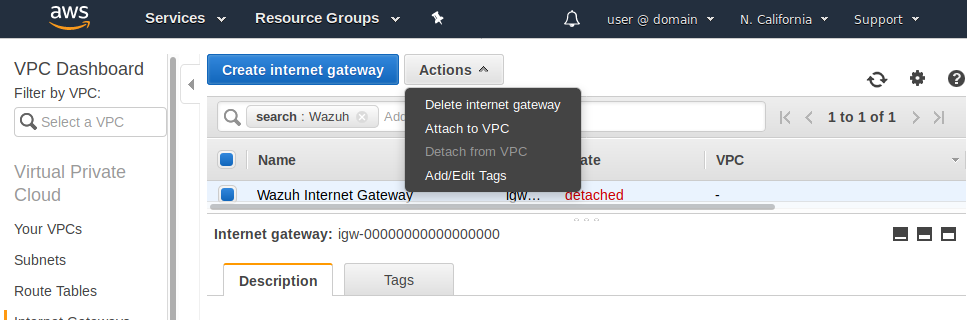
Select your "Wazuh Lab" VPC and click on [Attach], at which point your new gateway should appear with a green "attached" state.
Route Table
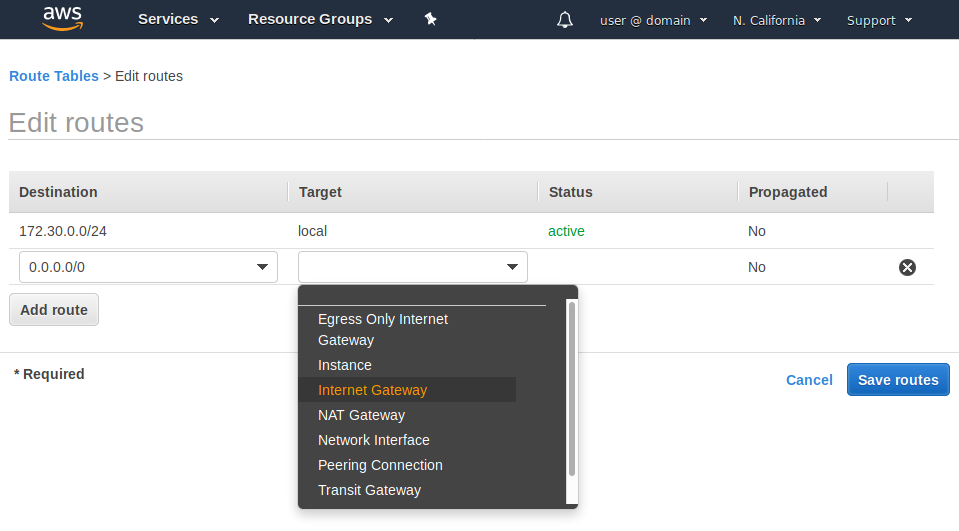
The route table for your new VPC must be associated with your subnet and gateway. Click on the Route Tables link in your VPC Dashboard and select the route table for your "Wazuh Lab" VPC (you can find it by searching for the VPC ID that it has been assigned). Click on the [Routes] tab and on the [Edit routes] button, then on the [Add route] button. Add a new route with a Destination of "0.0.0.0/0" and for the Target, click on the empty field, select Internet Gateway and pick the Wazuh Lab Gateway from the list. Click on [Save routes] and then on [Close].
The results should look like this (exact igw- id will be different):
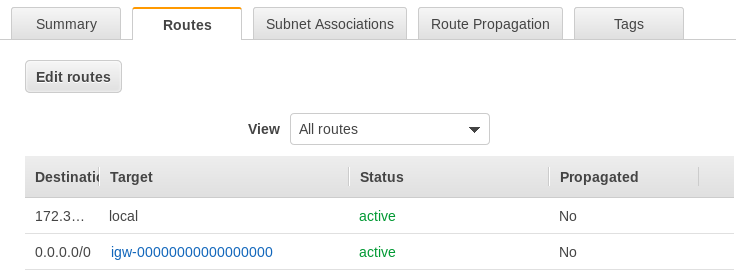
Click on the "Subnet Associations" tab below and then on [Edit subnet associations]. Select only your Wazuh Lab Subnet and click on [Save].
Security Groups
We will need a couple of Security Groups, one for your Linux instances and one for your Windows instance. We will allow inbound SSH/HTTPS traffic to the Linux instances from the Internet and inbound RDP traffic to the Windows instance from the Internet while allowing unrestricted communication within the VPC and unrestricted outbound traffic.
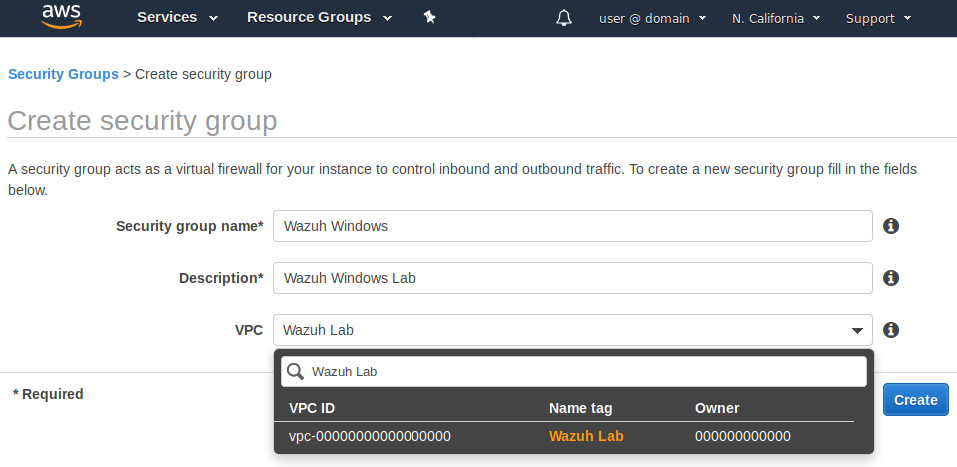
Windows Security Group
Click on the Security Groups link in your VPC Dashboard and then on [Create Security Group]. Create a security group as shown below and click on [Create].
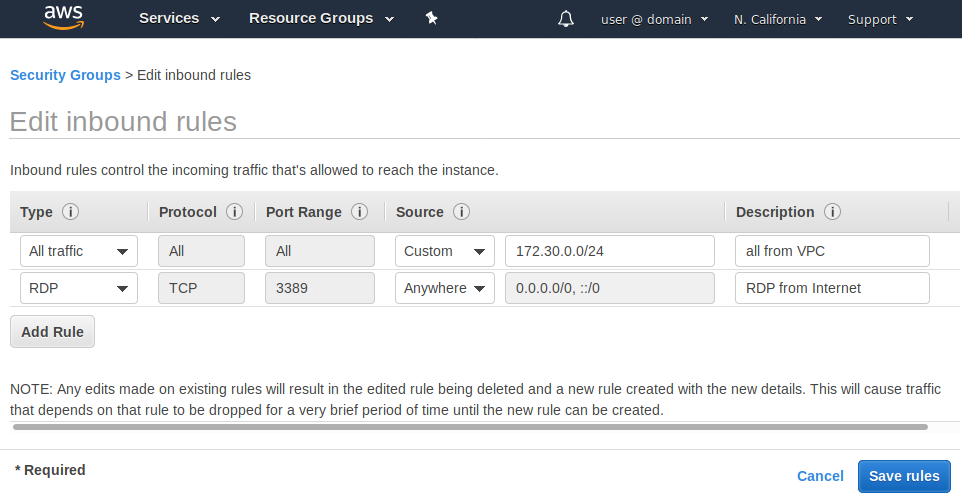
Next select only the "Wazuh Windows" security group, click on the [Inbound Rules] tab and on [Edit rules]. Set up two rules as shown below and click on [Save rules].
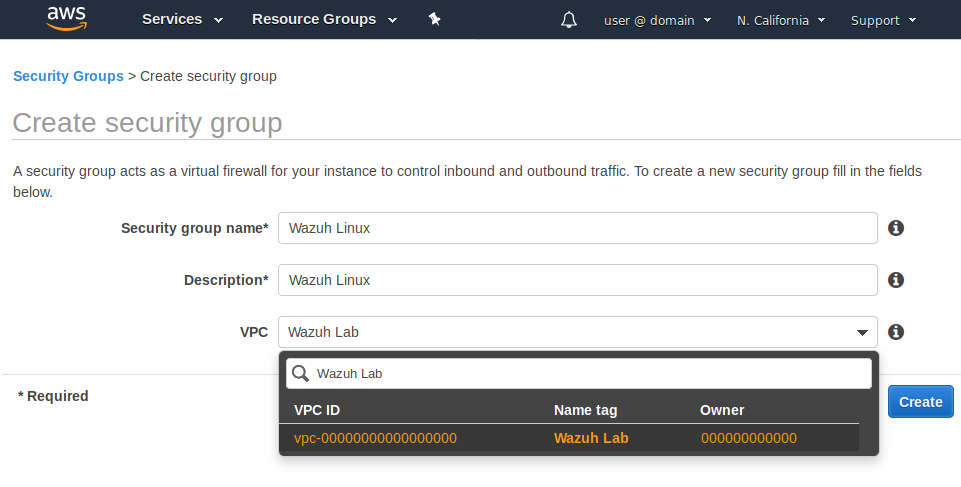
Linux Security Group
Click again on [Create Security Group]. Create a security group like below, then click on [Create] and on [Close].
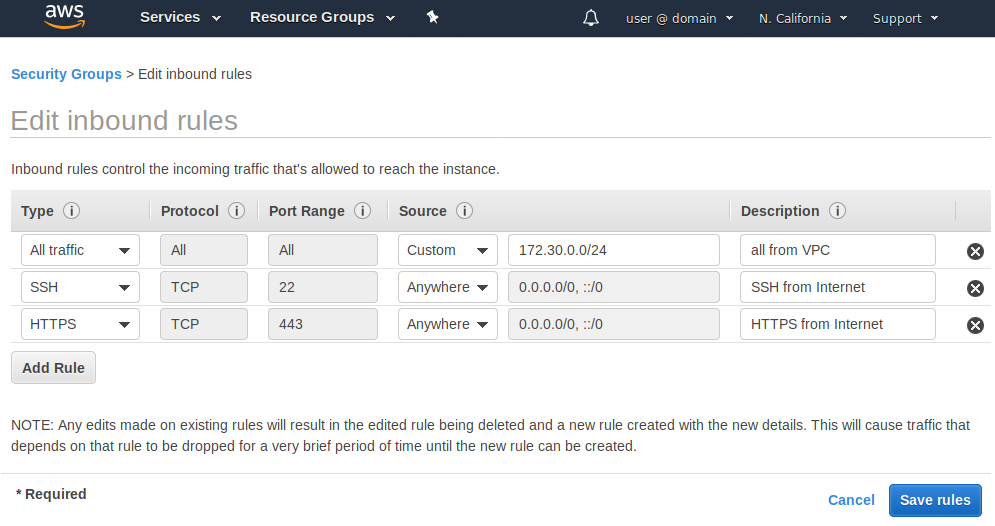
Next select only the "Wazuh Linux" security group, click on the [Inbound Rules] tab, and click on [Edit rules]. Set up two rules like below, click on [Save rules] and on [Close].
SSH key pair
You need to set up a Key Pair to use in authenticating with the EC2 instances you are about to launch. Go to the Key Pairs link in your EC2 Dashboard and click on [Create Key Pair]. Name it "Wazuh_Lab", make sure that file format pem is selected and click on [Create]. Your web browser should automatically download the key file Wazuh_Lab.pem at this point.
Hold onto this file. You will need it to gain access to your EC2 instances once they are launched.