AWS Trusted Advisor
AWS Trusted Advisor provides real-time guidance to help users reduce cost, increase performance, and improve security by optimizing their AWS environment following AWS best practices. Trusted Advisor logs can be stored into an S3 bucket thanks to Amazon EventBridge and Amazon Kinesis Data Firehose, allowing Wazuh to process them and generate alerts using the built-in rules Wazuh provides, as well as any custom rules available.
Amazon configuration
Learn how to configure the different services required to integrate Trusted Advisor into Wazuh:

Amazon Kinesis configuration
Create an Amazon Kinesis Data Firehose delivery stream to be able to store the Trusted Advisor logs into the desired S3 bucket so Wazuh can process them.
Create a new S3 bucket. If you want to use an already existing one, skip this step.
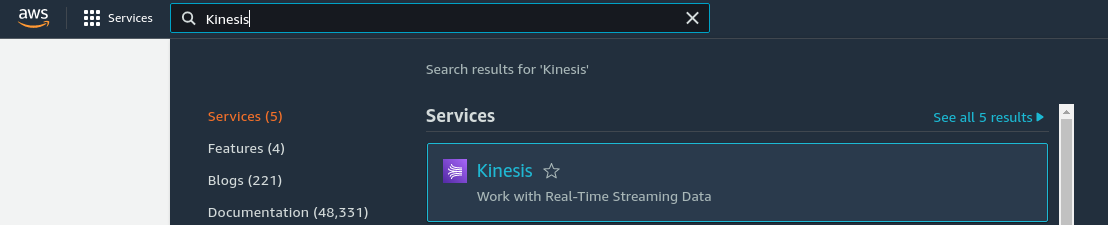
Search for Kinesis in the search bar at the top of the page or go to Services > Analytics > Kinesis:
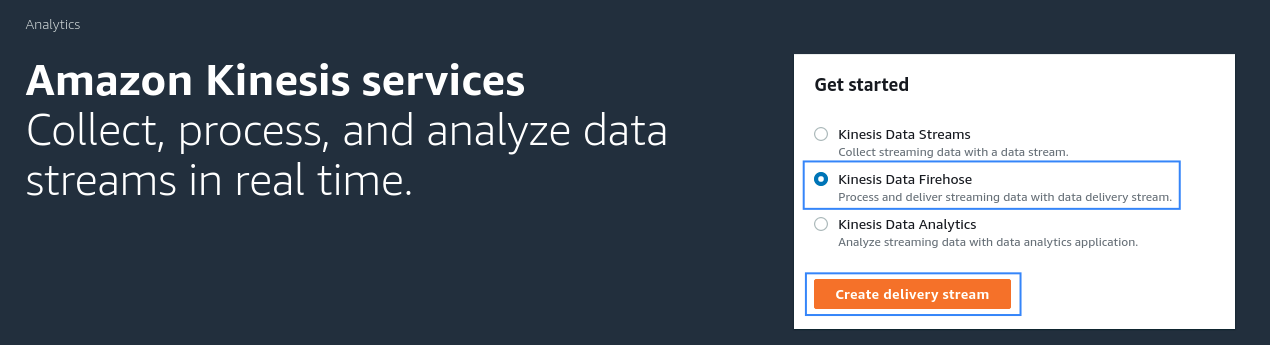
Select the Kinesis Data Firehose option and then click in the Create delivery stream button:
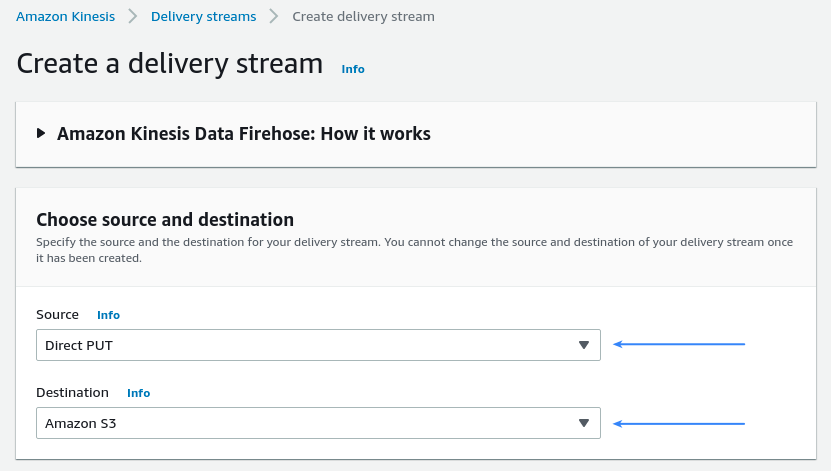
Select Direct PUT and Amazon S3 as the desired Source and Destination, respectively:
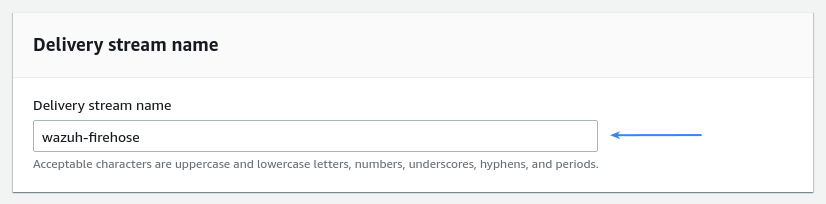
Choose an appropriate Delivery stream name:
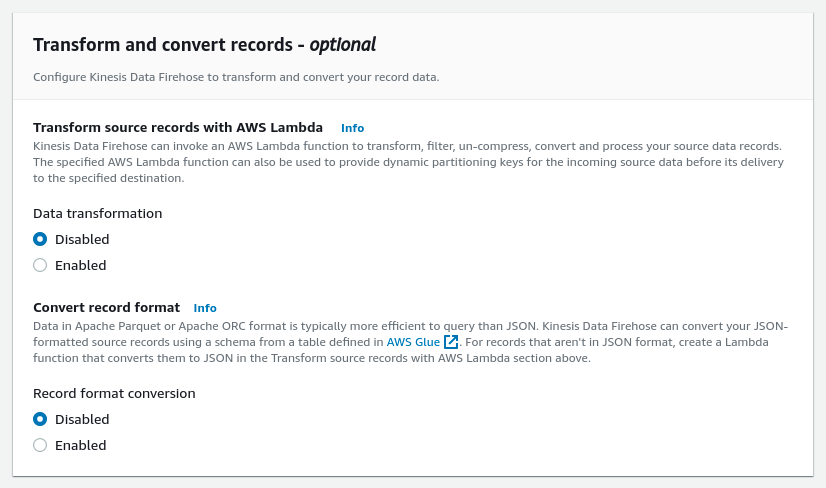
Leave both Data transformation and Record format conversion options disabled:
Select the desired S3 bucket as the destination. It is possible to specify a custom prefix to alter the path where AWS store the logs. AWS Firehose creates a file structure
YYYY/MM/DD/HH, if a prefix is used the created file structure would beprefix-name/YYYY/MM/DD/HH. If a prefix is used it must be specified under the Wazuh Bucket configuration: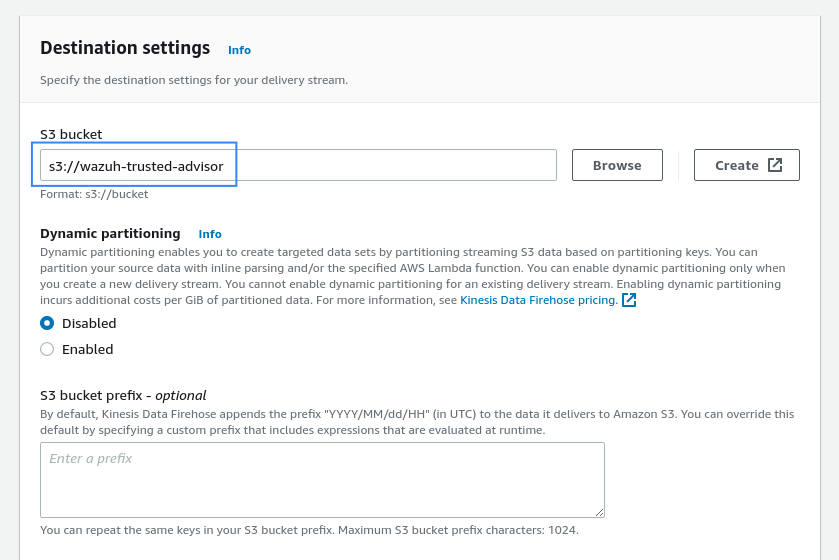
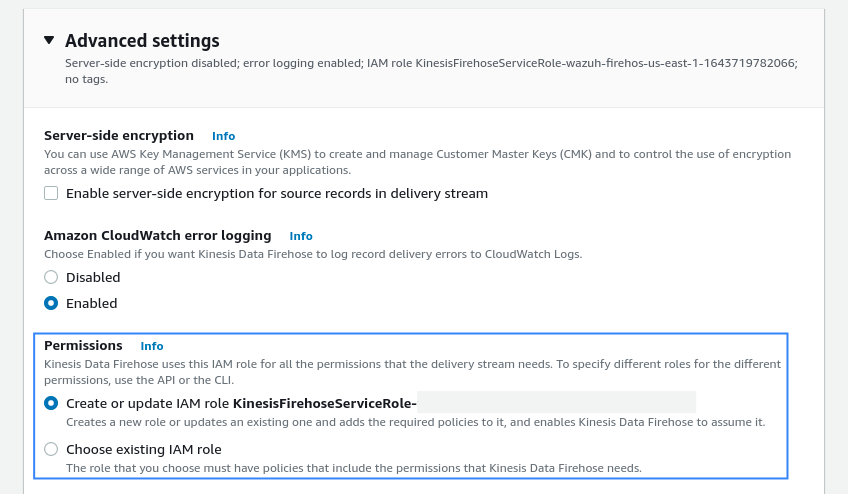
Create or choose an existing IAM role to be used by Kinesis Data Firehose in the Advanced settings section:
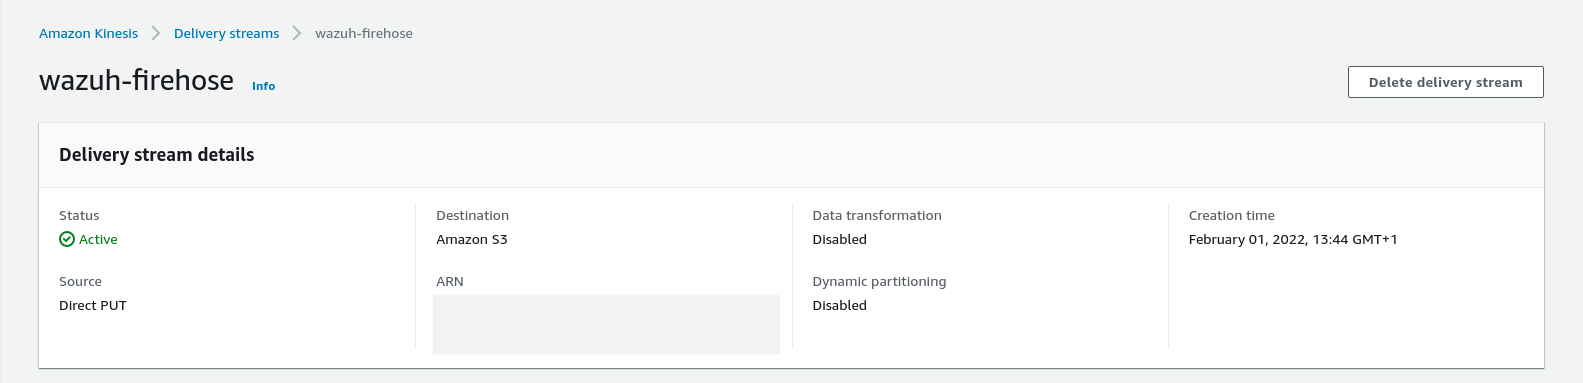
Click on the Create delivery stream button at the end of the page. The new Delivery stream will be created and its details will be shown as follows:
Amazon EventBridge configuration
Configure an Amazon EventBridge rule to send Trusted Advisor events to the Amazon Kinesis Data Firehose delivery stream created in the previous step.
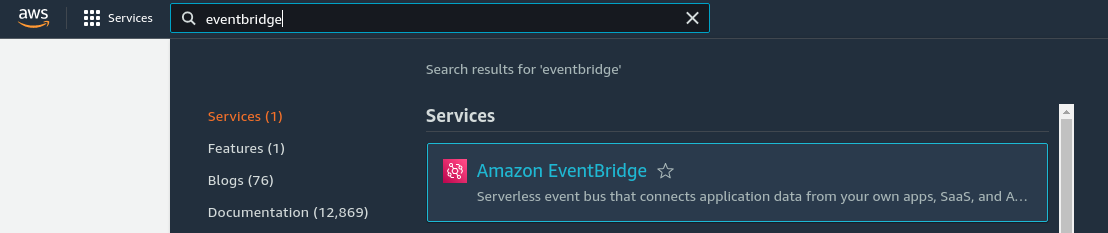
Search for EventBridge in the search bar at the top of the page or go to Services > Application Integration > EventBridge:
Click on the Create rule button:

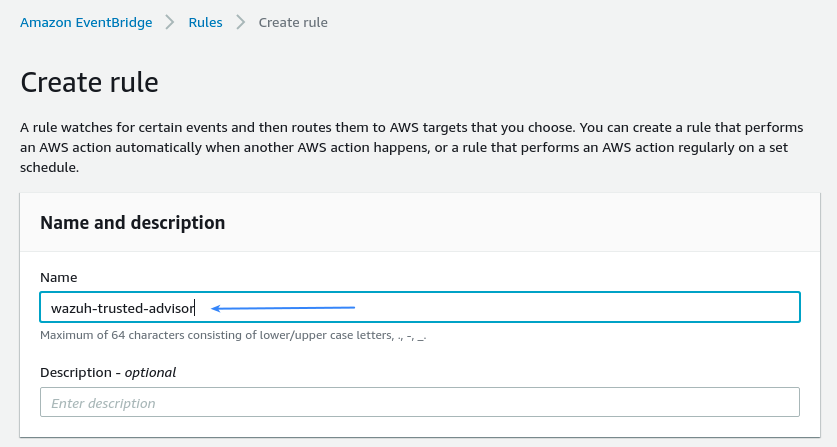
Give an appropriate name for the EventBridge rule:
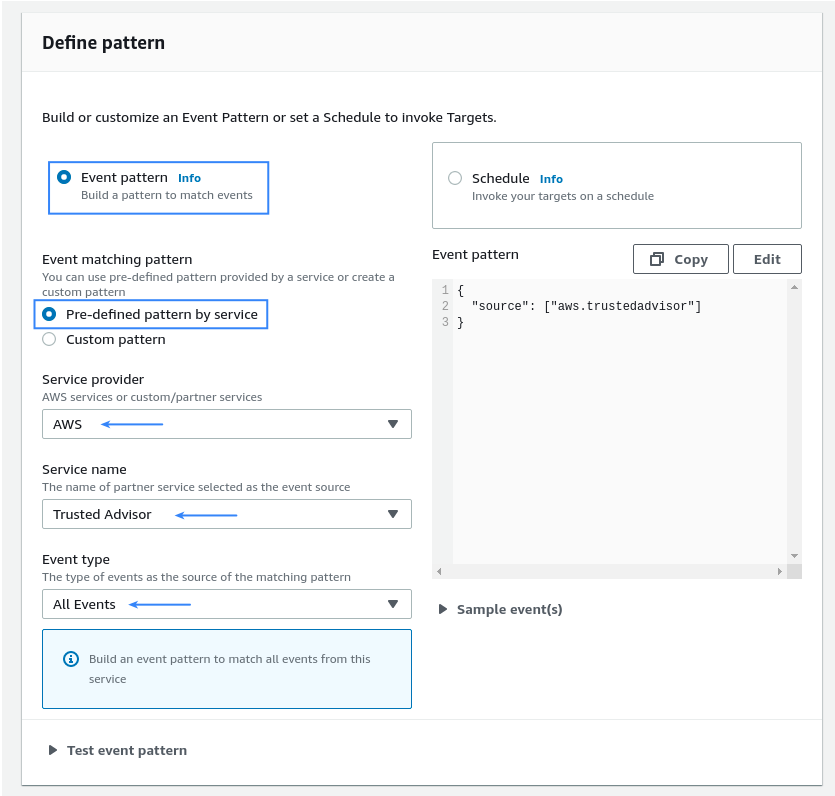
In the Define pattern section choose Event pattern, then Pre-defined pattern by service. Select AWS and Trusted Advisor as the Service provider and Service name, respectively. Choose All Events as the desired Event type:
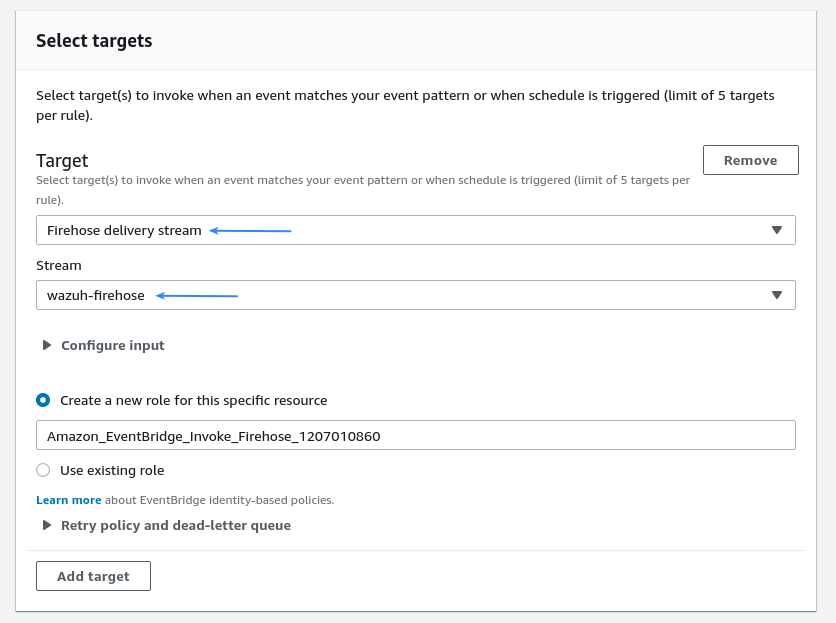
Select the Firehose delivery stream created following the Kinesis steps as the Target for this EventBridge rule. Create a new role or specify an existing one for this resource if required:
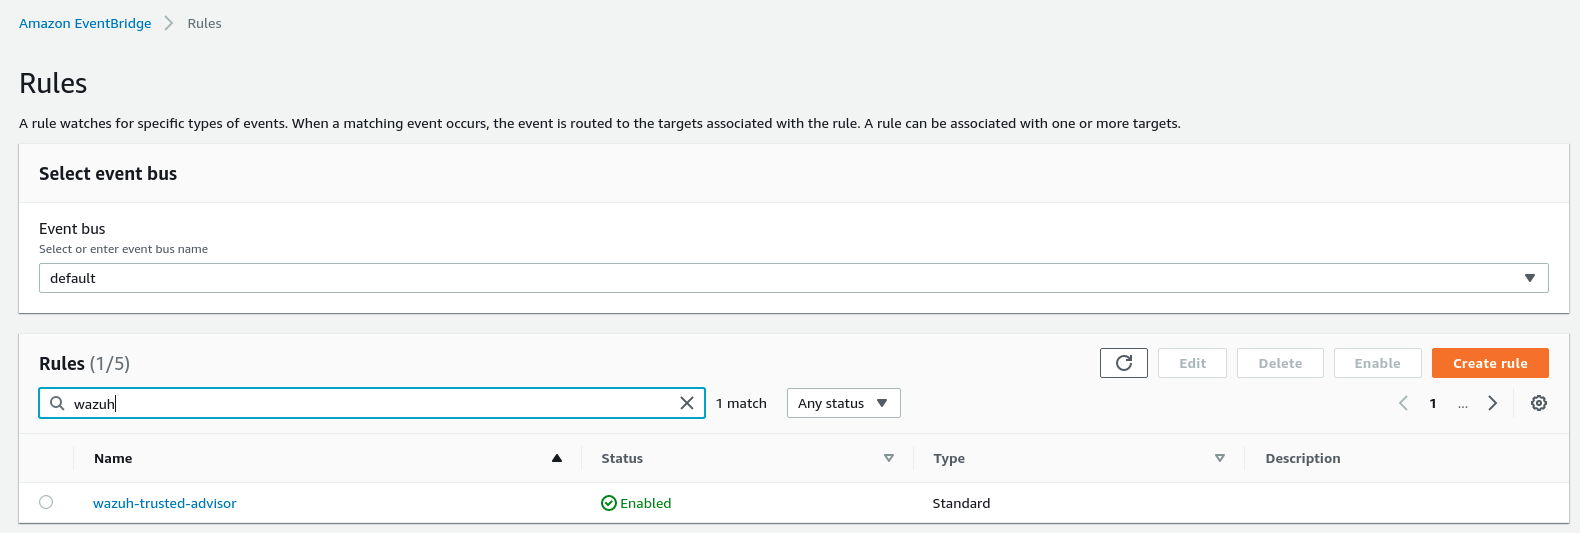
Scroll down and click on Create rule. The new rule will now be present in the Amazon EventBridge > Rules section, ready to be used. From now on, every time a Trusted Advisor event is sent, it will be stored in the specified S3 bucket. Remember to enable the Trusted Advisor service first, otherwise no data will be processed:
AWS Trusted Advisor configuration
Search for Trusted Advisor in the search bar at the top of the page or go to Services > Management & Governance > Trusted Advisor:

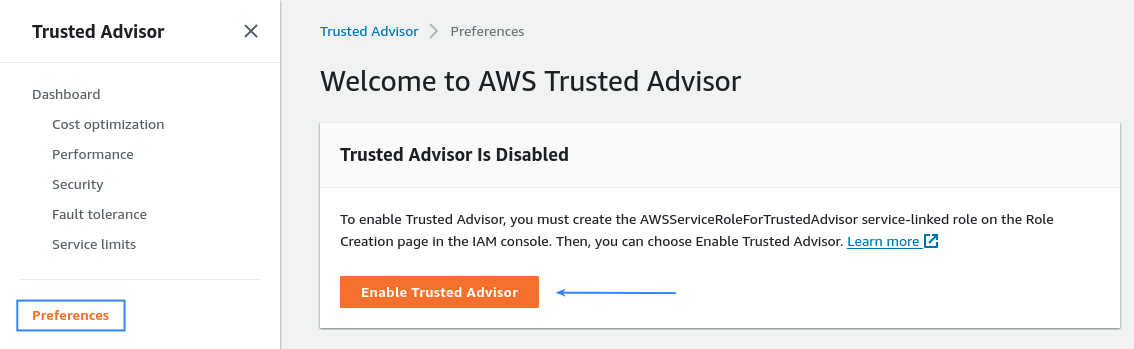
Go to Preferences in the left menu and click on the Enable Trusted Advisor button:
Once enabled, Trusted Advisor reviews the different checks for the AWS account. Check the official AWS documentation to learn more about the different Trusted Advisor Checks available.
Policy configuration
To create a policy using the Amazon Web Services console, follow the AWS documentation.
Take into account that the policies below follow the principle of least privilege to ensure that only the minimum permissions are provided to the Wazuh user.
To allow an AWS user to use the module with read-only permissions, it must have a policy like the following attached:
{
    "Version": "2012-10-17",
    "Statement": [
        {
            "Sid": "VisualEditor0",
            "Effect": "Allow",
            "Action": [
                "s3:GetObject",
                "s3:ListBucket"
            ],
            "Resource": [
                "arn:aws:s3:::bucket-name/*",
                "arn:aws:s3:::bucket-name"
            ]
        }
    ]
}
If it is necessary to delete the log files once they have been collected, the associated policy would be as follows:
{
     "Version": "2012-10-17",
     "Statement": [
         {
             "Sid": "VisualEditor0",
             "Effect": "Allow",
             "Action": [
                 "s3:GetObject",
                 "s3:ListBucket",
                 "s3:DeleteObject"
             ],
             "Resource": [
                 "arn:aws:s3:::bucket-name/*",
                 "arn:aws:s3:::bucket-name"
             ]
         }
     ]
 }
Once a policy has been created, there are different methods available to attach it to a user, such as attaching it directly or to a group to which the user belongs. More information on how to perform those tasks on the AWS documentation.
Wazuh configuration
Access the Wazuh configuration in Wazuh > Management > Configuration using the Wazuh UI or by manually editing the
/var/ossec/etc/ossec.conffile in the host: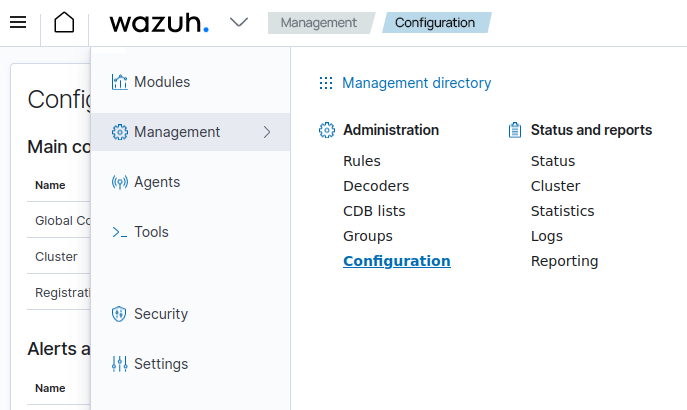
Add the following AWS S3 module configuration to the file, replacing
wazuh-aws-wodlewith the name of the S3 bucket:<wodle name="aws-s3"> <disabled>no</disabled> <interval>10m</interval> <run_on_start>yes</run_on_start> <skip_on_error>yes</skip_on_error> <bucket type="custom"> <name>wazuh-aws-wodle</name> <aws_profile>default</aws_profile> </bucket> </wodle>
Note
In this example, the
aws_profileauthentication parameter was used. Check the credentials section to learn more about the different authentication options and how to use them.Save the changes and restart Wazuh to apply the changes. The service can be manually restarted using the following command outside the Wazuh UI:
If you're configuring a Wazuh manager:
# systemctl restart wazuh-manager
# service wazuh-manager restart
If you're configuring a Wazuh agent:
# systemctl restart wazuh-agent
# service wazuh-agent restart
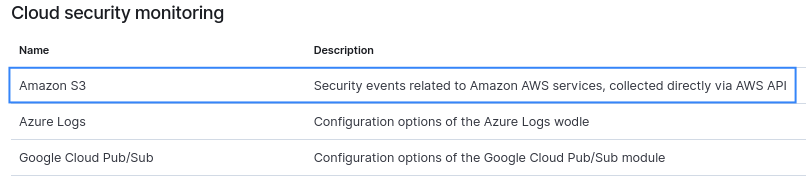
The AWS S3 module configuration can be reviewed from Wazuh > Management > Configuration > Cloud security monitoring once added in the Local configuration.