Configuring SSL certificates on the Wazuh dashboard using NGINX
NGINX is an open source software for web serving, reverse proxying, caching, load balancing, and media streaming. It provides improved performance optimization during SSL decryption, better utilization, and complete end-to-end encryption of the Wazuh dashboard server. NGINX can be installed directly on the endpoint hosting the Wazuh dashboard or on a separate endpoint outside of the Wazuh cluster. However, for this use case, NGINX is installed on the Wazuh dashboard node.
Install and configure the Let’s Encrypt SSL certificate using NGINX on a Wazuh dashboard by following the step-by-step instructions below.
Setting up NGINX as Reverse proxy
Installing the NGINX software on the Wazuh dashboard
Install NGINX:
# yum install epel-release
# yum install nginx
# apt-get update
# apt-get install nginx
Start NGINX and verify the status is active:
# systemctl start nginx
# systemctl status nginx
Open ports 80 (HTTP) and 443 (HTTPS):
# systemctl start firewalld
# firewall-cmd --permanent --add-port=443/tcp
# firewall-cmd --permanent --add-port=80/tcp
# ufw allow 443
# ufw allow 80
Configure the proxy and the certificates
Install snap:
# yum install epel-release
# yum upgrade
# yum install snapd
# systemctl enable --now snapd.socket
# ln -s /var/lib/snapd/snap /snap
# apt-get update
# apt-get install snap
# snap install core; snap refresh core
Install certbot:
# yum remove certbot
# snap install --classic certbot
# apt remove certbot
# snap install --classic certbot
Configure a symbolic link to the certbot directory:
# ln -s /snap/bin/certbot /usr/bin/certbot
Edit the
/etc/wazuh-dashboard/opensearch_dashboards.ymlfile and change the default dashboard port from443to another available port number:server.host: 0.0.0.0 opensearch.hosts: https://127.0.0.1:9200 server.port: <PORT_NUMBER> opensearch.ssl.verificationMode: certificate # opensearch.username: kibanaserver # opensearch.password: kibanaserver opensearch.requestHeadersWhitelist: ["securitytenant","Authorization"] opensearch_security.multitenancy.enabled: false opensearch_security.readonly_mode.roles: ["kibana_read_only"] server.ssl.enabled: true server.ssl.key: "/etc/wazuh-dashboard/certs/wazuh-dashboard-key.pem" server.ssl.certificate: "/etc/wazuh-dashboard/certs/wazuh-dashboard.pem" opensearch.ssl.certificateAuthorities: ["/etc/wazuh-dashboard/certs/root-ca.pem"] uiSettings.overrides.defaultRoute: /app/wazuh opensearch_security.cookie.secure: true
Navigate to the
/etc/nginx/conf.ddirectory and create awazuh.conffile for the certificate installation:# unlink /etc/nginx/sites-enabled/default # cd /etc/nginx/conf.d # touch wazuh.conf
Edit
wazuh.confand add the following configuration.server { listen 80 default_server; server_name <YOUR_DOMAIN_NAME>; location / { proxy_pass https://<WAZUH_DASHBOARD_IP_ADDRESS>:<PORT_NUMBER>; proxy_set_header Host $host; } }
Replace the following:
<YOUR_DOMAIN_NAME>with your domain name.<WAZUH_DASHBOARD_IP_ADDRESS>with your Wazuh dashboard IP address.<PORT_NUMBER>with your new port number.
Restart the Wazuh dashboard and the Wazuh server
# systemctl restart wazuh-dashboard
# systemctl restart wazuh-manager
Use certbot to generate an SSL certificate:
# certbot --nginx -d <YOUR_DOMAIN_NAME>
Check that NGINX is properly configured and verify that you have the same configuration in the
/etc/nginx/conf.d/wazuh.conffile with the sample below:server { server_name <YOUR_DOMAIN_NAME>; location / { proxy_pass https://<WAZUH_DASHBOARD_IP_ADDRESS>:<PORT_NUMBER>; proxy_set_header Host $host; } listen 443 ssl; # managed by Certbot ssl_certificate /etc/letsencrypt/live/<YOUR_DOMAIN_NAME>/fullchain.pem; # managed by Certbot ssl_certificate_key /etc/letsencrypt/live/<YOUR_DOMAIN_NAME>/privkey.pem; # managed by Certbot include /etc/letsencrypt/options-ssl-nginx.conf; # managed by Certbot ssl_dhparam /etc/letsencrypt/ssl-dhparams.pem; # managed by Certbot } server { if ($host = <YOUR_DOMAIN_NAME>) { return 301 https://$host$request_uri; } # managed by Certbot listen 80 default_server; server_name <YOUR_DOMAIN_NAME>; return 404; # managed by Certbot }
Restart the NGINX service:
# systemctl restart nginx
# service nginx restart
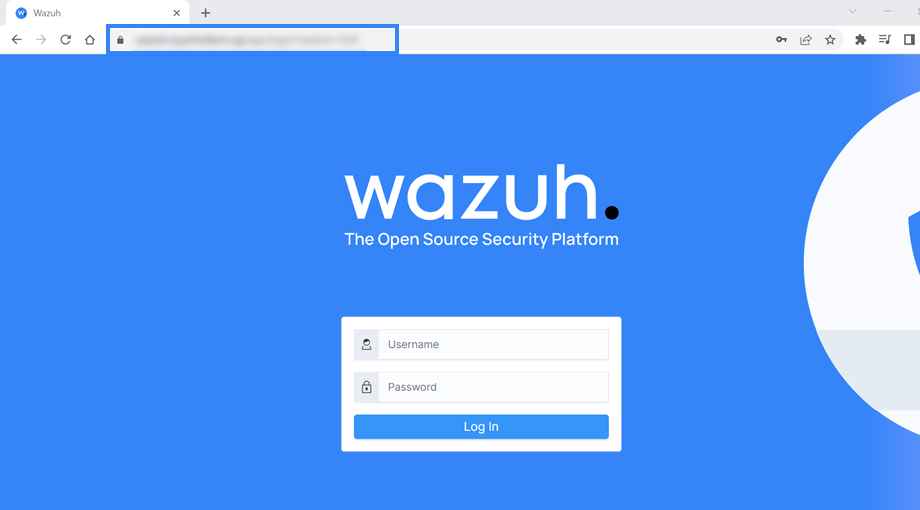
Access the Wazuh dashboard via the configured domain name.

The NGINX server has been configured and the Let’s Encrypt certificate installation is active on the Wazuh dashboard. You can proceed to access it by using the configured domain name.