Migrating Wazuh indices
In this section, we focus on migrating Wazuh indices by using snapshots. This helps to restore alerts from one Wazuh indexer cluster to another without losing the original timestamp.
Setup snapshot repository
On the Wazuh dashboard, perform the following steps:
Click on the upper left menu ☰, go to Snapshot Management > Repositories, and select Create repository to create a new snapshot repository.
Enter a repository name, select the repository type Shared file system, enter the repository location
/mnt/snapshots, and select Add to register the new repository.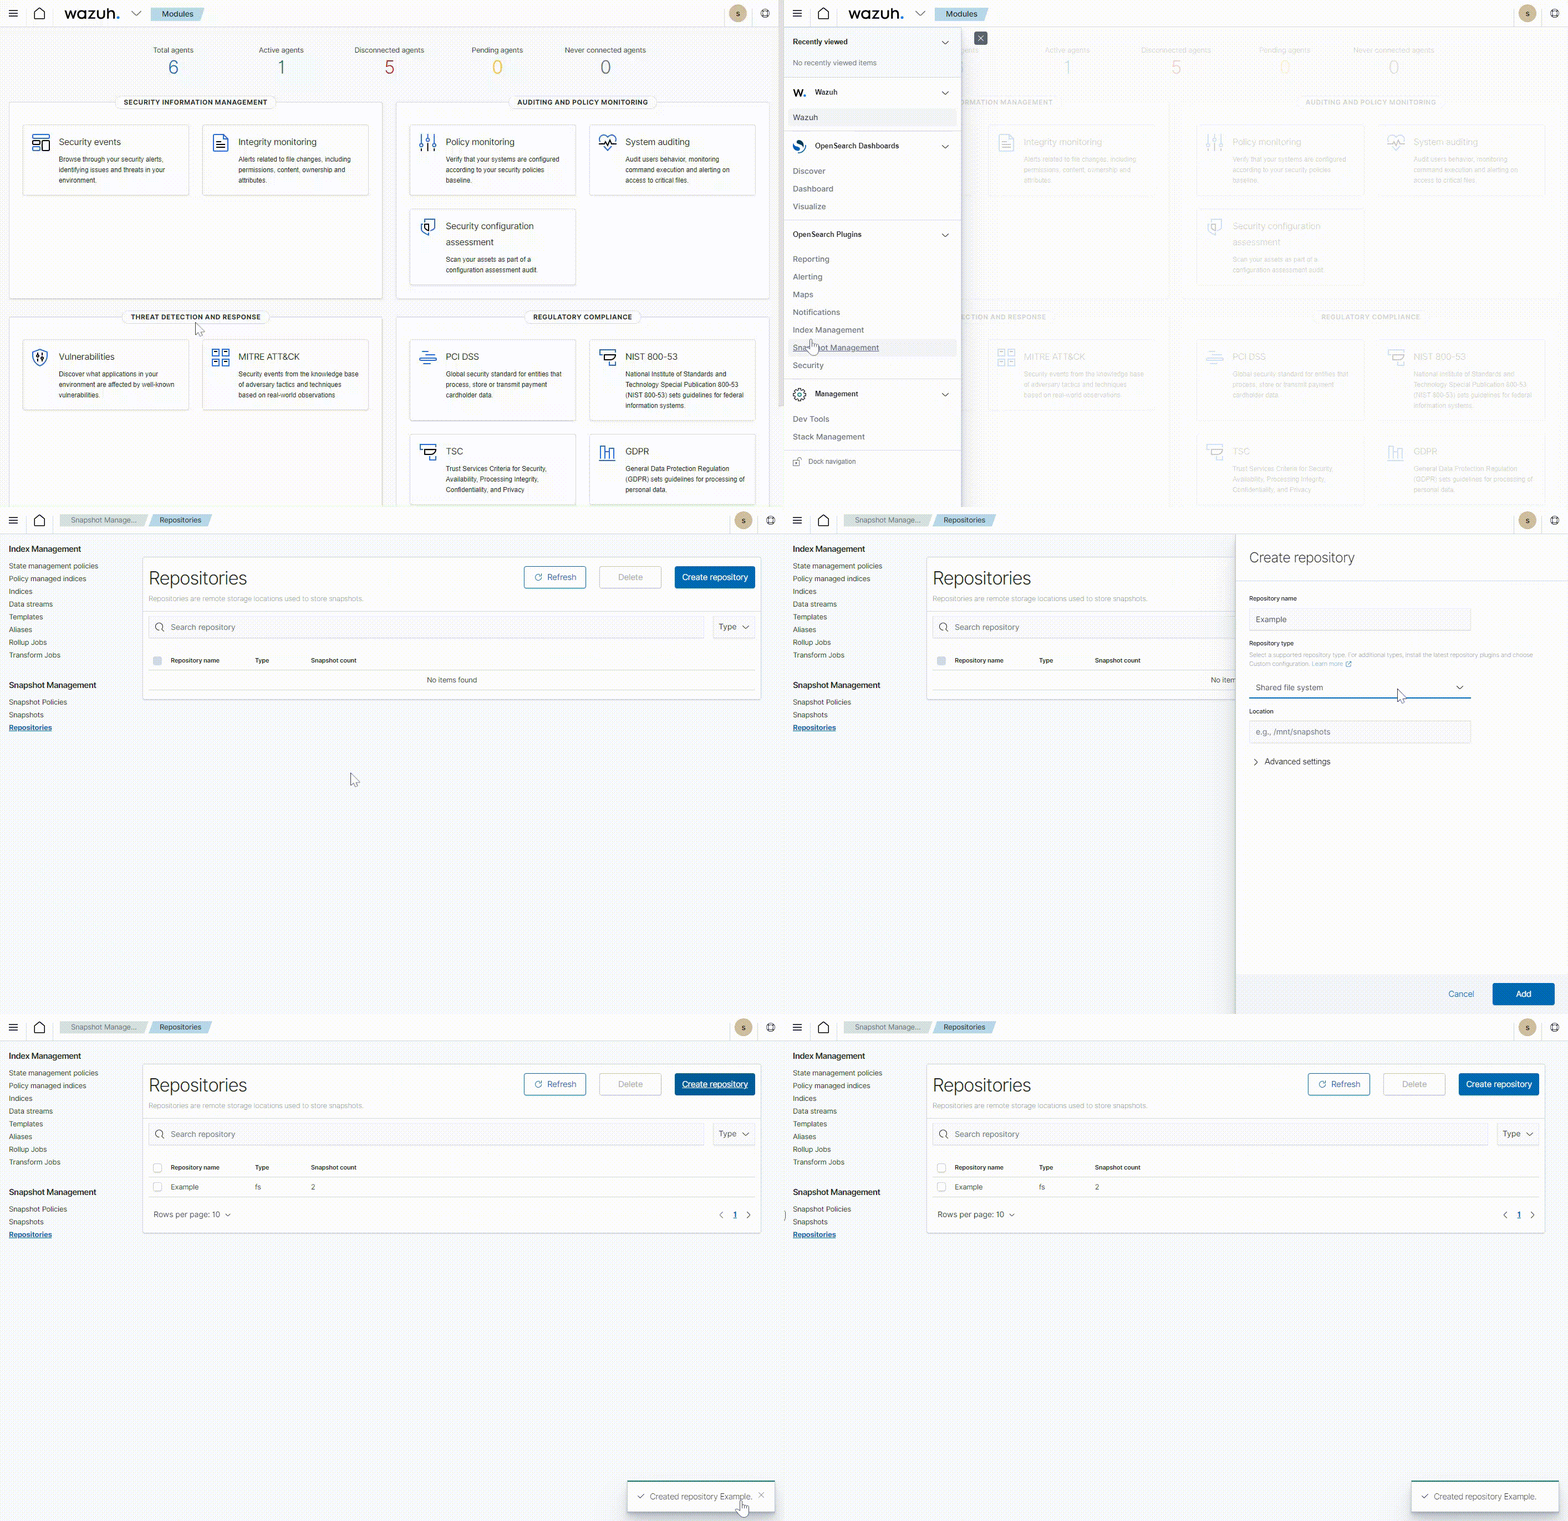
Repeat the above steps on the destination Wazuh cluster to set up a similar snapshot repository.
Take snapshots
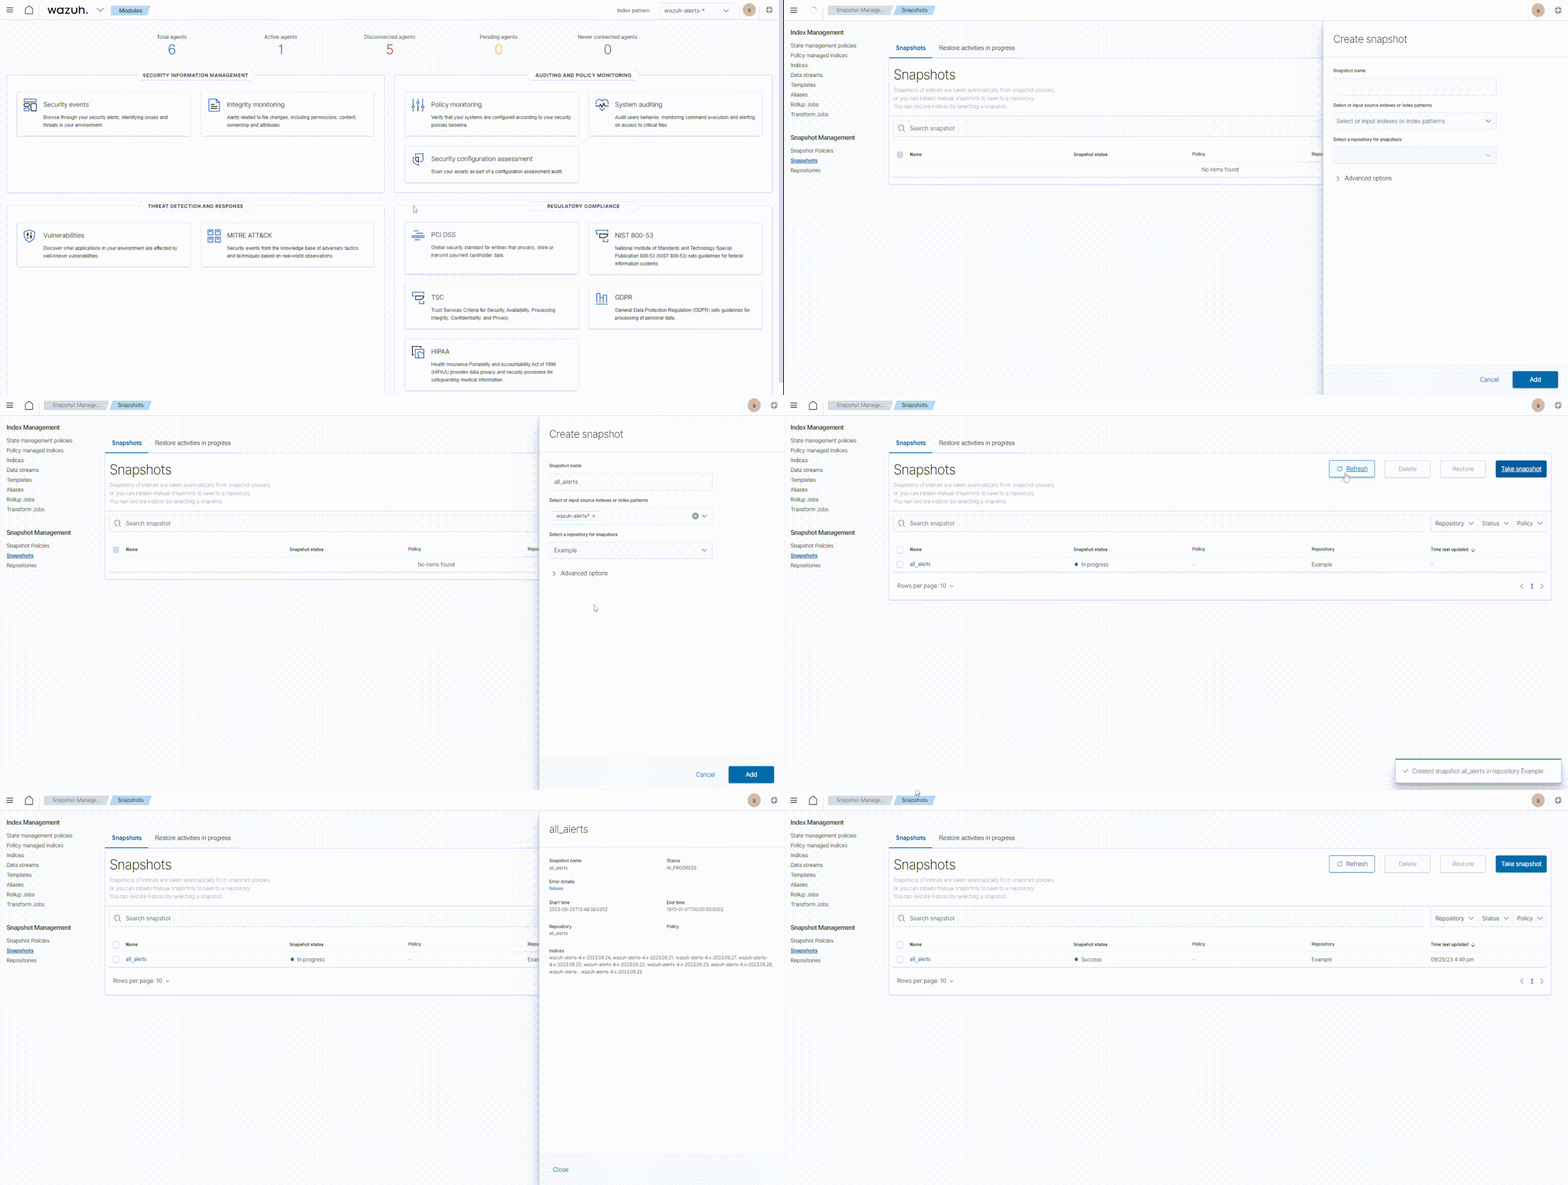
Click on the upper left menu ☰, and go to Snapshot Management > Snapshots.
Select Take snapshot, and enter a Snapshot name.
Select or input source index patterns.
Select the earlier created repository to store the snapshots.
Select Advanced options and check the Include cluster state in snapshots option.
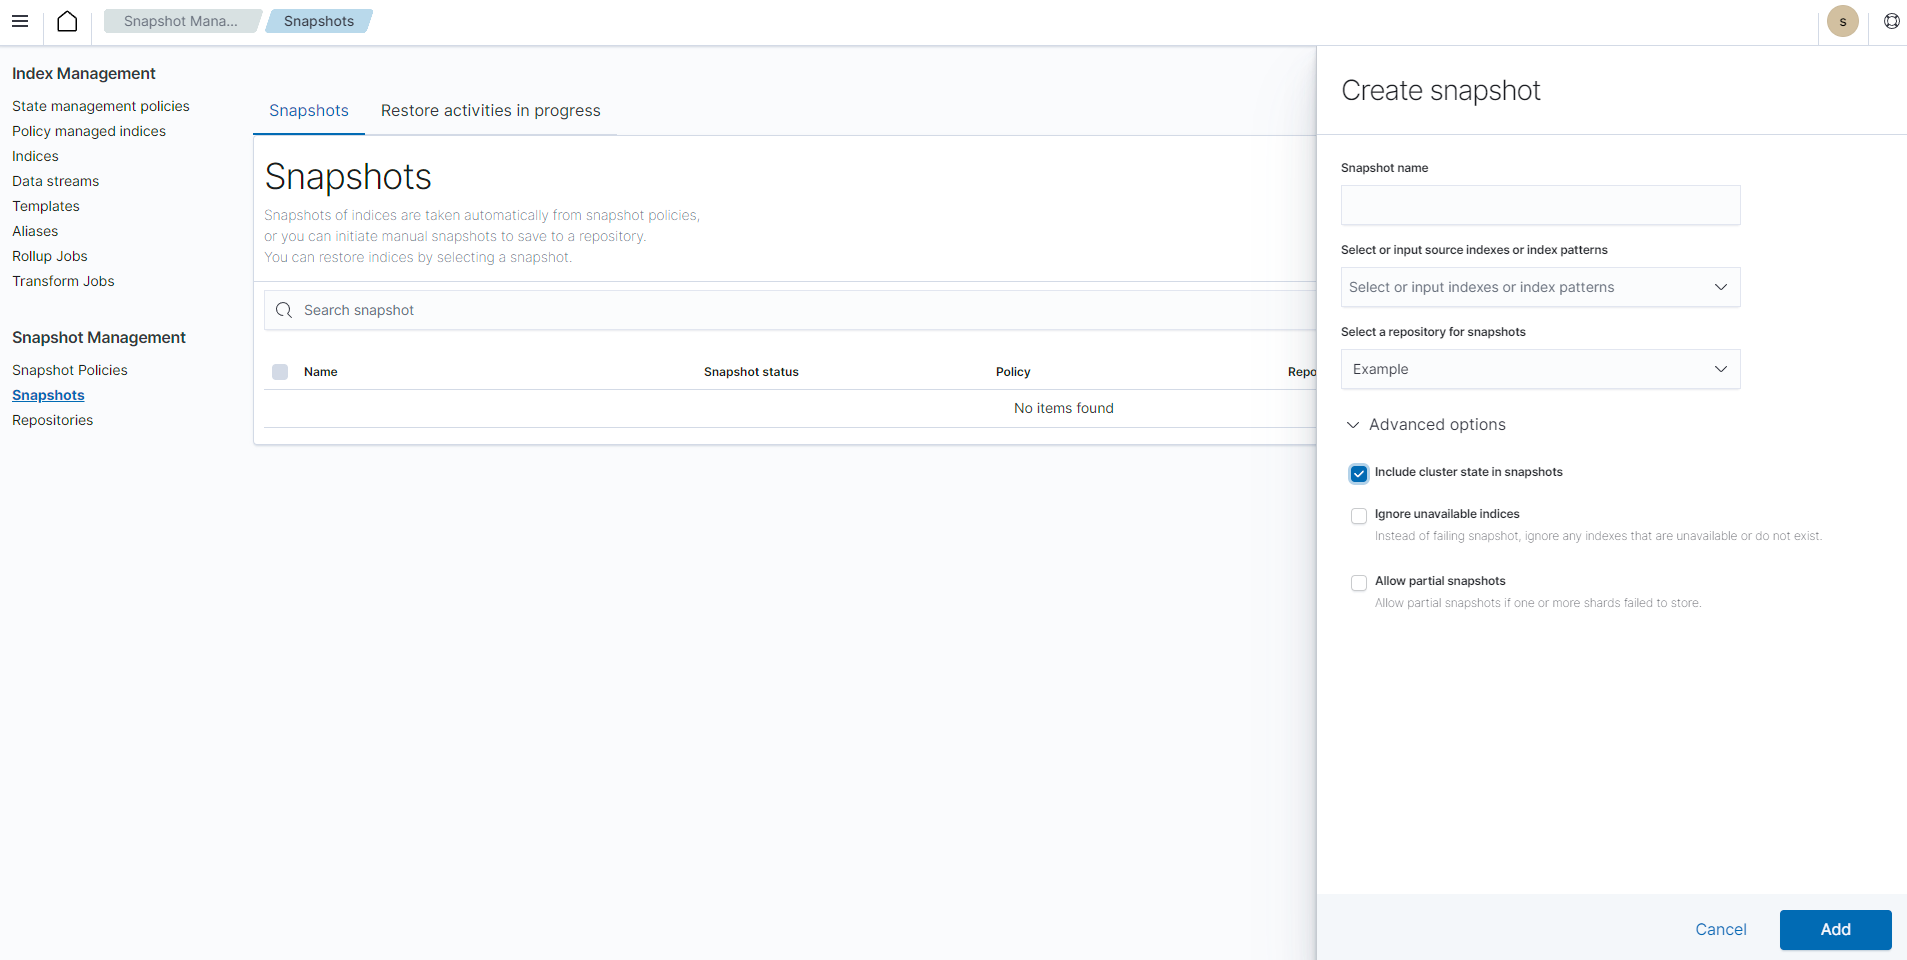
Select Add to create a new snapshot.
The snapshot files are saved in the repository location /mnt/snapshots.
Restore snapshots
To complete the Wazuh indices migration steps, restore the snapshots taken from the old Wazuh indexers to the destination Wazuh indexers. Perform the following steps on the destination Wazuh indexer.
Note
It is necessary to have performed the steps in the Setup shared file system and Setup snapshot repository sections on the destination Wazuh cluster before proceeding.
Restart the Wazuh indexer nodes in the destination Wazuh cluster to load the snapshot files using the command:
# systemctl restart wazuh-indexer
Click on the upper left menu ☰, go to Snapshot Management > Snapshots, and refresh the Snapshots page. The snapshots in the repository location
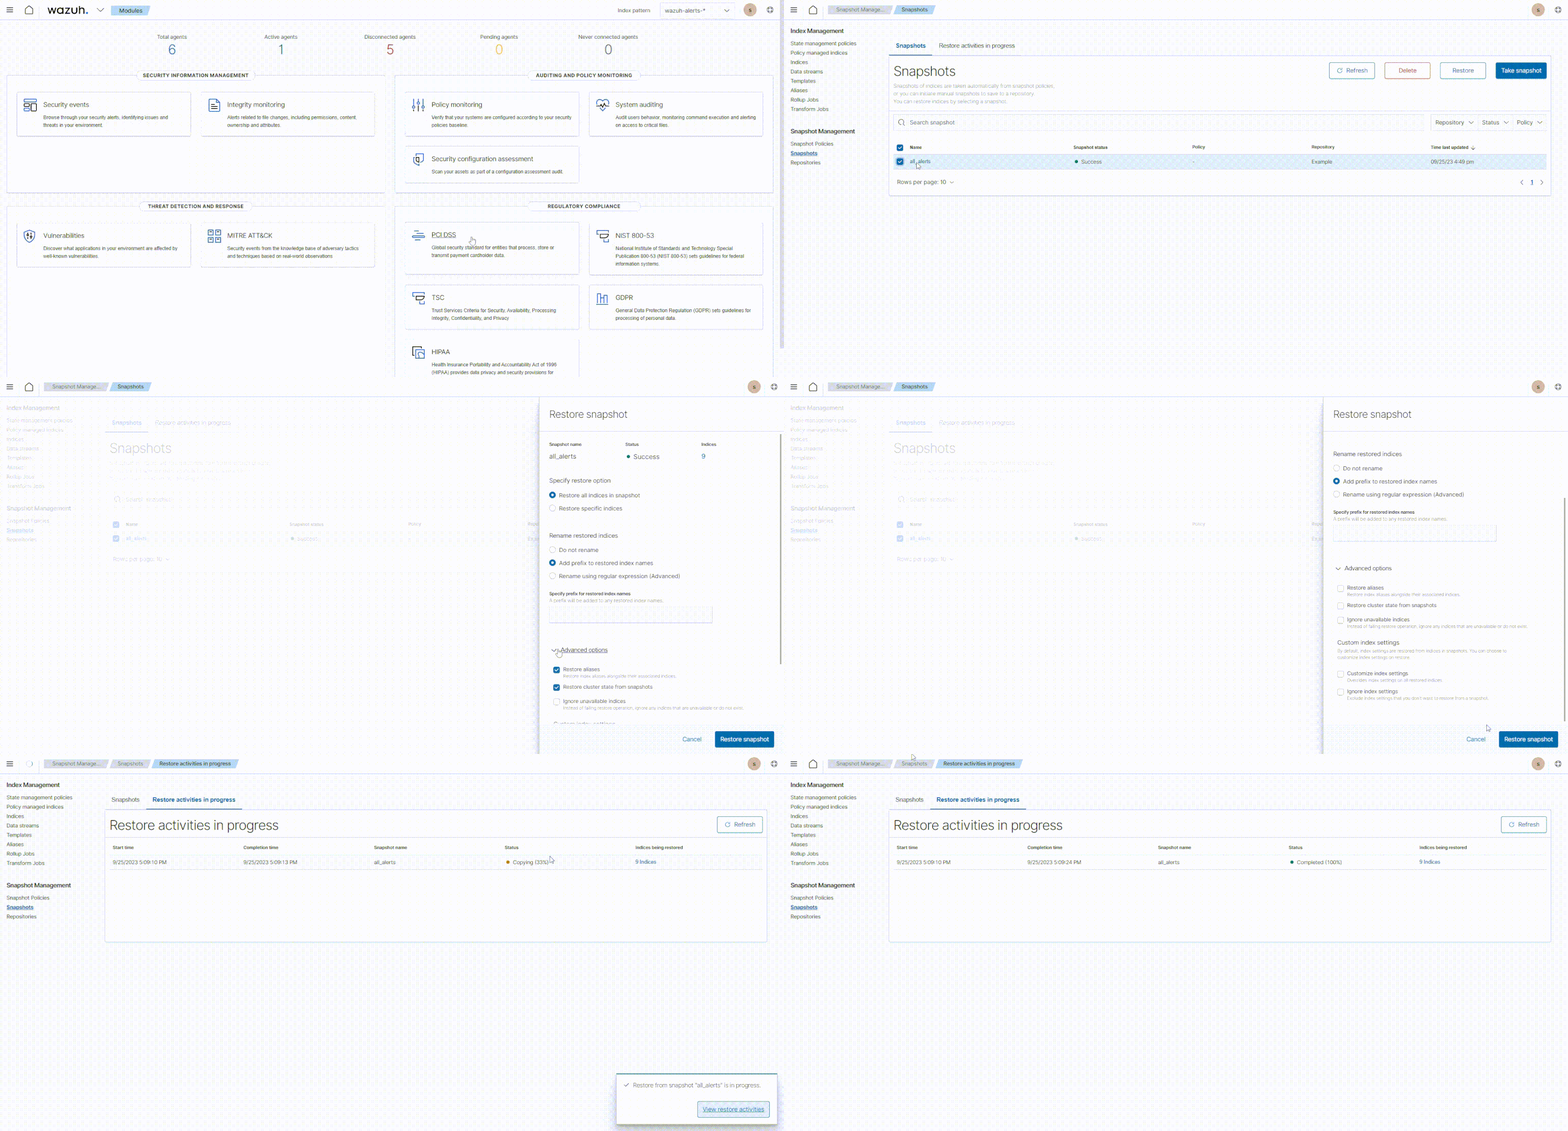
/mnt/snapshotswill show on the destination Wazuh cluster’s dashboard.Select the snapshot and click on Restore. Delete the
restored_prefix to restore the indices to their original names. Therestored_prefix exists to avoid conflicting index names.Select Advanced options and make sure all the options are unchecked.
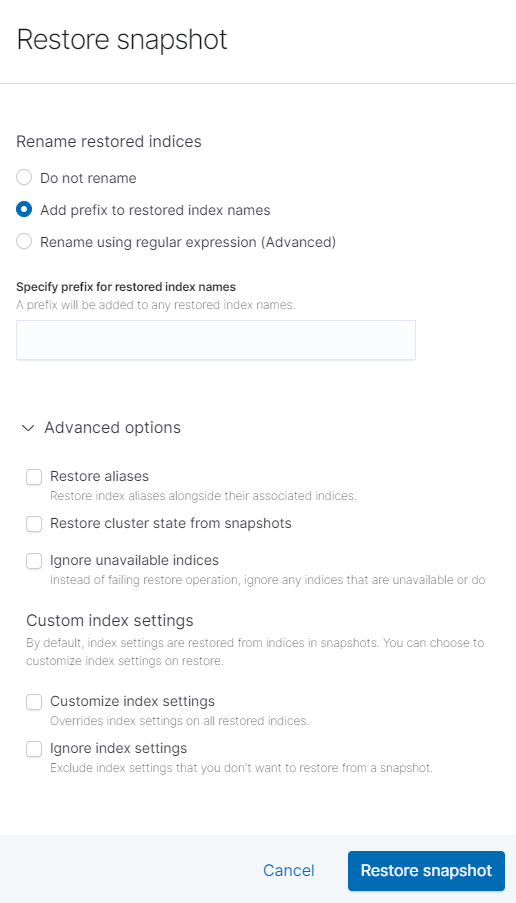
Select Restore snapshot to complete the migration process.
