Windows
Follow these steps to enroll a Windows endpoint through the Wazuh agent configuration method.
The Wazuh agent is a 32-bit application. Its installation directory depends on the Windows operating system architecture:
On a 64-bit Windows operating system, Windows installs the Wazuh agent in
C:\Program Files (x86)\ossec-agentOn a 32-bit Windows operating system, Windows installs the Wazuh agent in
C:\Program Files\ossec-agent
Use an administrator account to modify the Wazuh agent configuration file. For this guide, the examples use the 64-bit installation path:
C:\Program Files (x86)\ossec-agent\ossec.confAdd the Wazuh manager IP address or fully qualified domain name (FQDN). The setting depends on the Wazuh agent version:
Wazuh 5.0 agents:
<ossec_config>
  <agent>
    <manager>
      <endpoint><WAZUH_MANAGER_IP_ADDRESS></endpoint>
    </manager>
  </agent>
</ossec_config>
Wazuh 4.x agents:
<ossec_config>
  <client>
    <server>
      <address><WAZUH_MANAGER_IP_ADDRESS></address>
      ...
    </server>
  </client>
</ossec_config>
This setting allows the Wazuh agent to connect to the Wazuh manager and request a client key automatically.
Note
(4.x only) If you have a Wazuh manager cluster, you can add multiple
<server>sections that point to the worker nodes. Refer to pointing agents to the cluster (Failover mode) for more information.(Optional) Add enrollment parameters.
Wazuh 5.0 agents:
<ossec_config>
  <agent>
    <enrollment>
      <agent_name>EXAMPLE_NAME</agent_name>
      <groups>GROUP1,GROUP2,GROUP3</groups>
      ...
    </enrollment>
  </agent>
</ossec_config>
Wazuh 4.x agents:
<ossec_config>
  <client>
    ...
    <enrollment>
      <agent_name>EXAMPLE_NAME</agent_name>
      <groups>GROUP1,GROUP2,GROUP3</groups>
      ...
    </enrollment>
  </client>
</ossec_config>
These optional enrollment parameters provide the Wazuh agent with specific information during enrollment. Some common enrollment parameters are:
<agent_name>EXAMPLE_NAME</agent_name>: Specifies the name that the Wazuh agent uses during enrollment. If you do not configure this setting, the Wazuh agent uses the endpoint hostname.<groups>GROUP1,GROUP2,GROUP3</groups>: Specifies the groups that the Wazuh agent joins during enrollment. An agent group is a collection of Wazuh agents that share the same configuration. The Wazuh manager pushes configuration settings to Wazuh agents that belong to the same group. Enrollment fails if you specify a group that does not exist. Create the required group on the Wazuh manager before you use the<groups>setting. For more information, see Grouping agents.
More optional enrollment parameters and their usage can be found here.
Restart the Wazuh agent to make the changes effective.
# Restart-Service -Name wazuh# net stop wazuh # net start wazuh
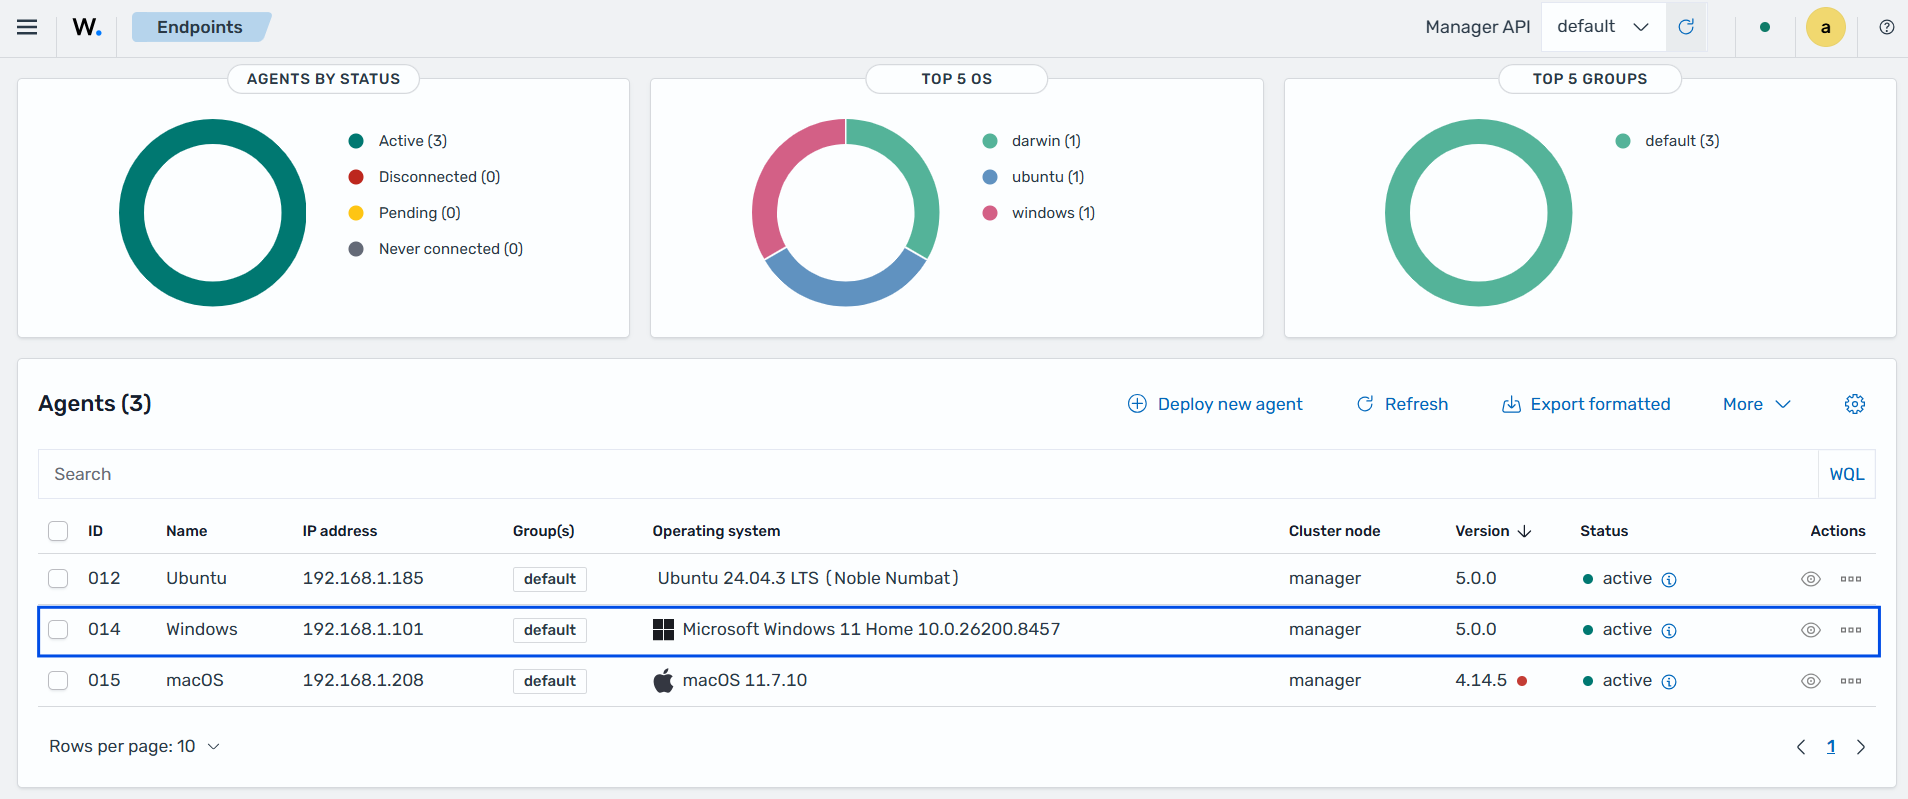
Click on the upper-left menu icon and navigate to Agents management > Summary on the Wazuh dashboard to check for the newly enrolled Wazuh agent and its connection status. If the enrollment was successful, the Wazuh dashboard displays an interface similar to the image below.