Network IDS integration
Wazuh integrates with a network-based intrusion detection system (NIDS) to enhance threat detection by monitoring and analyzing network traffic.
In this use case, you integrate Suricata with Wazuh. Suricata provides additional insights into your network's security with its network traffic inspection capabilities.
Infrastructure
Endpoint |
Description |
|---|---|
Ubuntu 24.04 |
This is the endpoint where you install Suricata. In this use case, Wazuh monitors and analyzes the network traffic generated on this endpoint. |
Configuration
Take the following steps to configure Suricata on the Ubuntu endpoint and send the generated logs to the Wazuh manager.
Ubuntu endpoint
Install Suricata on the Ubuntu endpoint. We tested this process with version 8.0.6:
$ sudo add-apt-repository ppa:oisf/suricata-stable
$ sudo apt-get update
$ sudo apt-get install suricata -y
Download the Suricata ruleset:
$ sudo suricata-update
Modify Suricata settings in the
/etc/suricata/suricata.yamlfile and set the following variables:HOME_NET: "<UBUNTU_IP>" EXTERNAL_NET: "any" default-rule-path: /var/lib/suricata/rules rule-files: - suricata.rules # Global stats configuration stats: enabled: yes # Linux high speed capture support af-packet: - interface: enp0s3
interfacerepresents the network interface you want to monitor. Replace the value with the interface name of the Ubuntu endpoint. For example,enp0s3. Run the following command to find the interface name:# ifconfigThe command output looks similar to this:
enp0s3: flags=4163<UP,BROADCAST,RUNNING,MULTICAST>  mtu 1500
        inet 10.0.2.15  netmask 255.255.255.0  broadcast 10.0.2.255
        inet6 fe80::9ba2:9de3:57ad:64e5  prefixlen 64  scopeid 0x20<link>
        ether 08:00:27:14:65:bd  txqueuelen 1000  (Ethernet)
        RX packets 6704315  bytes 1268472541 (1.1 GiB)
        RX errors 0  dropped 0  overruns 0  frame 0
        TX packets 4590192  bytes 569730548 (543.3 MiB)
        TX errors 0  dropped 0 overruns 0  carrier 0  collisions 0
Restart the Suricata service:
$ sudo systemctl restart suricata
Add the following configuration to the
/var/ossec/etc/ossec.conffile of the Wazuh agent. This allows the Wazuh agent to read the Suricata log file:<ossec_config> <localfile> <log_format>json</log_format> <location>/var/log/suricata/eve.json</location> </localfile> </ossec_config>
Add the
wazuhuser to thesuricatagroup to give the Wazuh agent read access to the/var/log/suricatadirectory:$ sudo usermod -aG suricata wazuh
Restart the Wazuh agent to apply the changes:
$ sudo systemctl restart wazuh-agent
Wazuh dashboard
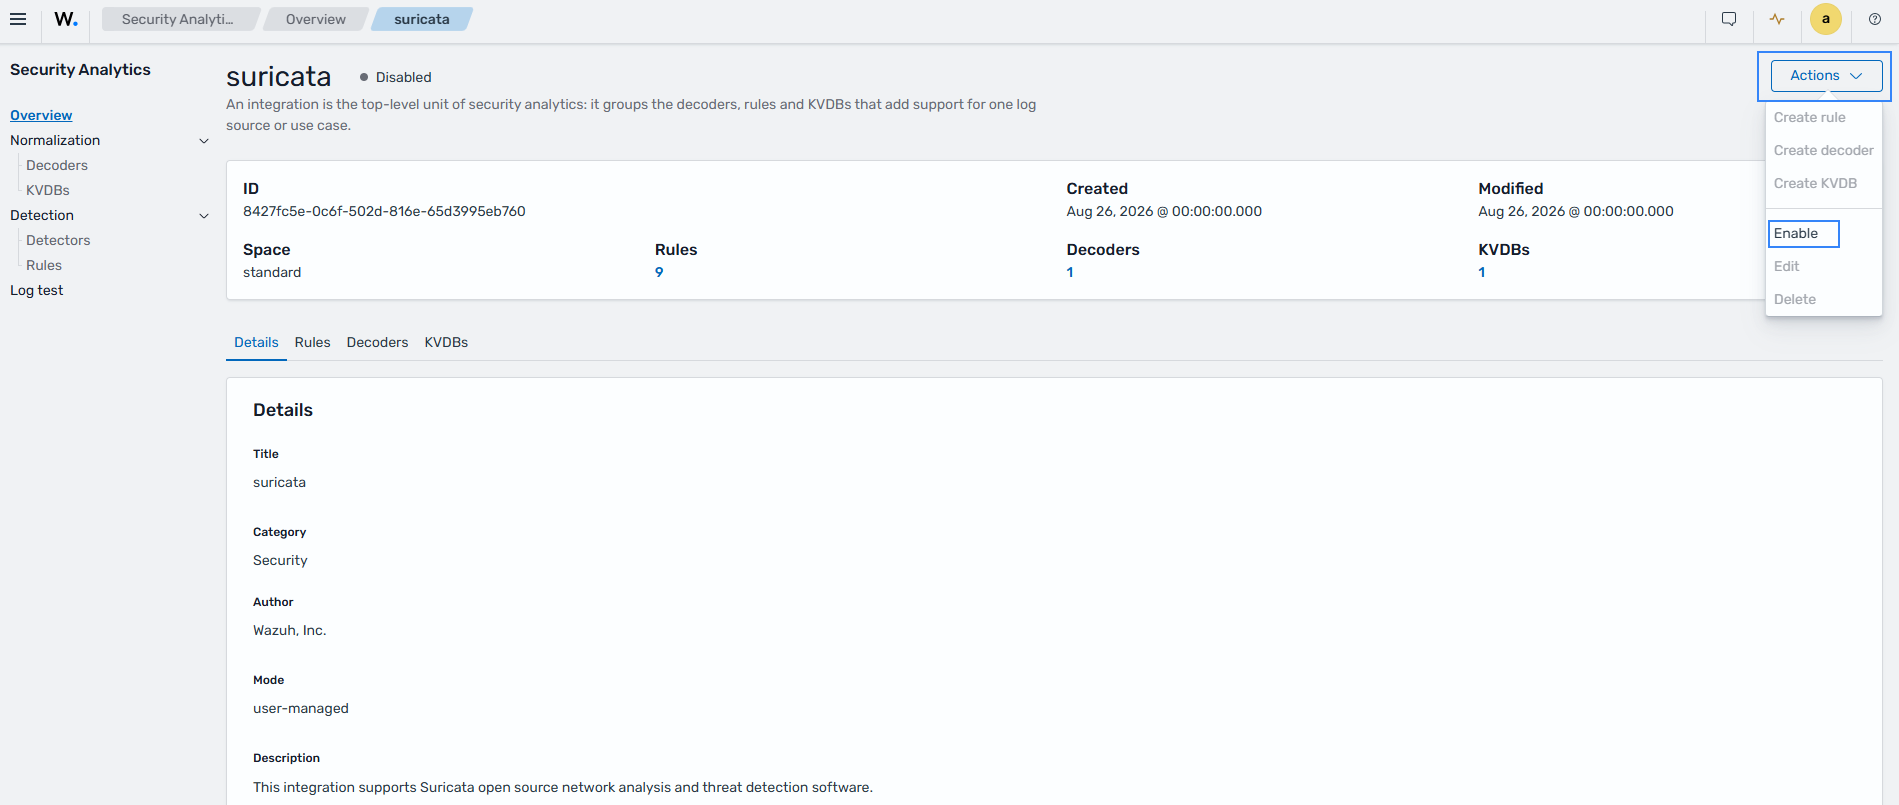
Navigate to Ruleset management > Overview.
Enter
suricatain the search box and select the suricata integration.Click the suricata integration name to open it, then click Actions and select Enable. Wait a few minutes before you generate test traffic.
Attack emulation
Wazuh automatically parses data from /var/log/suricata/eve.json and generates related findings on the Wazuh dashboard.
Run the command below on the Ubuntu endpoint to generate suspicious traffic:
$ curl -s http://1.1.1.1/
Visualize the findings
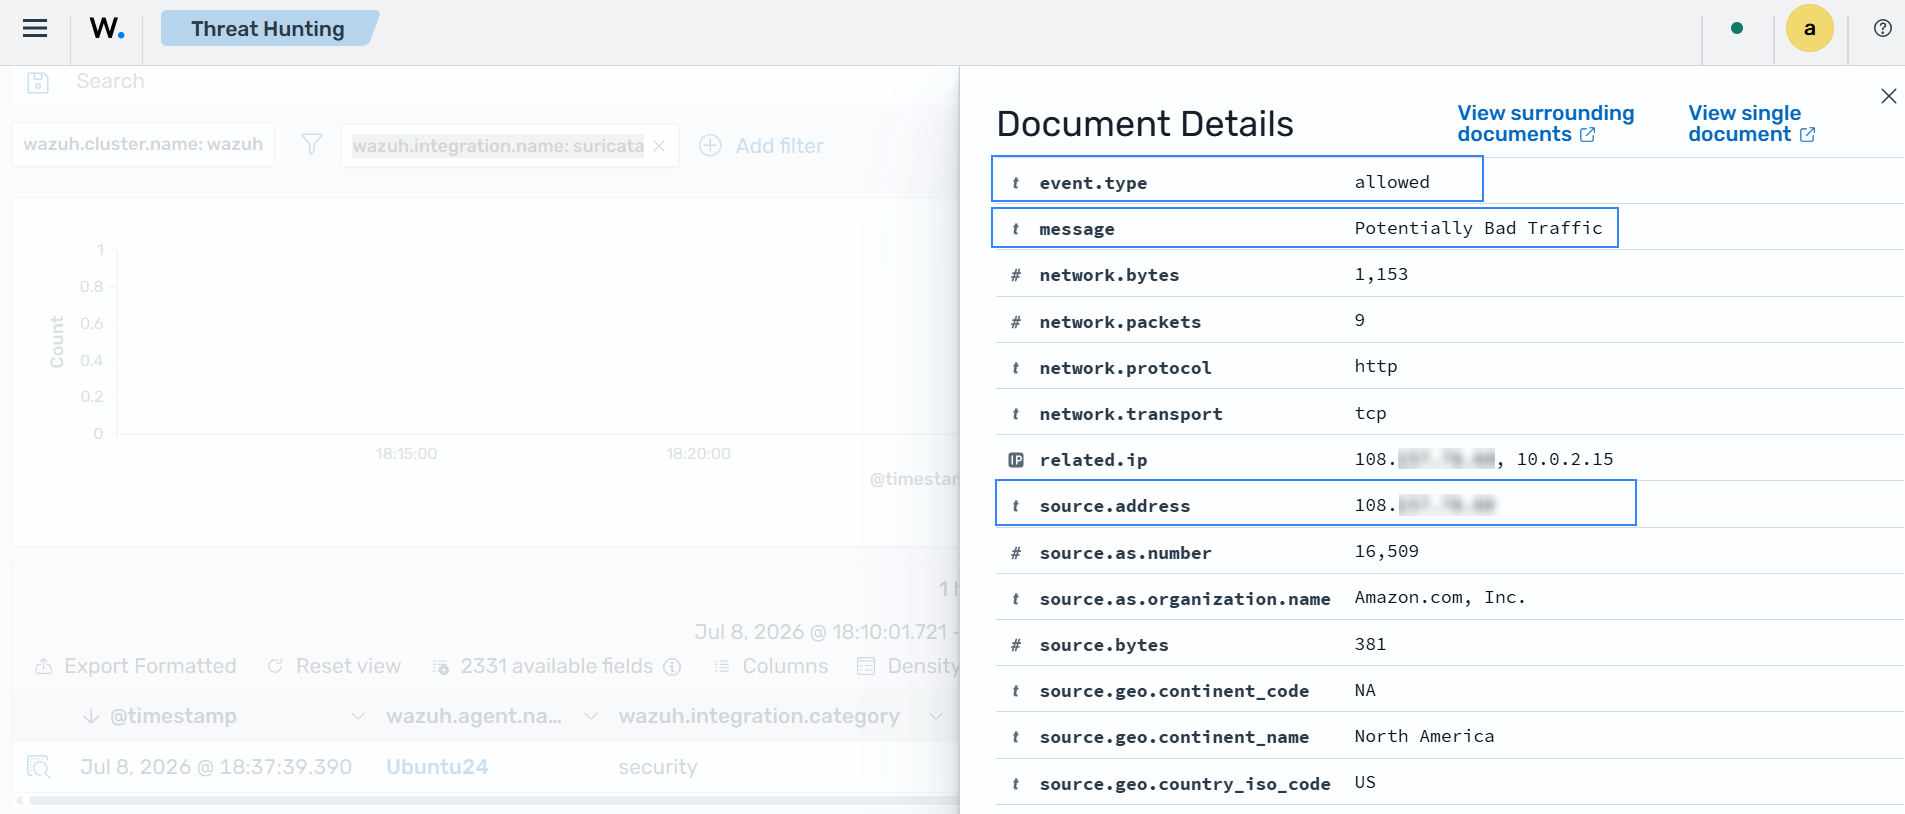
You can visualize the findings in the Wazuh dashboard. Go to Threat intelligence > Threat Hunting > Findings, then filter for wazuh.integration.name: suricata.
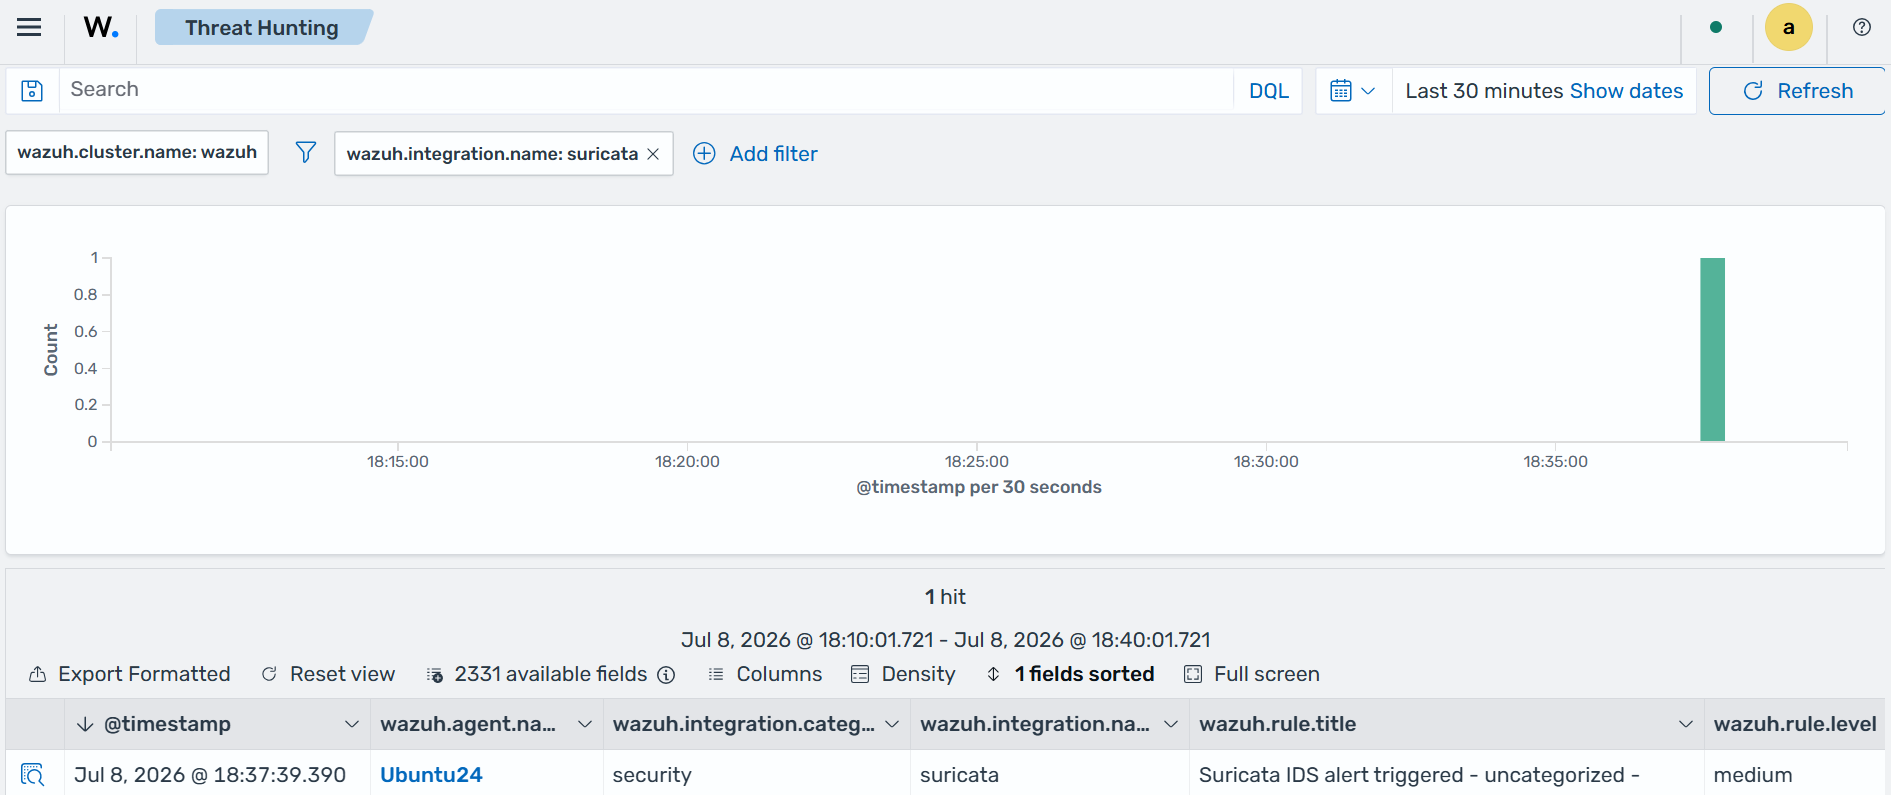
Click the magnifying glass icon to view the finding details, including the source and destination IP addresses.