Detecting known malicious files with a custom hash blocklist
In this use case, you create a custom integration that detects files whose SHA256 hash is in a custom blocklist. It uses a KVDB to store the hashes, a decoder that looks up the hash of every file the Wazuh File Integrity Monitoring (FIM) module reports, and a detection rule that generates a finding when the hash is in the blocklist.
Note
Findings from custom integrations appear in the Threat Hunting dashboard. The Malware Detection dashboard shows findings enriched with Wazuh CTI IOCs.
Configure the Linux endpoint
This use case uses a harmless test file as a stand-in for a malware sample. Perform the following steps on an Ubuntu 24.04 endpoint.
Get the SHA256 hash of the test file content. Add this hash to the blocklist in the next section:
$ echo "Wazuh custom malware hash test" | sha256sum
The command output looks similar to this:
20027df32310861b6deaab6cc5cd41ded2980b2462296131353c0b98f8bccb4c -
Add the following configuration to the Wazuh agent
/var/ossec/etc/ossec.conffile to monitor the/home/ubuntu/Downloadsdirectory in real time:<ossec_config> <syscheck> <directories check_all="yes" realtime="yes">/home/ubuntu/Downloads</directories> </syscheck> </ossec_config>
Restart the Wazuh agent to apply the changes:
$ sudo systemctl restart wazuh-agent
Configure the Wazuh dashboard
Perform the following steps on the Wazuh dashboard to create the custom integration. Make sure the space selector reads Draft.
Go to Ruleset management → Overview → Integrations → Actions → Create, enter the following values, and click Create integration:
Title:
fim-hash-blocklistCategory: System Activity
Author: Security Team
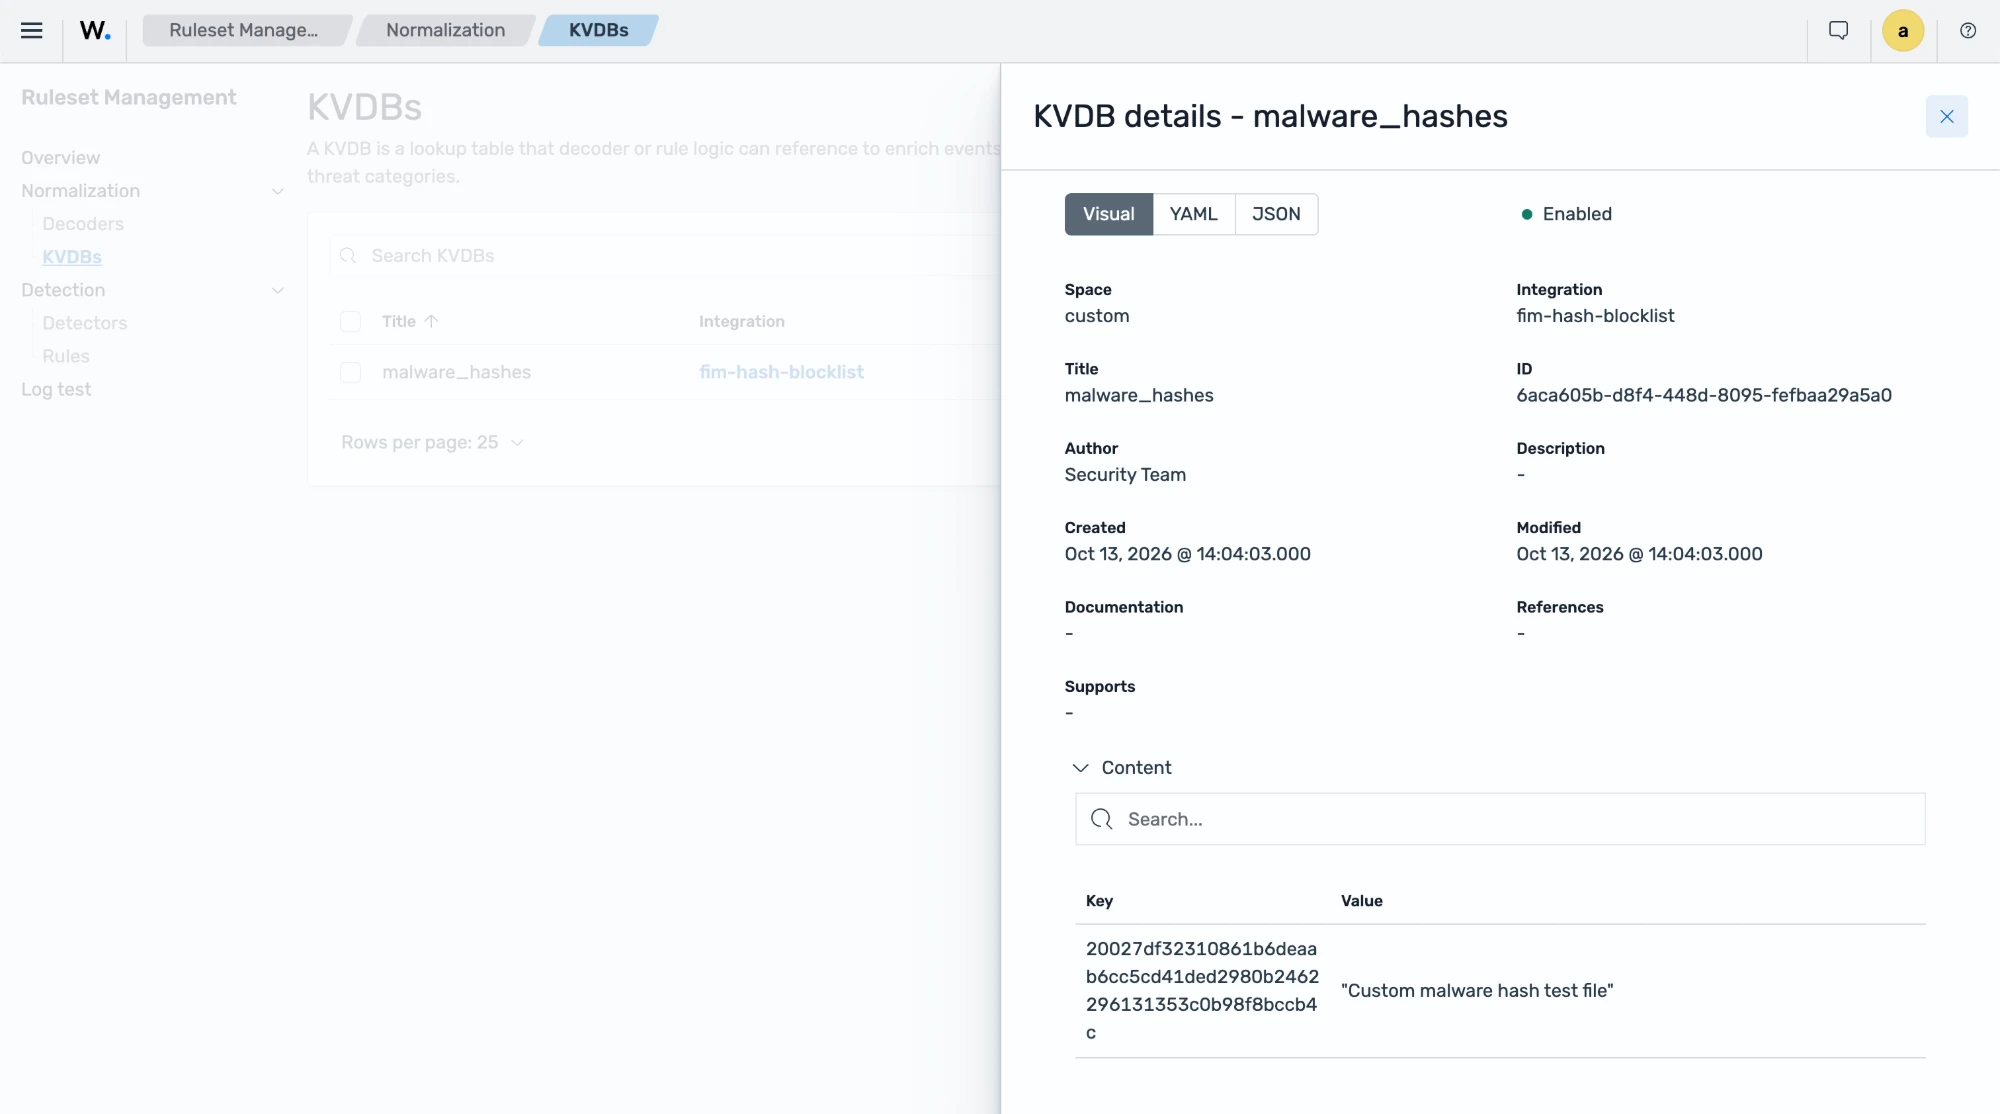
Go to Ruleset management → Normalization → KVDBs → Actions → Create, select the
fim-hash-blocklistintegration, and enter the following values. Click Create KVDB.Title:
malware_hashes. The decoder refers to the KVDB by this title.Author: Security Team
Content: key
20027df32310861b6deaab6cc5cd41ded2980b2462296131353c0b98f8bccb4c, valueCustom malware hash test file. Add one entry for each hash you want to detect.
Go to Ruleset management → Normalization → Decoders → Actions → Create, select the
fim-hash-blocklistintegration, paste the following root decoder in the YAML Editor, and click Create decoder. Skip this step if your custom space already has thedecoder/core-wazuh-message/0root decoder.name: "decoder/core-wazuh-message/0" metadata: author: "Wazuh, Inc." description: "Base decoder to process Wazuh message format, parses location part\ \ and enriches the events that comes from a Wazuh agent with the host information." documentation: "" references: - "https://documentation.wazuh.com/" supports: [] title: "Wazuh message decoder" normalize: - map: - _tmp_json: "parse_json($event.original)" enabled: true
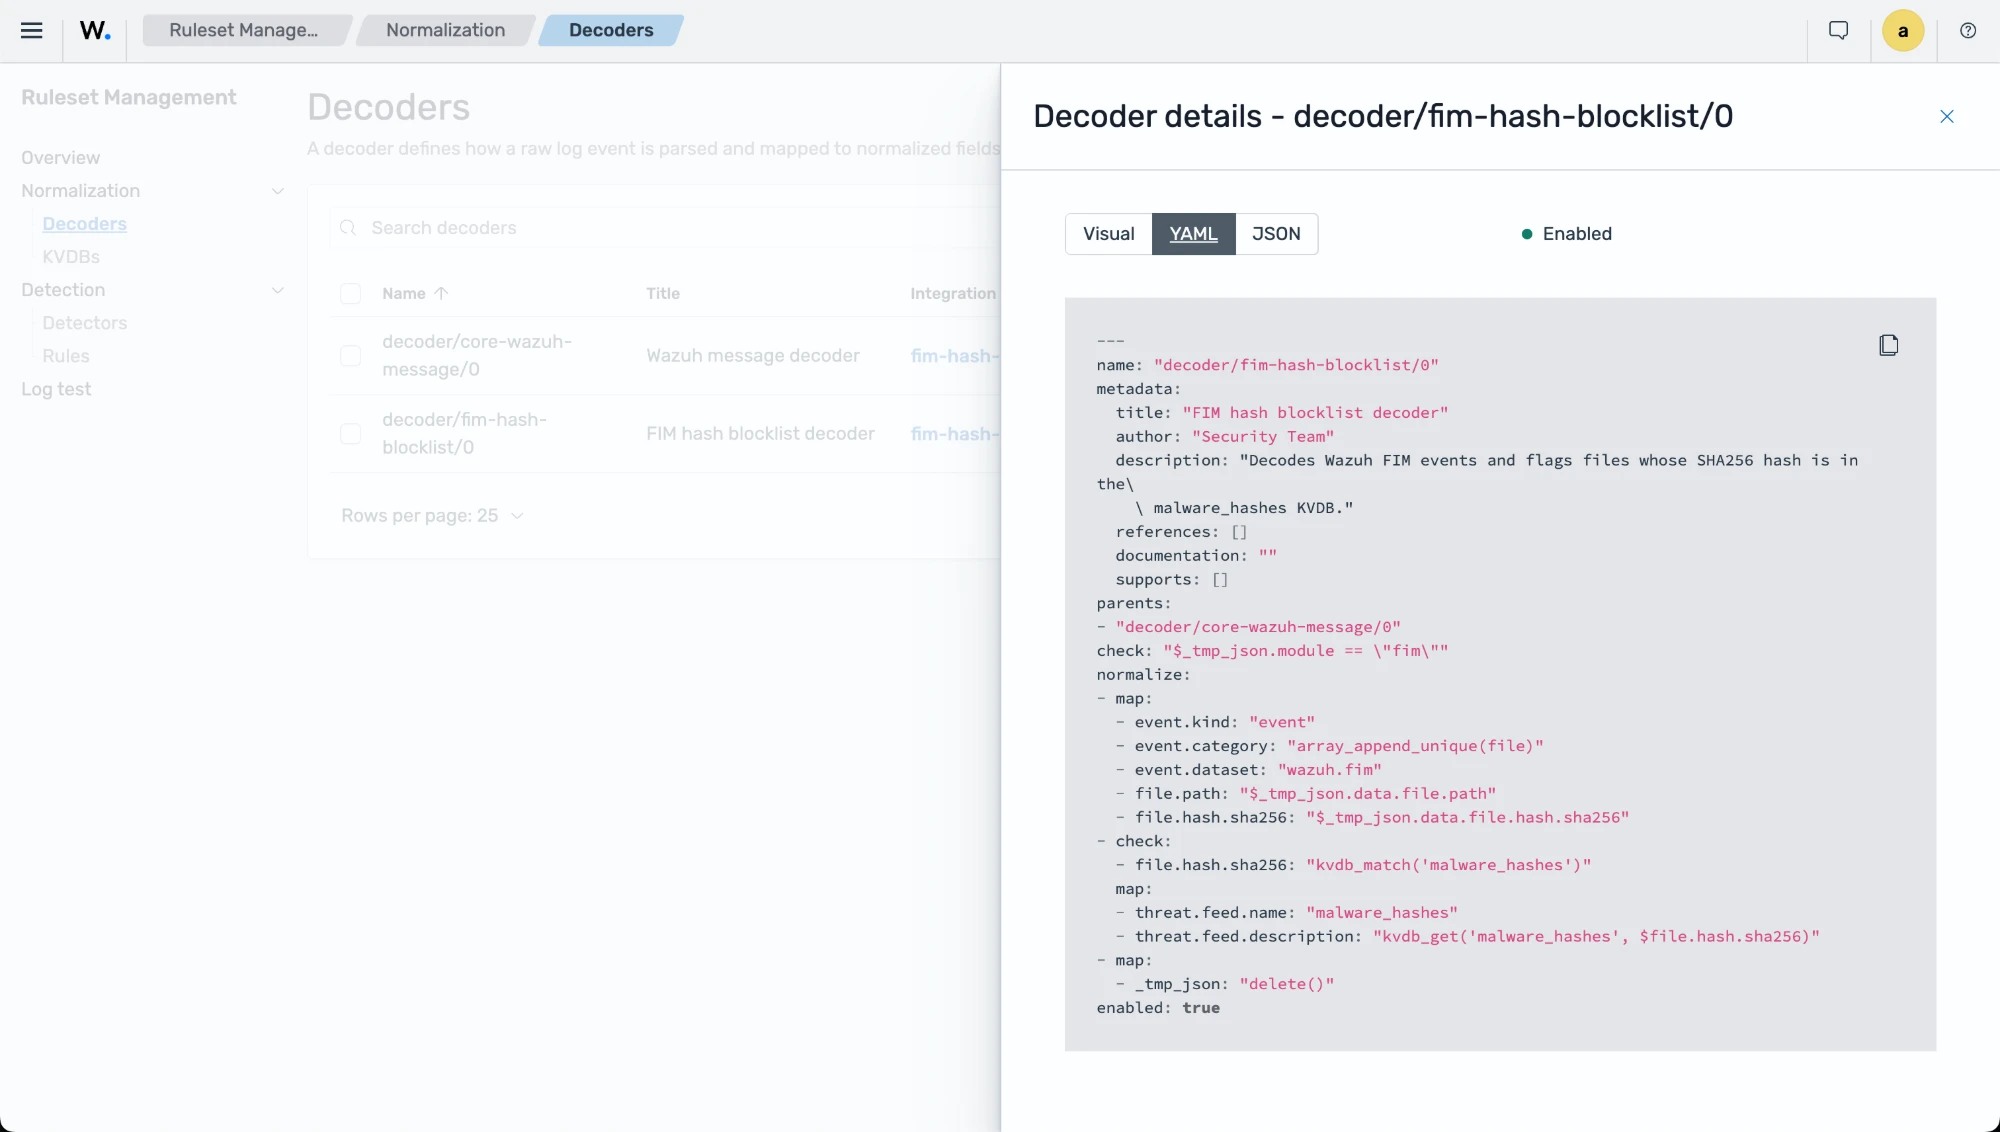
Create a second decoder in the same integration with the following content. It decodes FIM events and, when the file hash is a key in the
malware_hashesKVDB, adds thethreat.feedfields.name: "decoder/fim-hash-blocklist/0" metadata: title: "FIM hash blocklist decoder" author: "Security Team" description: "Decodes Wazuh FIM events and flags files whose SHA256 hash is in the malware_hashes KVDB." references: [] documentation: "" supports: [] parents: - "decoder/core-wazuh-message/0" check: "$_tmp_json.module == \"fim\"" normalize: - map: - event.kind: "event" - event.category: "array_append_unique(file)" - event.dataset: "wazuh.fim" - file.path: "$_tmp_json.data.file.path" - file.hash.sha256: "$_tmp_json.data.file.hash.sha256" - check: - file.hash.sha256: "kvdb_match('malware_hashes')" map: - threat.feed.name: "malware_hashes" - threat.feed.description: "kvdb_get('malware_hashes', $file.hash.sha256)" - map: - _tmp_json: "delete()" enabled: true
Go to Ruleset management → Overview → Actions → Edit, confirm the status is Enabled, select
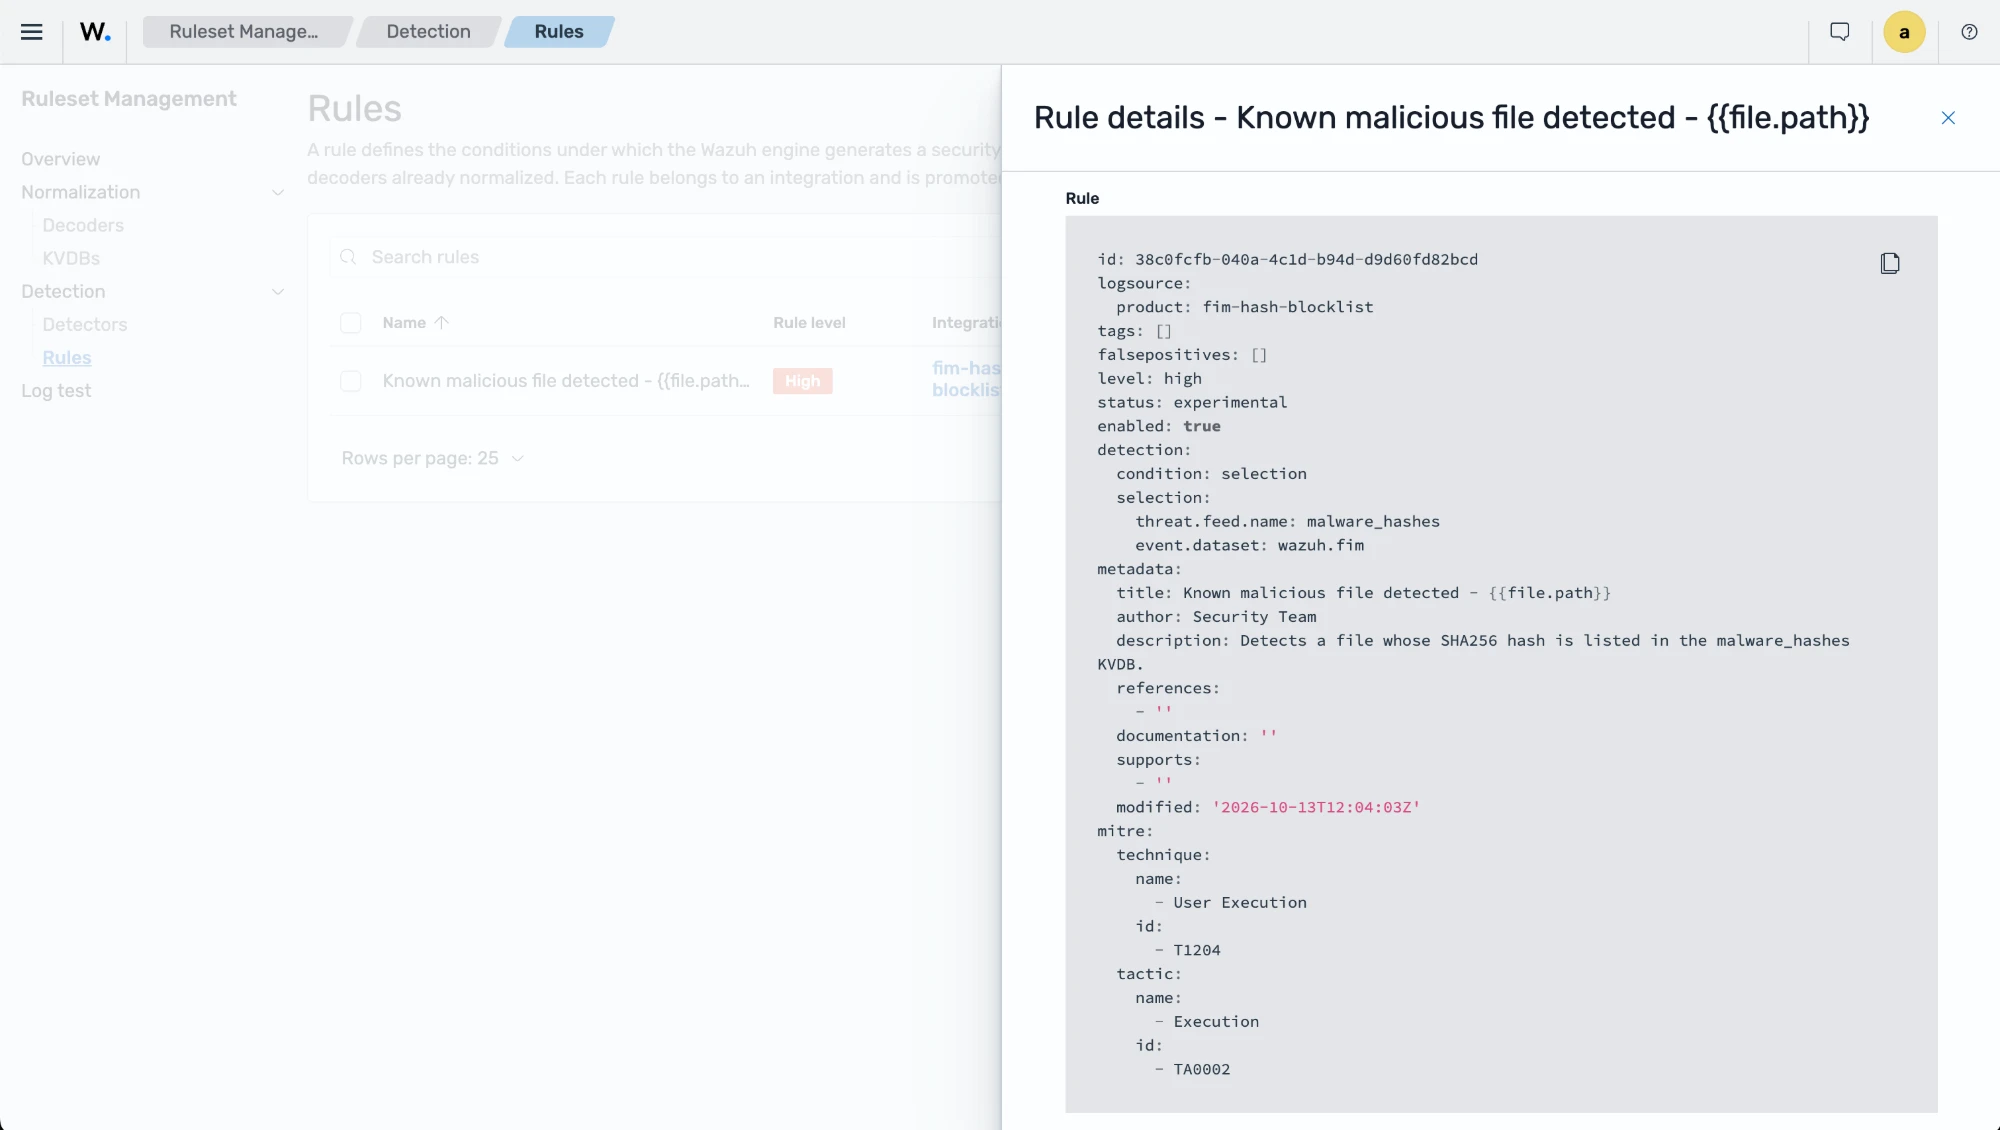
decoder/core-wazuh-message/0under Root decoder, and click Save.Go to Ruleset management → Detection → Rules → Actions → Create, select YAML Editor, choose the
fim-hash-blocklistintegration, paste the following rule, and click Create rule:logsource: product: fim-hash-blocklist level: high status: experimental enabled: true detection: condition: selection selection: event.dataset: wazuh.fim threat.feed.name: malware_hashes metadata: title: Known malicious file detected - {{file.path}} author: Security Team description: Detects a file whose SHA256 hash is listed in the malware_hashes KVDB. references: [] documentation: '' supports: [] mitre: tactic: id: - TA0002 name: - Execution technique: id: - T1204 name: - User Execution
Go to Ruleset management → Overview, click Actions → Promote, type the confirmation message, and click Promote to promote the content from Draft to Test. Switch the space selector to Test and repeat to promote the content to Custom. In the Custom space, the overview shows the
fim-hash-blocklistintegration and the root decoder: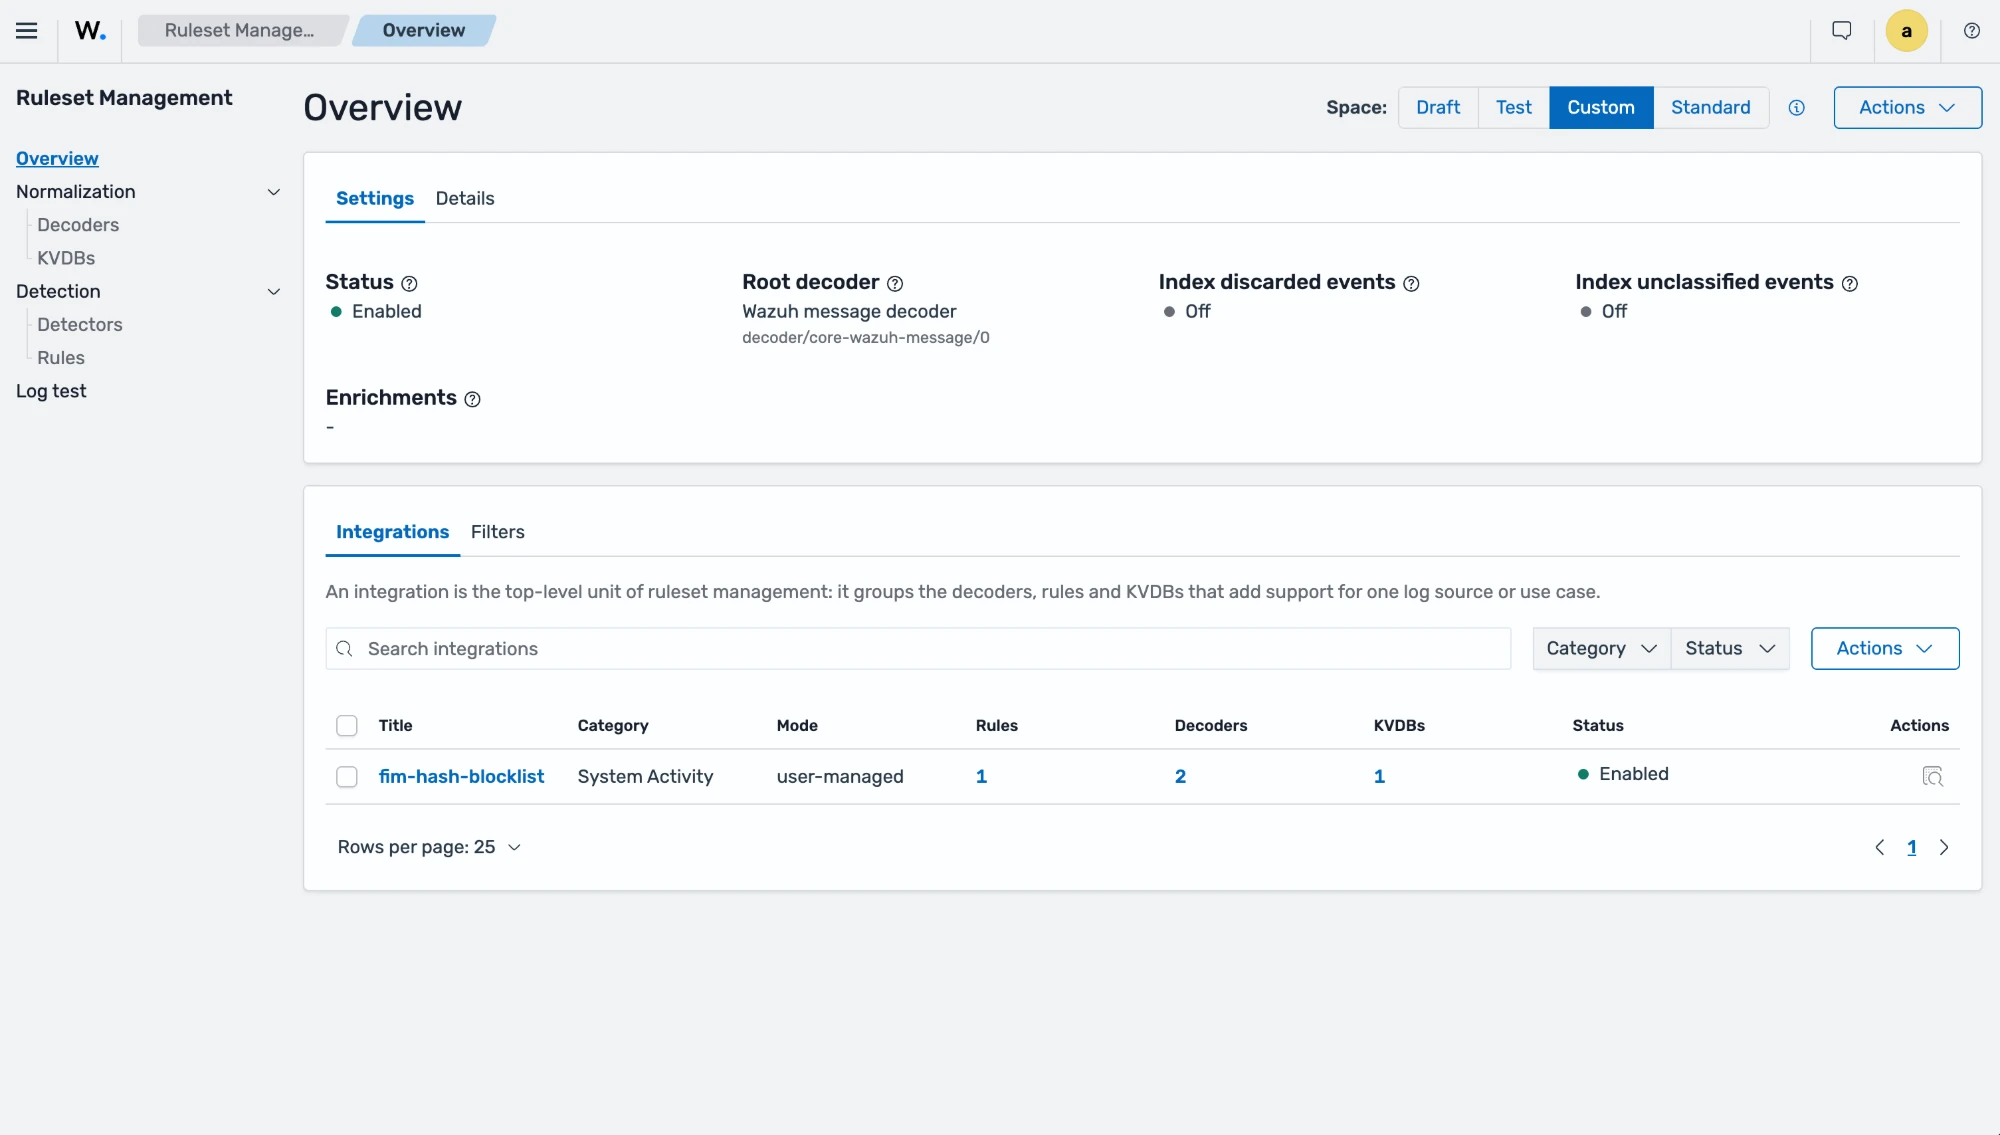
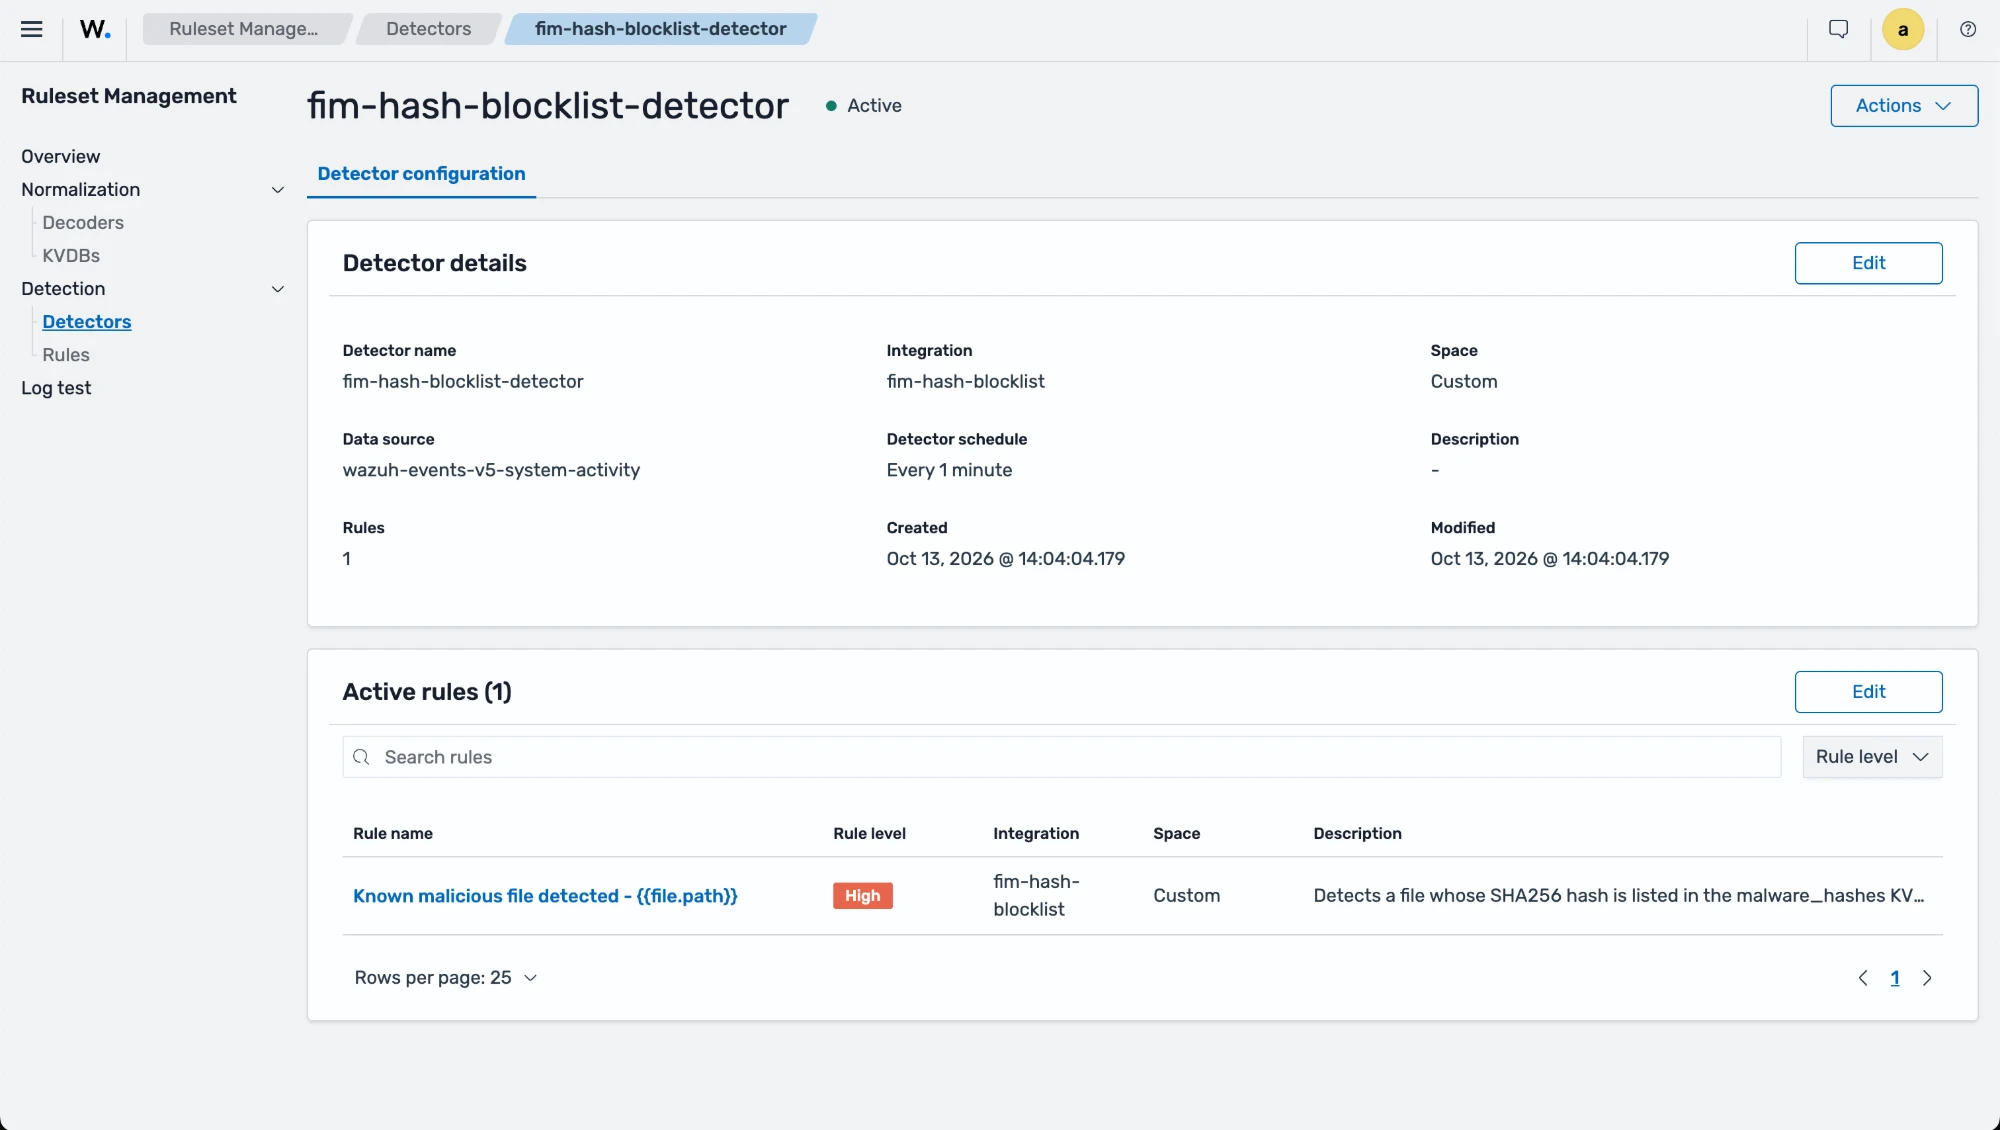
Go to Ruleset management → Detection → Detectors → Create detector, enter the following values, and click Create detector:
Name:
fim-hash-blocklist-detectorSelect indexes/aliases:
wazuh-events-v5-system-activitySpace: Custom
Integration:
fim-hash-blocklistRun every: 1 minute
Note
The Wazuh manager loads the custom space content periodically. Wait about two minutes after promoting the content to the Custom space before you test the configuration.
Test the configuration
Create the test file in the monitored directory of the Linux endpoint:
$ echo "Wazuh custom malware hash test" > /home/ubuntu/Downloads/malware_test.txt
Visualize the findings
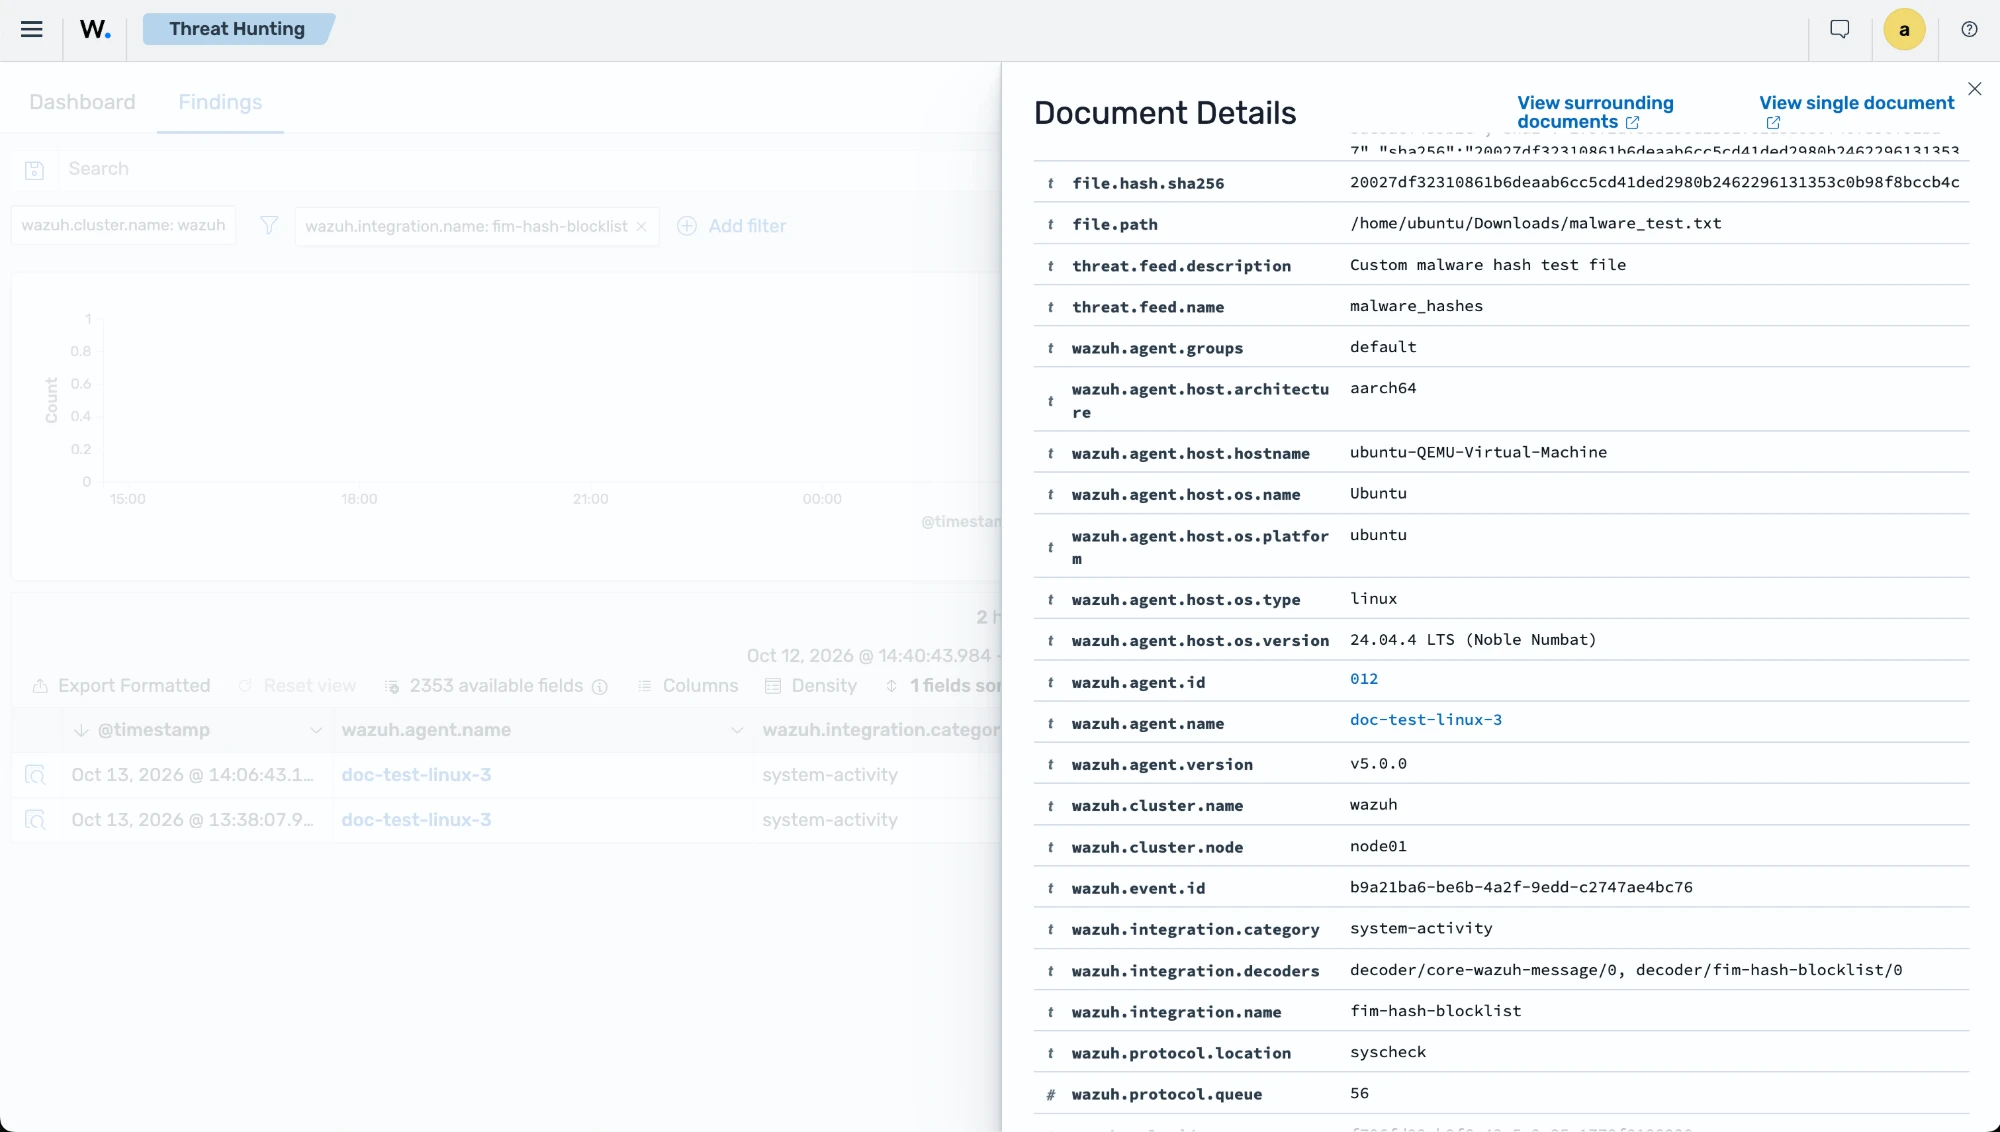
Navigate to Threat intelligence → Threat Hunting and select the Findings tab. A Known malicious file detected - /home/ubuntu/Downloads/malware_test.txt finding appears with level high. Add the filter wazuh.integration.name: fim-hash-blocklist to show only the findings of this integration.
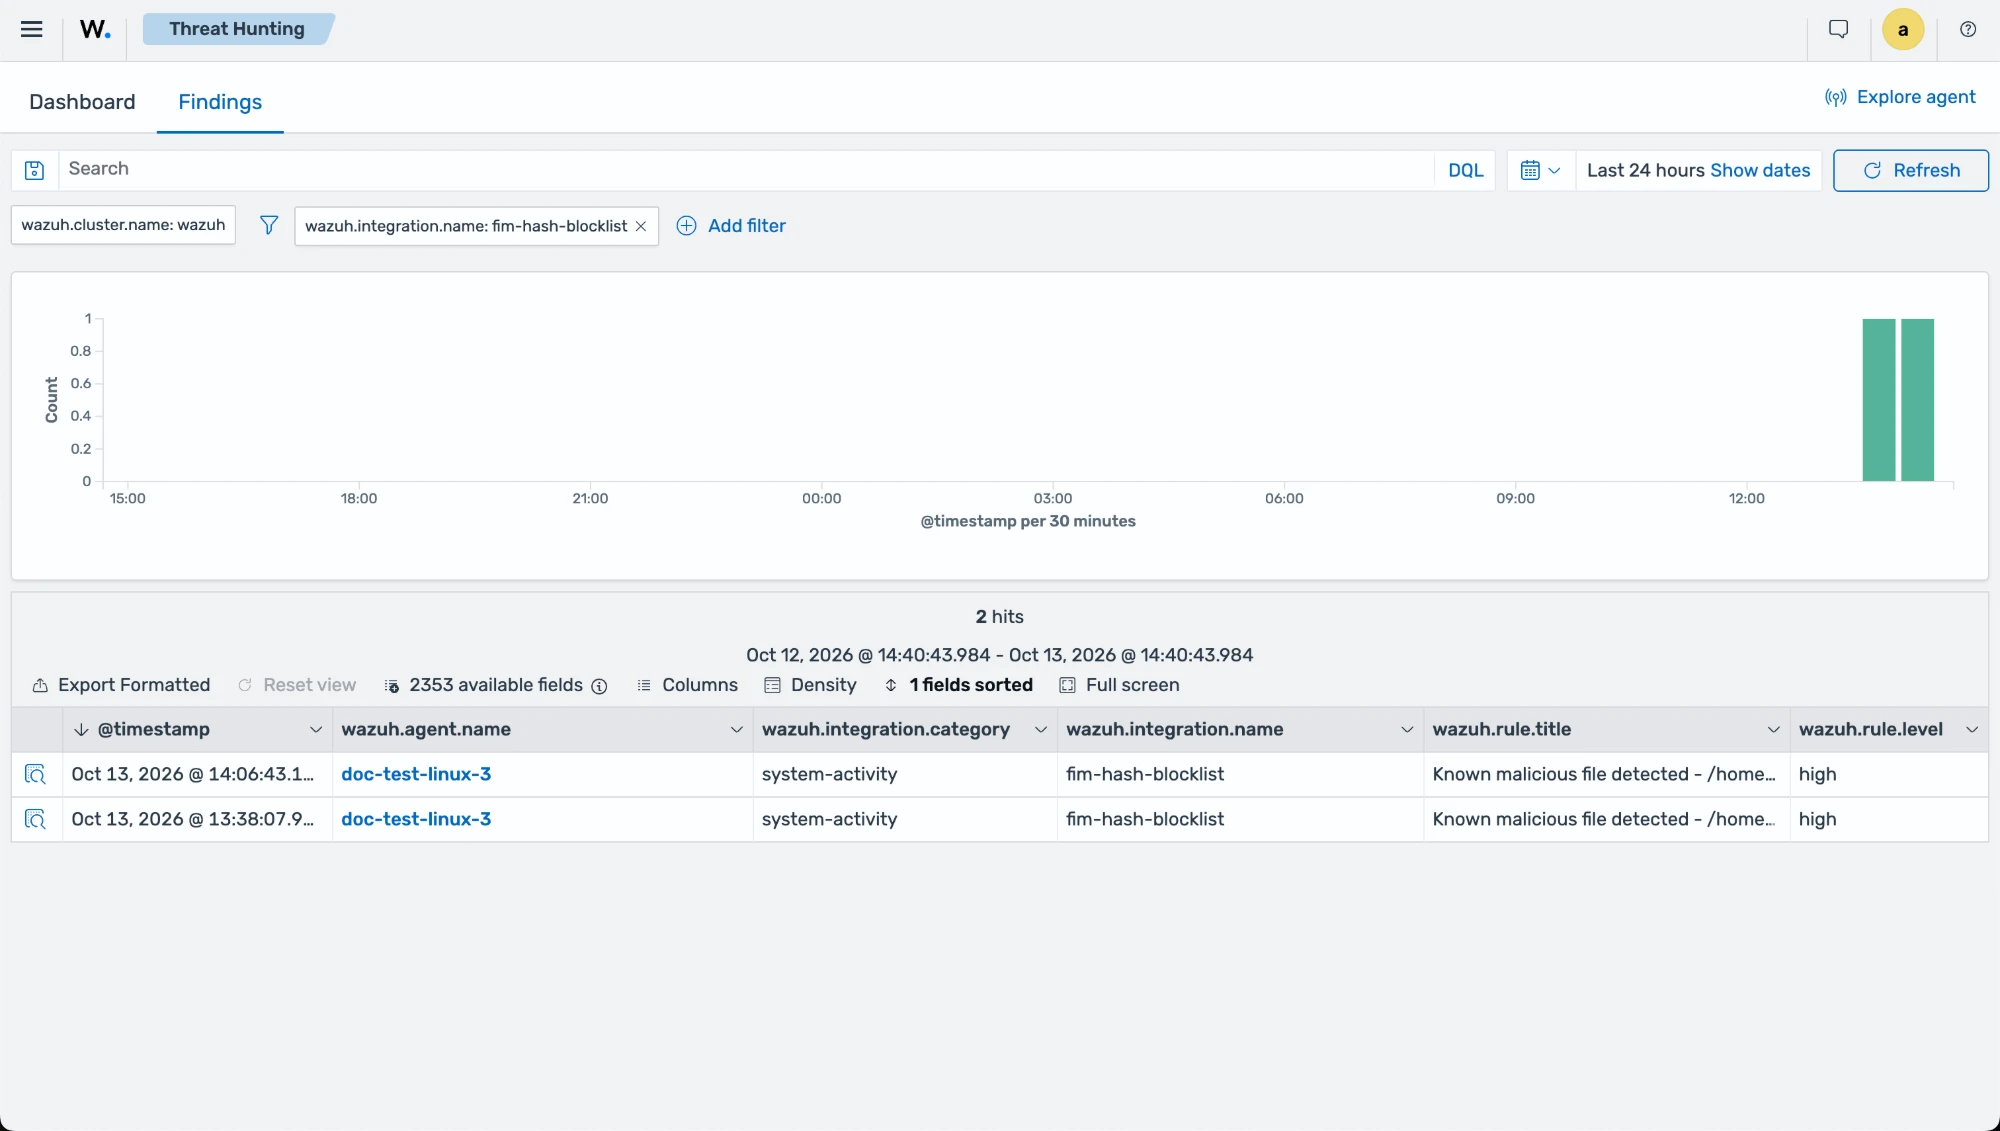
Expand the finding to see the file hash, the file path, and the threat.feed.name and threat.feed.description values from the KVDB entry.