Reporting module
The Reporting module generates customizable reports from data stored in the Wazuh indexer. Most of these data originate from the Wazuh manager, which collects security events from enrolled agents and forwards the normalized results to the Wazuh indexer. The reporting module supports both scheduled and on-demand report generation, with delivery by email or on-demand download through the Wazuh dashboard. Users can create, read, update, and delete custom reports, with all actions governed by the Role-Based Access Control (RBAC) permissions of the Wazuh indexer.
Email notifications
The Reporting module supports email notifications for report delivery. To configure an email notification, perform the steps below on the Wazuh dashboard:
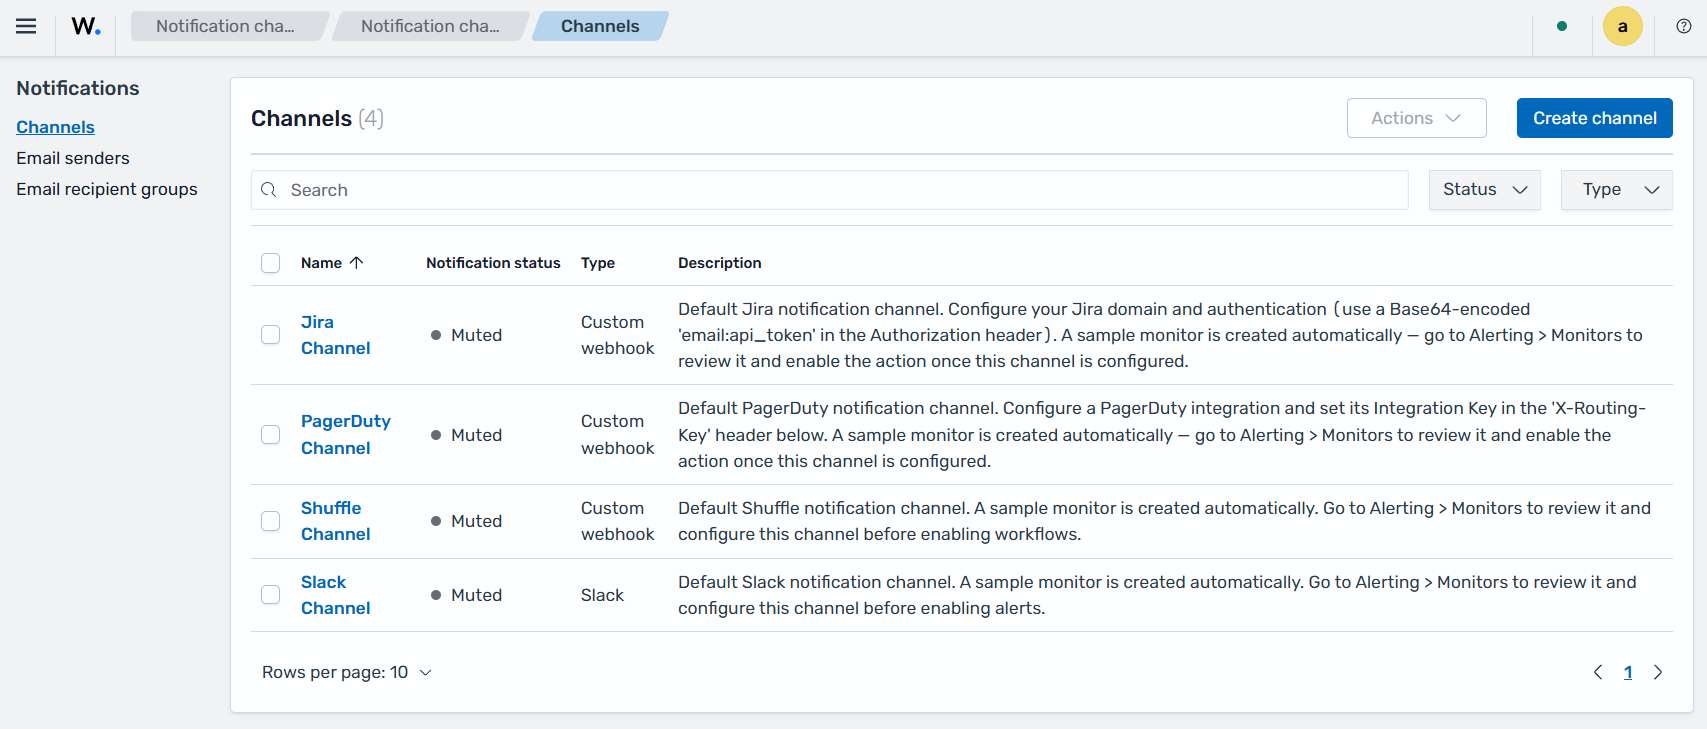
Navigate to Explore > Notifications > Channels and click Create channel.
Enter a name (for example, Email notifications).
Select Email as the channel type.
Check SMTP sender as the sender type.
Click Create SMTP sender.
Enter a name (for example, wazuh).
Enter an email address.
In Host, type your SMTP server domain name (for example, smtp.gmail.com).
In Port, type 465 (adapt this to your SMTP server settings).
Select None as the encryption method or your preferred encryption method.
Click Create.
Click Create recipient group.
Enter a name (for example, email-notifications-recipient-group).
In Emails, type your email addresses.
Click Create.
Click Send test message. A green confirmation message appears on success.
Click Create.
Creating reports
The Reporting module generates reports from dashboards, visualizations, and saved searches. You can configure report definitions to generate reports on demand or according to a predefined schedule, with optional notifications when a report becomes available.
Create a report definition
Before creating a report definition, save the dashboard, visualization, or saved search that you want to include in the report.
Navigate to Explore > Reporting.
Click Create in the Report definitions section.
Configure the report definition by specifying:
The report name and an optional description.
The report source (Dashboard, Visualization, or Saved search).
The source object.
The time range.
The output format.
The report trigger (On demand or Schedule).
Optional notification settings.
Click Create.
Depending on the selected report source, you can generate:
PDF or PNG reports from dashboards and visualizations.
CSV or XLSX reports from saved searches.
Generate and download a report
After creating a report definition, you can generate a report immediately or allow it to be generated automatically according to its configured schedule.
Navigate to Explore > Reporting.
In the Report definitions section, locate the report definition.
Click Generate report.
The Generate report option is available only for On demand report definitions. Report definitions configured with a scheduled trigger are generated automatically.
After the report is generated, it appears in the Reports section, where you can download it.
Note
You can also generate a CSV or XLSX report directly from a saved search in Explore > Discover without creating a report definition. An available index pattern is required.
Managing permissions via RBAC
The Reporting module uses the Wazuh indexer RBAC system to manage permissions. Users must have the appropriate roles assigned to create, read, update, or delete reports. Roles are managed in the Wazuh dashboard under Index Management > Security > Roles.
The following permissions are available:
# |
Permissions |
|---|---|
1 |
|
2 |
|
3 |
|
4 |
|
5 |
|
6 |
|
7 |
|
8 |
|
9 |
|
Several predefined roles are available to manage these permissions:
Role |
Permissions included |
|---|---|
|
5 to 9 |
|
7 to 9 |
|
1 to 9 |