Configuring AWS IAM Identities
In AWS Identity and Access Management (IAM), an identity represents a human user or programmatic workload that can be authenticated and authorized to perform actions in AWS. The Wazuh module for AWS requires authentication and authorization through an IAM identity to integrate with supported AWS services.
In the following sections, we describe how to create an IAM user group, how to create an AWS IAM user with access credentials, and how to add the user to the group.
Creating an IAM user group
Create a user group that an AWS IAM user will be added to.
On the AWS console, search for
iamand click IAM from the results.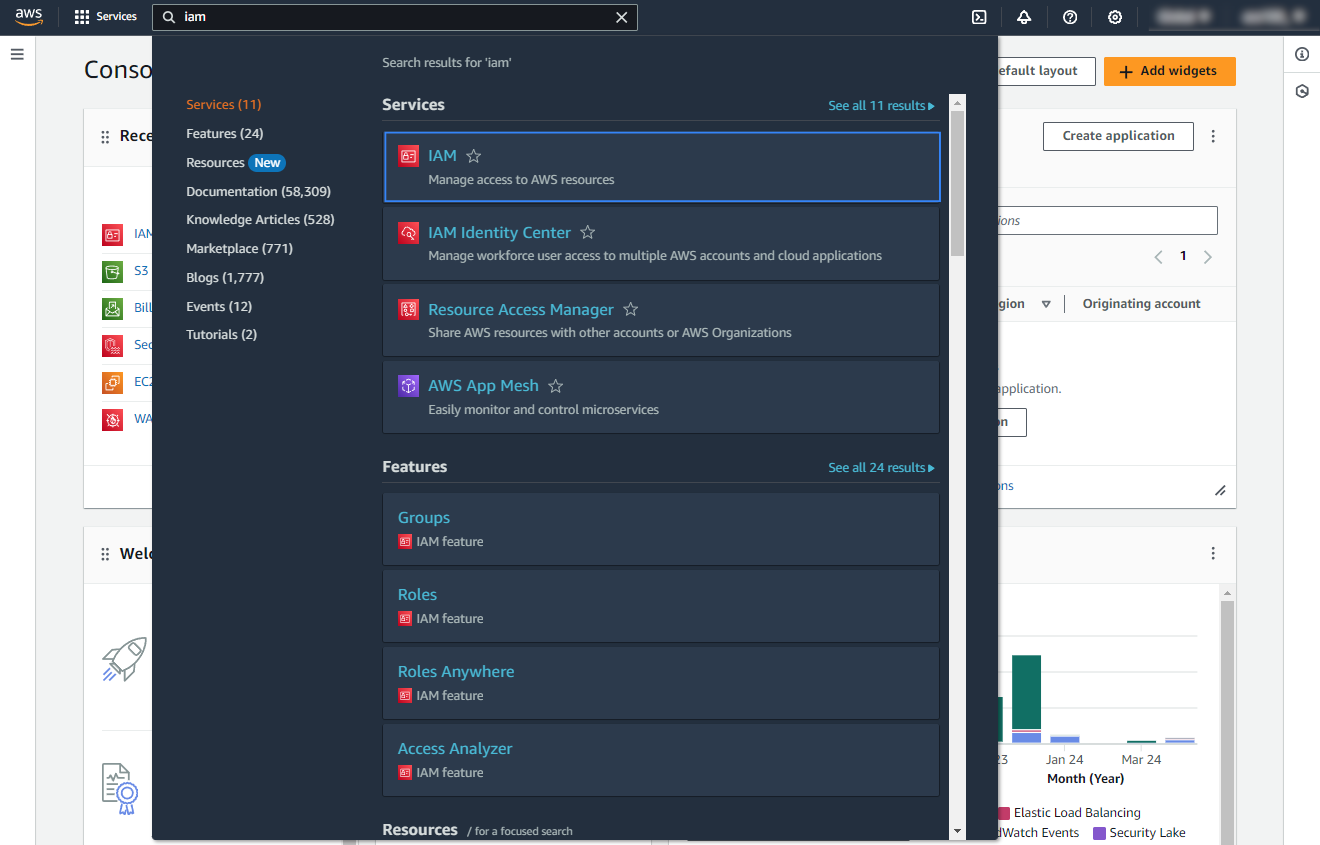
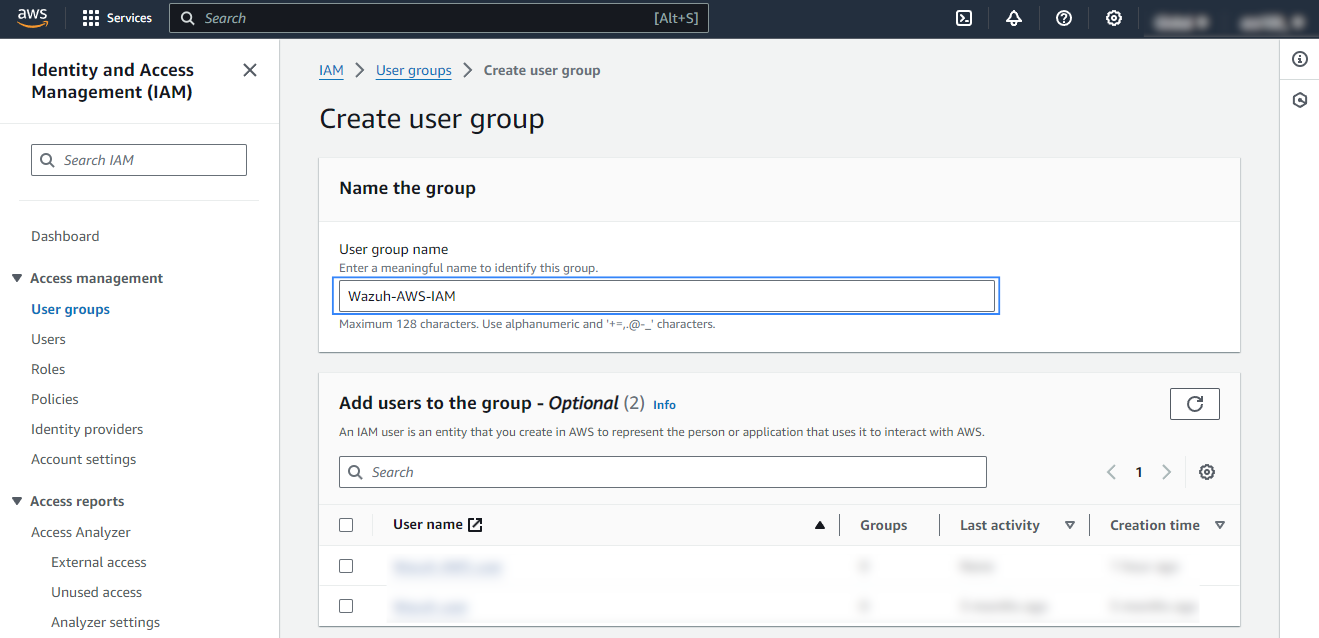
Go to User groups and click Create group to create a new group.

Assign a name for the group, scroll down, and click Create group.

Confirm the group has been successfully created.

Creating an IAM user
Wazuh requires an AWS IAM user with the necessary permissions to collect log data from the different AWS services. We show below how to create a new IAM user in your AWS environment and obtain the access credentials.
Create a new IAM user and add it to a user group:
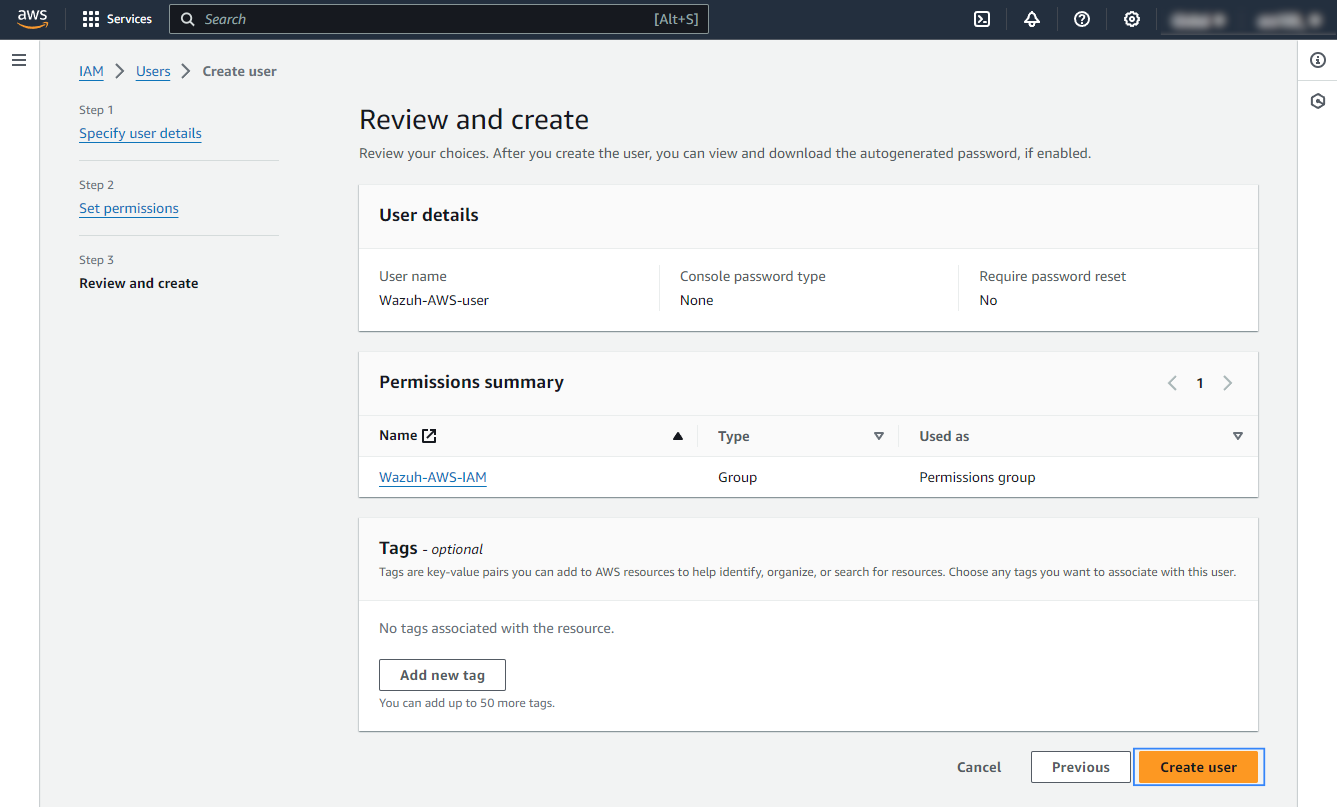
On your AWS console, navigate to Services > IAM > Users > Create user.

Assign a username and click Next.

Assign the user to the previously created group and click Next to proceed.

Review the selected options and click Create user.
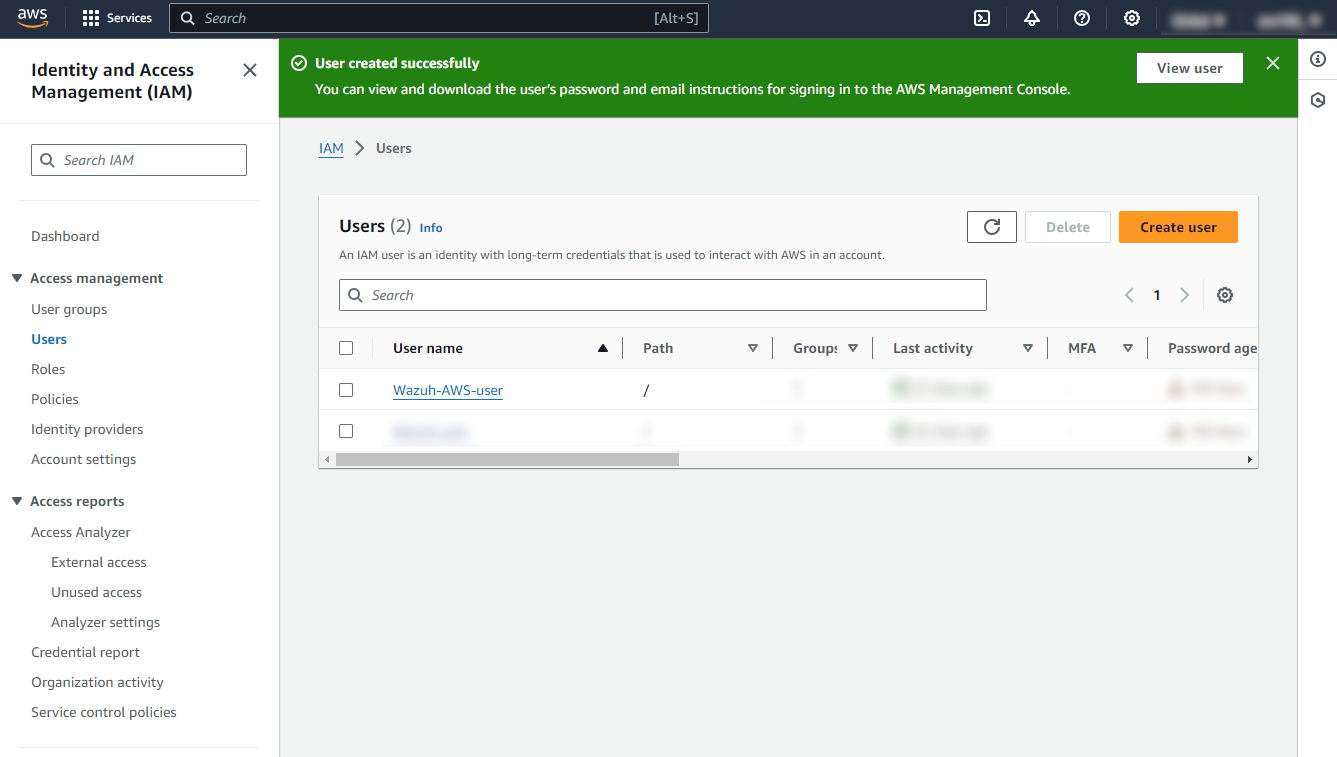
Confirm the user creation
Obtain the necessary access credentials for the IAM user.
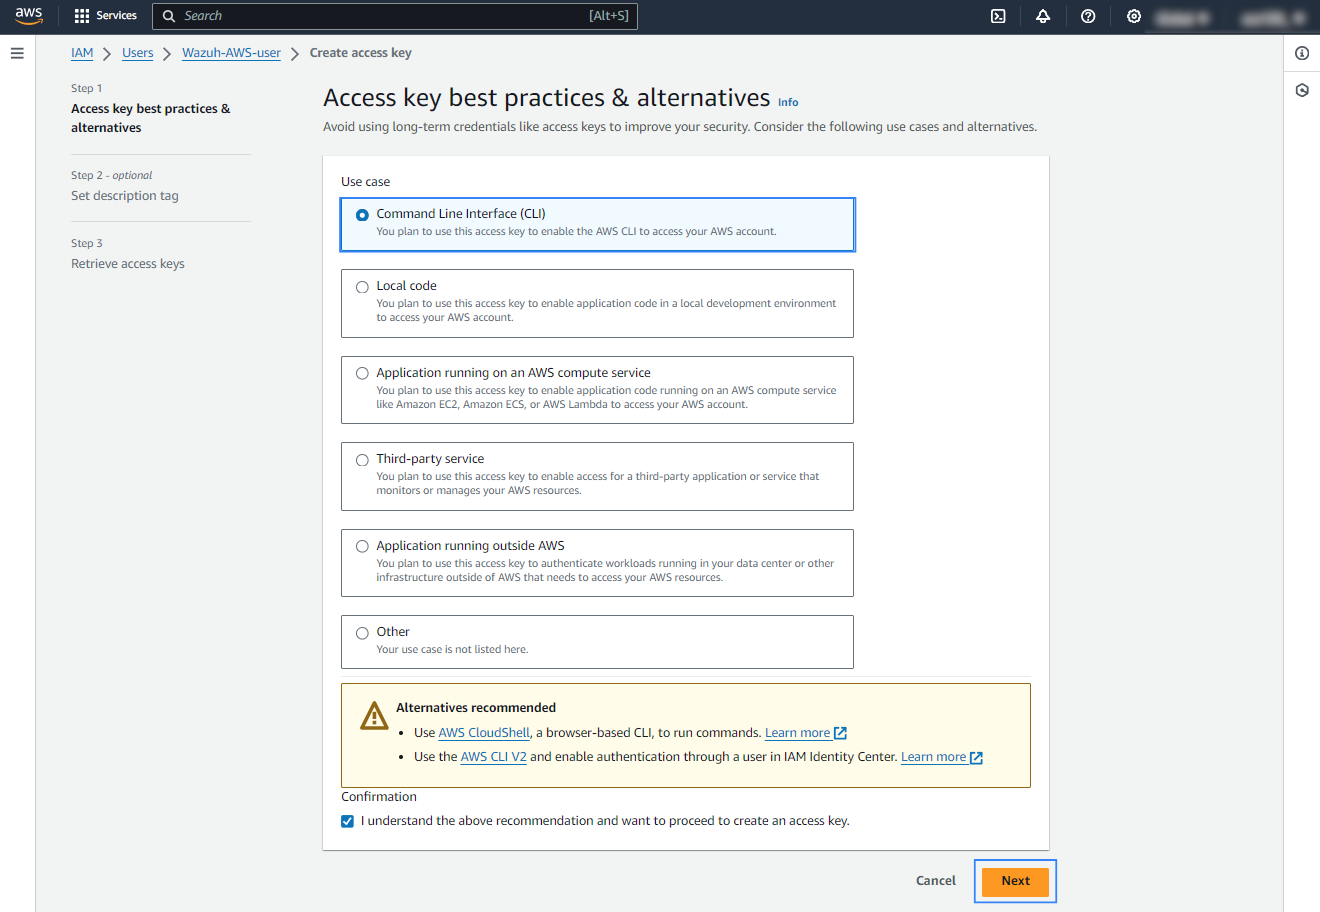
Click on the created IAM user, go to Security credentials, scroll down to Access keys, and click Create access key.

Select and confirm the Command Line Interface (CLI) use case and click Next.
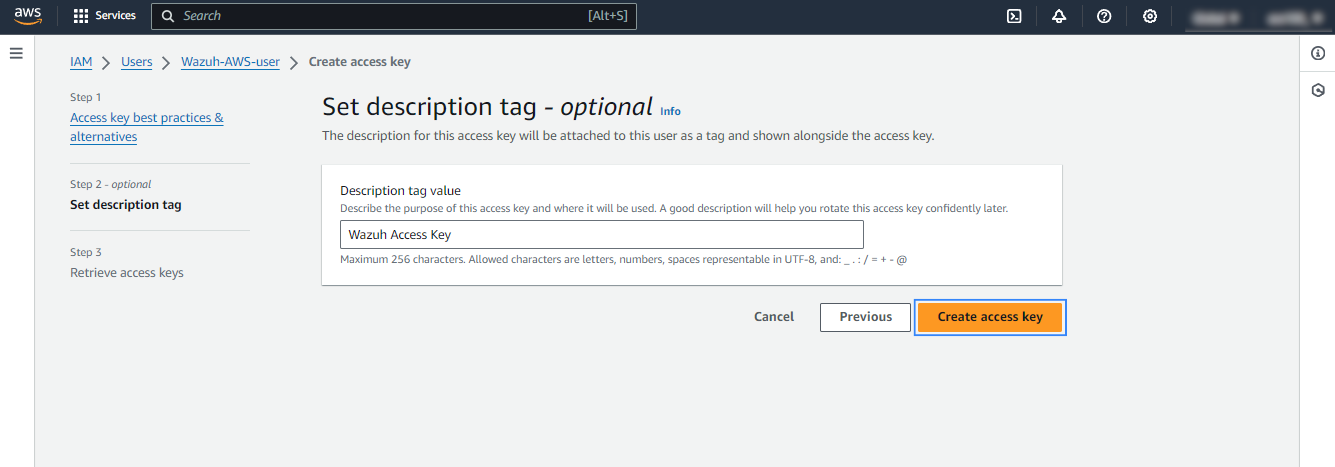
Assign a description tag value and click Create access key.
Save the access credentials, you will use them later to configure the Wazuh module for AWS. If you don't copy the credentials before you click Done, you cannot recover it later. However, you can create a new secret access key.

Depending on the service that will be monitored, the AWS IAM user will need a different set of permissions. The permissions required for each service are explained on each page of the supported services listed in the supported services section.