Amazon CLB
Classic Load Balancers (Amazon CLB) Elastic Load Balancing automatically distributes the incoming traffic across multiple targets, such as EC2 instances, containers, and IP addresses, in one or more Availability Zones. It monitors the health of its registered targets and routes traffic only to the healthy targets. Users can select the type of load balancer that best suits their needs. A Classic Load Balancer makes routing decisions at either the transport layer (TCP/SSL) or the application layer (HTTP/HTTPS). Classic Load Balancers currently require a fixed relationship between the load balancer port and the container instance port.
AWS configuration
The following sections cover how to configure the Amazon CLB service to integrate with Wazuh.
Amazon CLB configuration
Go to S3 buckets, copy the name of an existing S3 bucket or create a new one.
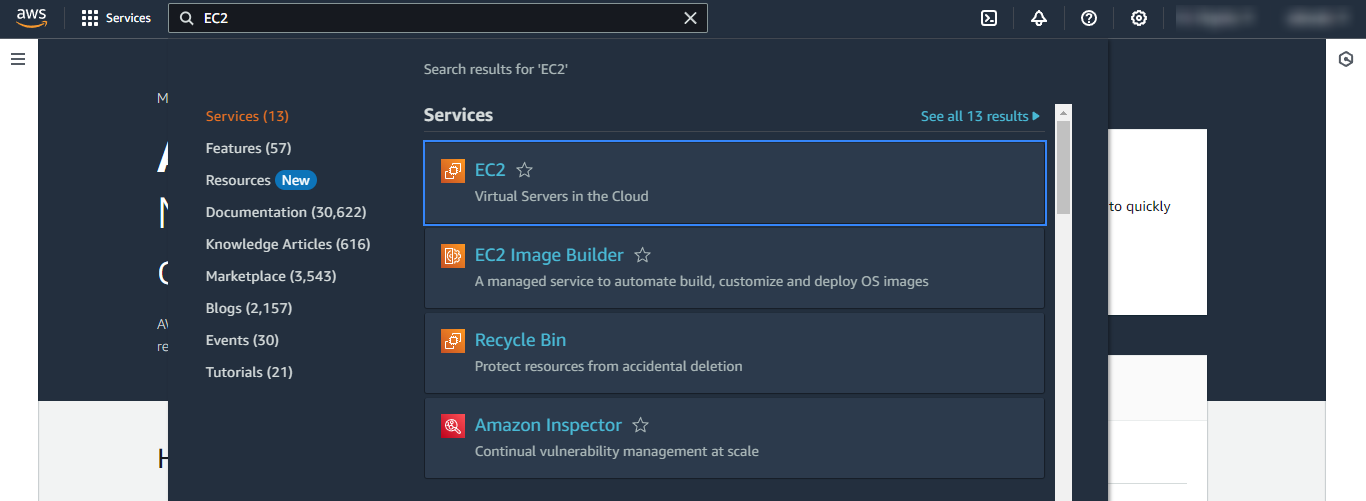
On your AWS console, search for "EC2" or go to Services > Compute > EC2.
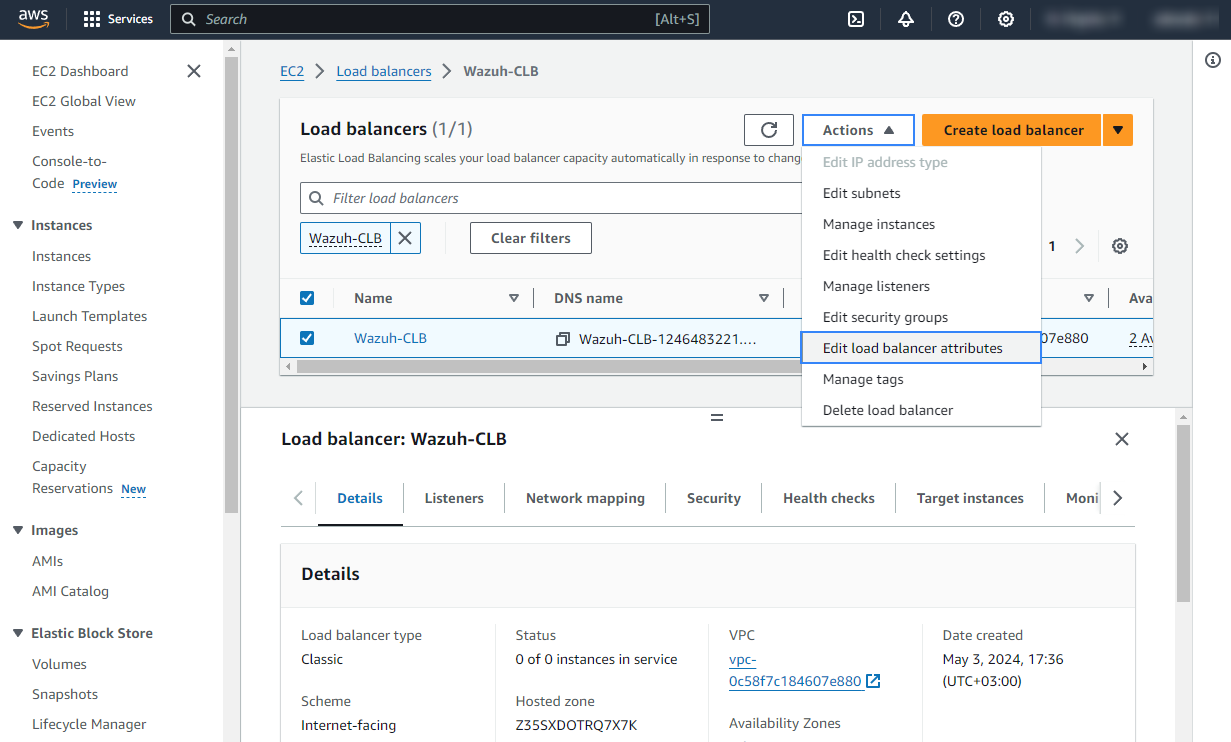
Go to Load Balancing > Load Balancers on the left menu. Create a new load balancer or select one or more load balancers and select Edit load balancer attributes on the Actions menu.
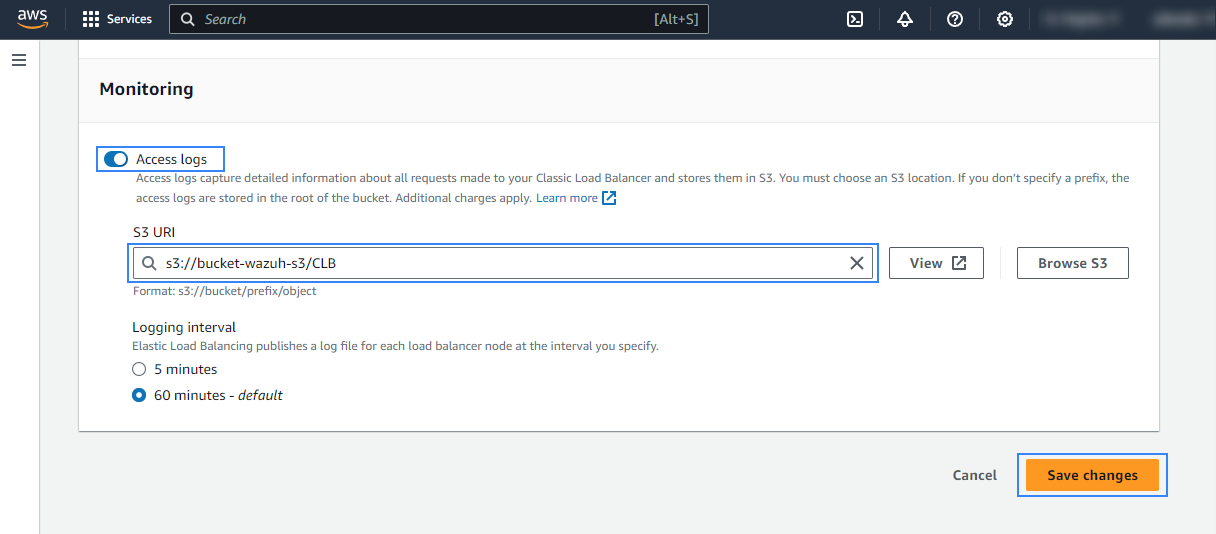
In the Monitoring tab define the S3 bucket and the path where the logs will be stored.
Note
To enable access logs for CLB (Classic Load Balancers), check the following link:
Policy configuration
Follow the creating an AWS policy guide to create a policy using the Amazon Web Services console.
Take into account that the policies below follow the principle of least privilege to ensure that only the minimum permissions are provided to the AWS IAM user.
To allow an AWS user to use the Wazuh module for AWS with read-only permissions, it must have a policy like the following attached:
{
    "Version": "2012-10-17",
    "Statement": [
        {
            "Sid": "VisualEditor0",
            "Effect": "Allow",
            "Action": [
                "s3:GetObject",
                "s3:ListBucket"
            ],
            "Resource": [
                "arn:aws:s3:::<WAZUH_AWS_BUCKET>/*",
                "arn:aws:s3:::<WAZUH_AWS_BUCKET>"
            ]
        }
    ]
}
If it is necessary to delete the log files once they have been collected, the associated policy would be as follows:
{
     "Version": "2012-10-17",
     "Statement": [
         {
             "Sid": "VisualEditor0",
             "Effect": "Allow",
             "Action": [
                 "s3:GetObject",
                 "s3:ListBucket",
                 "s3:DeleteObject"
             ],
             "Resource": [
                 "arn:aws:s3:::<WAZUH_AWS_BUCKET>/*",
                 "arn:aws:s3:::<WAZUH_AWS_BUCKET>"
             ]
         }
     ]
 }
Note
<WAZUH_AWS_BUCKET> is a placeholder. Replace it with the actual name of the bucket from which you want to retrieve logs.
After creating a policy, you can attach it directly to a user or to a group to which the user belongs. In attaching a policy to an IAM user group, you see how to attach a policy to a group. More information on how to use other methods is available in the AWS documentation.
Configure Wazuh to process Amazon CLB logs
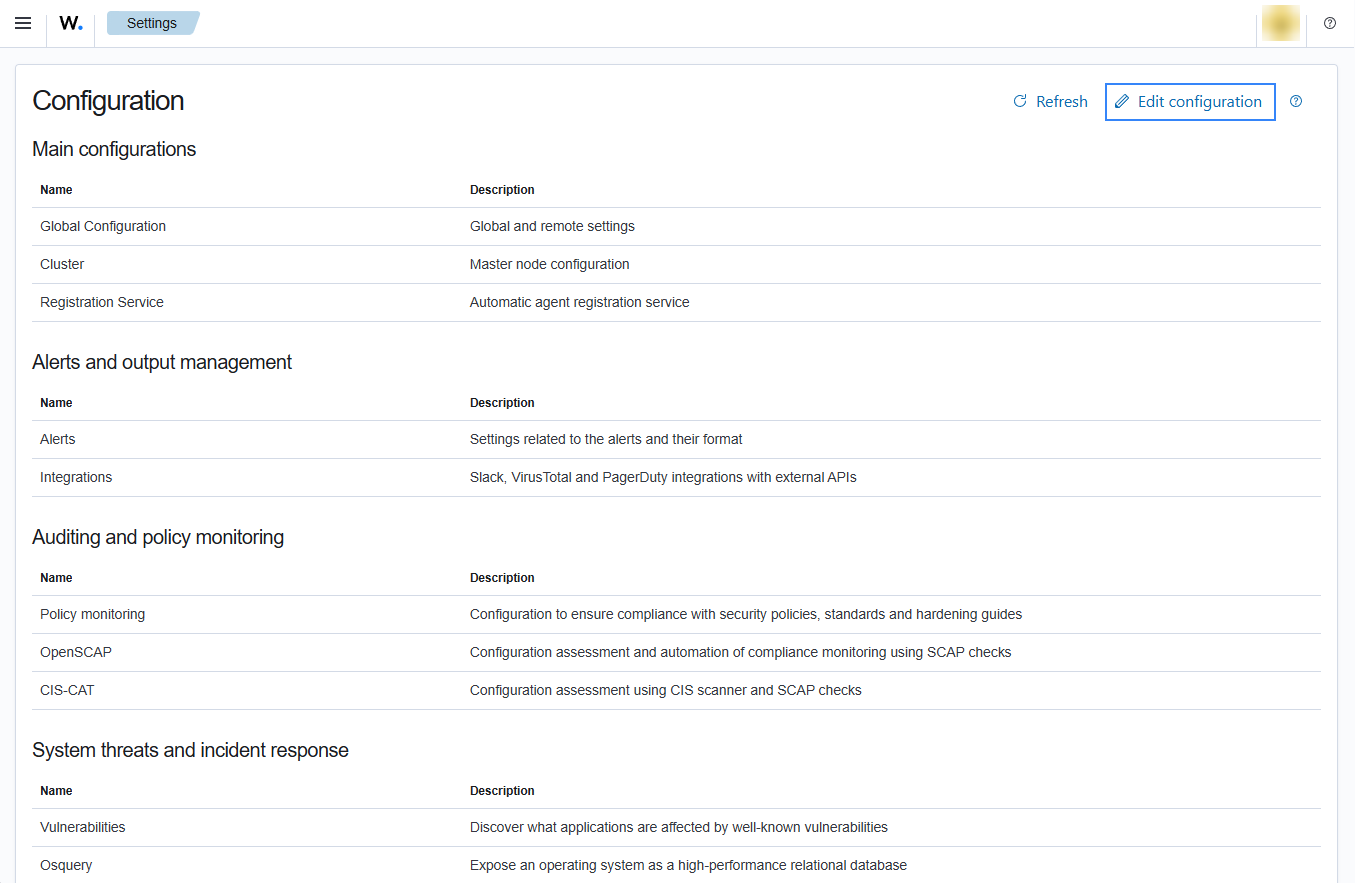
Access the Wazuh configuration in Server management > Settings using the Wazuh dashboard or by manually editing the
/var/ossec/etc/ossec.conffile in the Wazuh server or agent.
Add the following Wazuh module for AWS configuration to the file, replacing
<WAZUH_AWS_BUCKET>with the name of the S3 bucket:<wodle name="aws-s3"> <disabled>no</disabled> <interval>10m</interval> <run_on_start>yes</run_on_start> <skip_on_error>yes</skip_on_error> <bucket type="clb"> <name><WAZUH_AWS_BUCKET></name> <path>CLB</path> <aws_profile>default</aws_profile> </bucket> </wodle>
Save the changes and restart Wazuh to apply the changes. The service can be manually restarted using the following command outside the Wazuh dashboard:
Wazuh manager:
# systemctl restart wazuh-manager
Wazuh agent:
# systemctl restart wazuh-agent