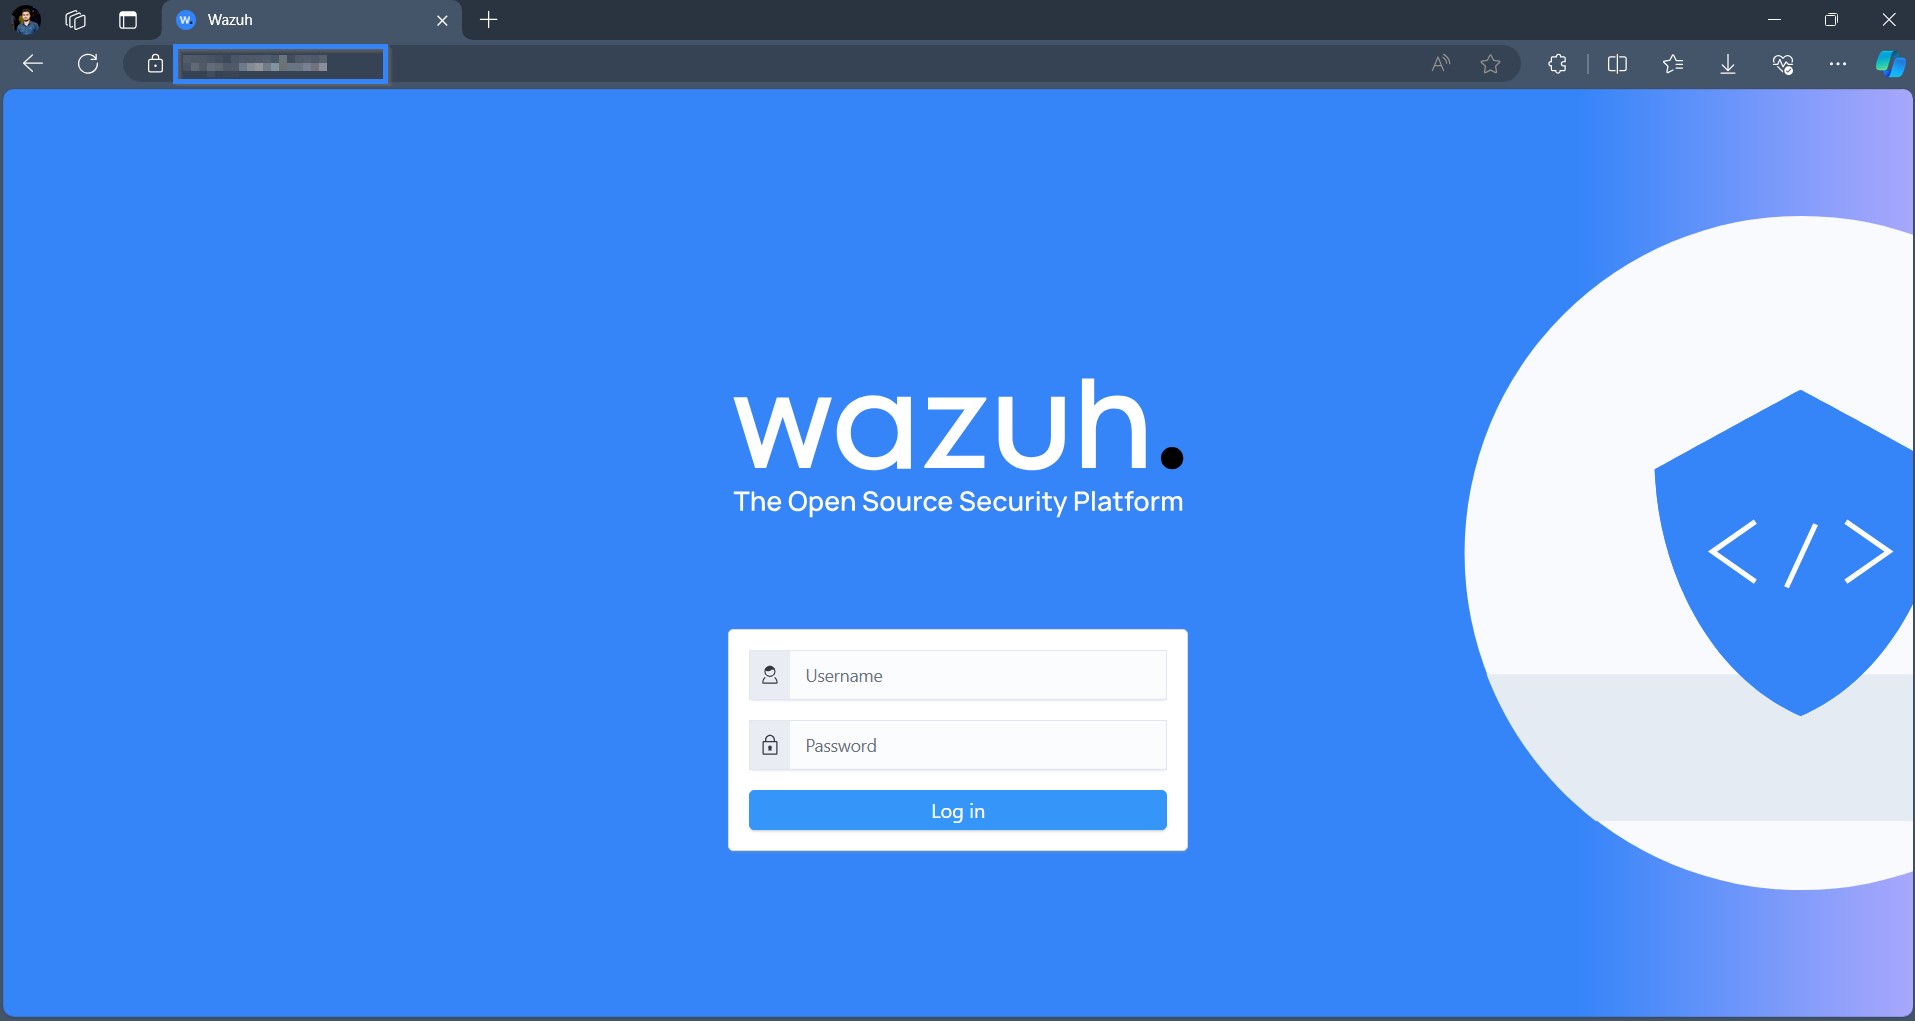
Configuring SSL certificates on the Wazuh dashboard using Let’s Encrypt
Let’s Encrypt certificate can be configured for the Wazuh dashboard using the certbot client. Follow the instructions below to install and configure a Let’s Encrypt certificate on an All-In-One Wazuh installation consisting of the Wazuh server, the Wazuh indexer, and the Wazuh dashboard. In a clustered environment, the instructions should be applied to the Wazuh dashboard node(s).
The process is divided into three stages:
Installing and configuring the certbot client.
Configuring Let’s Encrypt certificates on the Wazuh dashboard.
Configuring auto-renewal of the certificates.
Installing and configuring the certbot client
Install certbot
Install snap:
The certbot snap provides an easy way to ensure you have the latest version of certbot with features like automated certificate renewal preconfigured.
# yum install epel-release
# yum install snapd
# systemctl enable --now snapd.socket
# ln -s /var/lib/snapd/snap /snap
# apt-get update
# apt-get install snap
# amazon-linux-extras enable epel
# yum install epel-release
Confirm installed snap is the latest:
# snap install core; snap refresh core
core 16-2.61.4-20240607 from Canonical✓ installed
snap "core" has no updates available
For Amazon Linux 2
Confirm the EPEL repository is available:
# yum repolist
You should see a repo name that says "Amazon Extras repo for epel."
Install certbot:
# snap install --classic certbot
For Amazon Linux 2
# yum install -y certbot python3-certbot-apache
Skip step 4 if your operating system is Amazon Linux 2.
Run the following command to link the certbot from the snap directory to the user directory:
# ln -s /snap/bin/certbot /usr/bin/certbot
Configure certbot to generate Let’s Encrypt SSL certificate
Open ports 80 (HTTP) and 443 (HTTPS):
# systemctl start firewalld
# firewall-cmd --permanent --add-port=443/tcp
# firewall-cmd --permanent --add-port=80/tcp
# ufw allow 443
# ufw allow 80
Generate the Let’s Encrypt certificate:
# certbot certonly --standalone -d <YOUR_DOMAIN_NAME>
Where:
--standalone: Instructs certbot to handle cryptographic challenges using its built-in web server.-d: Specifies the Wazuh dashboard Fully Qualified Domain Name (FQDN).<YOUR_DOMAIN_NAME>: Your FQDN.
Confirm that the certificates are generated:
# ls -la /etc/letsencrypt/live/<YOUR_DOMAIN_NAME>/
The output of the command generally returns the following:
cert.pem
chain.pem
fullchain.pem
privkey.pem
README
Where:
README: contains information about the certificate files.privkey.pem: This is the private key for the certificate.fullchain.pem: This is the SSL certificate, bundled with all intermediate certificates.
Configuring Let’s Encrypt SSL certificates on the Wazuh dashboard
Copy the generated Let’s Encrypt certificates from the directory
/etc/letsencrypt/live/<YOUR_DOMAIN_NAME>/to the Wazuh dashboard certificate directory/etc/wazuh-dashboard/certs:# cp /etc/letsencrypt/live/<YOUR_DOMAIN_NAME>/privkey.pem /etc/letsencrypt/live/<YOUR_DOMAIN_NAME>/fullchain.pem /etc/wazuh-dashboard/certs/
Replace the old certificates with the Let’s Encrypt certificates to the Wazuh dashboard by editing the configuration file
/etc/wazuh-dashboard/opensearch_dashboards.ymlas shown below:server.ssl.key: "/etc/wazuh-dashboard/certs/privkey.pem" server.ssl.certificate: "/etc/wazuh-dashboard/certs/fullchain.pem"
After editing, you get a configuration file like the one below:
server.host: 0.0.0.0
opensearch.hosts: https://127.0.0.1:9200
server.port: 443
opensearch.ssl.verificationMode: certificate
opensearch.username: kibanaserver
opensearch.password: kibanaserver
opensearch.requestHeadersWhitelist: ["securitytenant","Authorization"]
opensearch_security.multitenancy.enabled: false
opensearch_security.readonly_mode.roles: ["kibana_read_only"]
server.ssl.enabled: true
server.ssl.key: "/etc/wazuh-dashboard/certs/privkey.pem"
server.ssl.certificate: "/etc/wazuh-dashboard/certs/fullchain.pem"
opensearch.ssl.certificateAuthorities: ["/etc/wazuh-dashboard/certs/root-ca.pem"]
uiSettings.overrides.defaultRoute: /app/wazuh
opensearch_security.cookie.secure: true
Modify the permissions and ownership of the certificates:
# chown -R wazuh-dashboard:wazuh-dashboard /etc/wazuh-dashboard/
# chmod -R 500 /etc/wazuh-dashboard/certs/
# chmod 440 /etc/wazuh-dashboard/certs/privkey.pem /etc/wazuh-dashboard/certs/fullchain.pem
Restart the Wazuh dashboard service:
# systemctl restart wazuh-dashboard
# service wazuh-dashboard restart
The Let’s Encrypt certificate installation on the Wazuh dashboard is now ready, and you can proceed to access it by using the configured fully qualified domain name.

Configuring auto-renewal of the certificates
The generated Let’s Encrypt certificates are valid for ninety days. The certbot package previously installed renews the certificate by adding a renewal script to the /etc/cron.d directory on the Wazuh dashboard. This script runs twice a day and will renew the certificate thirty days before expiration.
Also, we append a renewal hook, renew_hook to the configuration to restart or reload the Wazuh dashboard for the renewed certificate to apply.
Configure the renew_hook using the following steps
Edit the domain configuration file at
/etc/letsencrypt/renewal/<YOUR_DOMAIN_NAME>.confand add the renewal hook at the end of the file:# renew_before_expiry = 30 days version = 1.32.0 archive_dir = /etc/letsencrypt/archive/<YOUR_DOMAIN_NAME> cert = /etc/letsencrypt/live/<YOUR_DOMAIN_NAME>/cert.pem privkey = /etc/letsencrypt/live/<YOUR_DOMAIN_NAME>/privkey.pem chain = /etc/letsencrypt/live/<YOUR_DOMAIN_NAME>/chain.pem fullchain = /etc/letsencrypt/live/<YOUR_DOMAIN_NAME>/fullchain.pem # Options used in the renewal process [renewalparams] account = pa269247c1c3c97ec12ka01fa0f456bb authenticator = standalone server = https://acme-v02.api.letsencrypt.org/directory key_type = rsa renew_hook = systemctl restart wazuh-dashboard
Test the renewal hook by running the command below:
# certbot renew --dry-run
The output looks like this:
Saving debug log to /var/log/letsencrypt/letsencrypt.log
- - - - - - - - - - - - - - - - - - - - - - - - - - - - - - - -
Processing /etc/letsencrypt/renewal/<YOUR_DOMAIN_NAME>.conf
- - - - - - - - - - - - - - - - - - - - - - - - - - - - - - - -
Simulating renewal of an existing certificate for <YOUR_DOMAIN_NAME>
- - - - - - - - - - - - - - - - - - - - - - - - - - - - - - - - - - - - - - - -
Congratulations, all simulated renewals succeeded:
/etc/letsencrypt/live/<YOUR_DOMAIN_NAME>/fullchain.pem (success)
- - - - - - - - - - - - - - - - - - - - - - - - - - - - - - - -