Wazuh manager identity verification
This method uses SSL certificates to verify the identity of the Wazuh manager before a Wazuh agent sends the enrollment request. The Wazuh manager verification and the Wazuh agent verification are independent. However, it is possible to use a combination of both.
Learn about Wazuh manager identity verification steps in the sections below:
Prerequisites
You need a certificate authority to sign certificates for the Wazuh manager and Wazuh agents. In the absence of an already configured certificate authority, run the following command on the Wazuh server to use it as the certificate authority:
# openssl req -x509 -new -nodes -newkey rsa:4096 -keyout rootCA.key -out rootCA.pem -batch -subj "/C=US/ST=CA/O=Wazuh"
The root certificate is created and saved as the rootCA.pem file.
Wazuh manager identity validation
In this process, the Wazuh manager generates an SSL certificate using the Certificate Authority (CA). Subsequently, during the agent enrollment, the Wazuh agent verifies the Wazuh manager certificate using the root certificate of the CA.
Wazuh server configuration
Generate an SSL certificate on the Wazuh server signed by the certificate authority. The steps to generate an SSL certificate for the Wazuh manager are as follows:
Create a certificate request configuration file
req.confon the Wazuh server. Replace<WAZUH_MANAGER_IP_ADDRESS>with the IP address or FQDN (Fully Qualified Domain Name) of the Wazuh manager where the Wazuh agents will be enrolled. The contents of the file can be as follows:[req] distinguished_name = req_distinguished_name req_extensions = req_ext prompt = no [req_distinguished_name] C = US CN = <WAZUH_MANAGER_IP_ADDRESS> [req_ext] subjectAltName = @alt_names [alt_names] DNS.1 = wazuh DNS.2 = wazuh.com
Where:
Cis the country where the organization making this request is domiciled.CNis the common name on the certificate. This should be the IP address or FQDN of the Wazuh manager. This field is not optional.subjectAltNameis optional and specifies the alternate subject names that can be used for the server. It should be included to allow the enrollment of the Wazuh agents with a SAN certificate.DNS.1andDNS.2refer to the additional identities that the certificate should be valid for. In this case, the Wazuh manager DNS are wazuh and wazuh.com.
Create a certificate signing request (CSR) on the Wazuh server with the following command. The CSR will be used to request a digital certificate from a Certificate Authority (CA):
# openssl req -new -nodes -newkey rsa:4096 -keyout sslmanager.key -out sslmanager.csr -config req.conf
Where:
req.confis the certificate request configuration file.sslmanager.keyis the private key for the certificate request.sslmanager.csris the CSR to be submitted to the certificate authority.
Issue and sign the certificate for the Wazuh manager CSR with the following command:
# openssl x509 -req -days 365 -in sslmanager.csr -CA rootCA.pem -CAkey rootCA.key -out sslmanager.cert -CAcreateserial -extfile req.conf -extensions req_ext
Where:
req.confis the certificate request configuration file.sslmanager.csris the CSR to be submitted to the certificate authority.sslmanager.certis the SSL certificate signed by the CSR.rootCA.pemis the root certificate for the CA.The
-extfileand-extensionsoptions are required to copy the subject and the extensions fromsslmanager.csrtosslmanager.cert.
Copy the newly signed certificate and key files to
/var/ossec/etcon the Wazuh manager:# cp sslmanager.cert sslmanager.key /var/ossec/etc
Restart the Wazuh manager to apply the changes made:
# systemctl restart wazuh-manager
Linux/Unix
Follow the steps below to enroll a Linux/Unix endpoint by using certificates to verify the identity of the Wazuh manager:
Ensure that the root certificate authority
rootCA.pemfile has been copied to the endpoint.Obtain root access, modify the Wazuh agent configuration file located at
/var/ossec/etc/ossec.conf, and include the following:Wazuh manager IP address or FQDN (Fully Qualified Domain Name) in the
<client><server><address>section.Local path to the root certificate in the
<client><enrollment>section:
<client>
   <server>
      <address><WAZUH_MANAGER_IP_ADDRESS></address>
      ...
   </server>
      ...
      <enrollment>
         <server_ca_path>/<PATH_TO>/rootCA.pem</server_ca_path>
         ...
      </enrollment>
      ...
</client>
Restart the Wazuh agent to make the changes effective:
# systemctl restart wazuh-agent
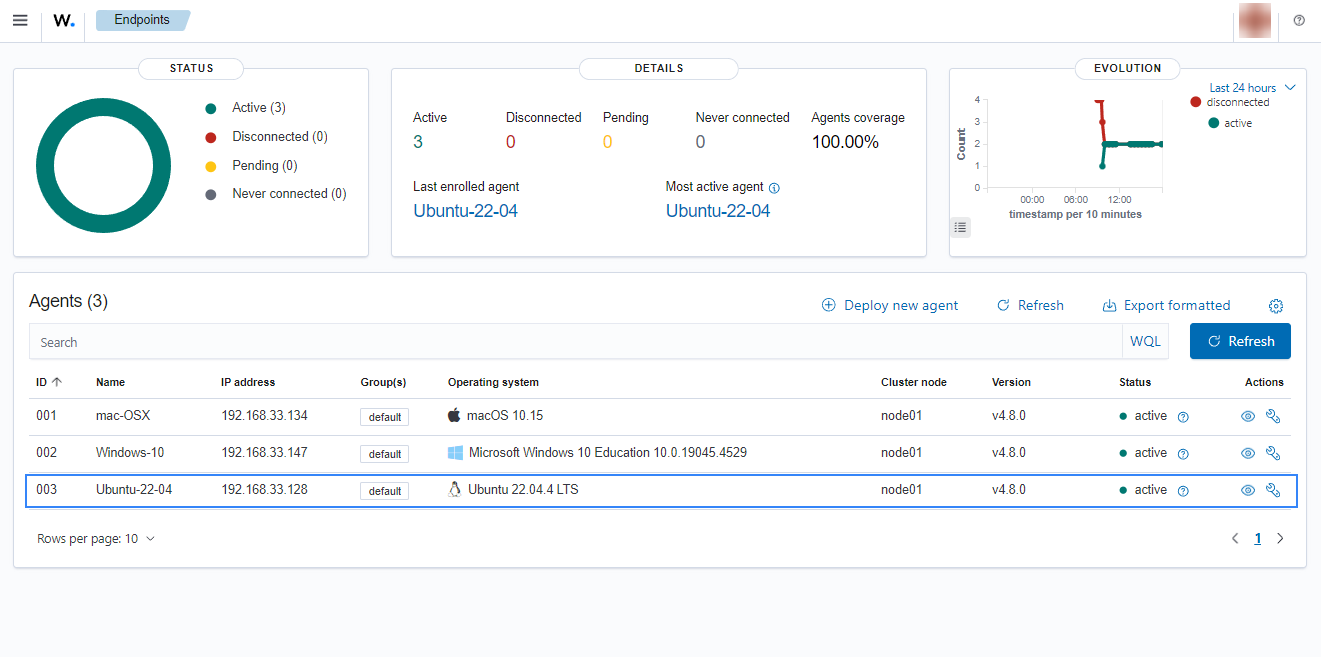
Click on the upper-left menu icon and navigate to Agents management > Summary on the Wazuh dashboard to check for the newly enrolled Wazuh agent and its connection status. If the enrollment was successful, you will have an interface similar to the image below.

Windows
Follow these steps to enroll a Windows endpoint by using certificates to verify the Wazuh manager identity:
The Wazuh agent installation directory depends on the architecture of the host.
C:\Program Files (x86)\ossec-agentfor 64-bit systems.C:\Program Files\ossec-agentfor 32-bit systems.
Ensure that the root certificate authority
rootCA.pemfile has been copied to the endpoint.Using an administrator account, modify the Wazuh agent configuration file located at
C:\Program Files (x86)\ossec-agent\ossec.confand include the following:Wazuh manager IP address or FQDN (Fully Qualified Domain Name) in the
<client><server><address>section.Local path to the root certificate in the
<client><enrollment><server_ca_path>section.
<client>
    <server>
       <address><WAZUH_MANAGER_IP_ADDRESS></address>
    </server>
       <enrollment>
          <server_ca_path>/<PATH_TO>/rootCA.pem</server_ca_path>
       </enrollment>
 </client>
Restart the Wazuh agent to make the changes effective.
# Restart-Service -Name wazuh# net stop wazuh # net start wazuh
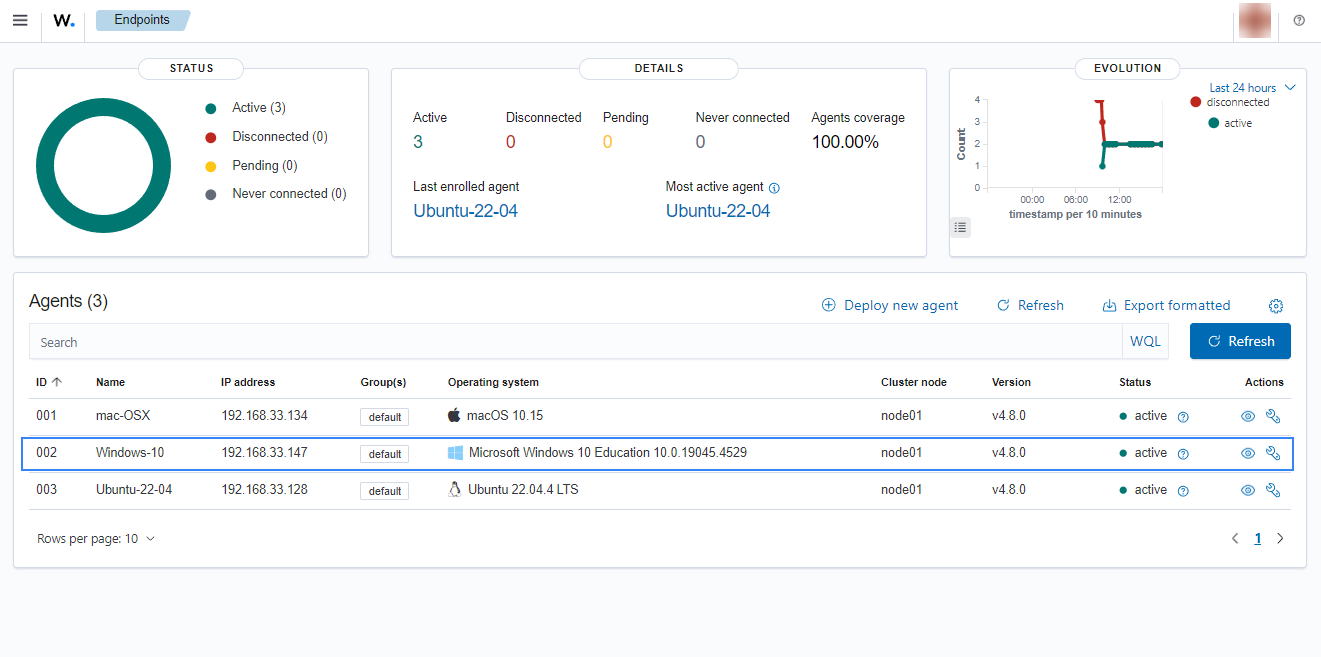
Click on the upper-left menu icon and navigate to Agents management > Summary on the Wazuh dashboard to check for the newly enrolled Wazuh agent and its connection status. If the enrollment was successful, you will have an interface similar to the image below.

macOS
Follow the steps below to enroll a macOS endpoint by using certificates to verify the Wazuh manager identity:
Ensure that the root certificate authority
rootCA.pemfile has been copied to the endpoint.Modify the Wazuh agent configuration file located at
/Library/Ossec/etc/ossec.confwith root access and include the following:Wazuh manager IP address or FQDN (Fully Qualified Domain Name) in the
<client><server><address>section.Local path to the root certificate in the
<client><enrollment>section.
<client>
   <server>
      <address><WAZUH_MANAGER_IP_ADDRESS></address>
      ...
   </server>
      ...
      <enrollment>
         <server_ca_path>/<PATH_TO>/rootCA.pem</server_ca_path>
         ...
      </enrollment>
      ...
</client>
Restart the Wazuh agent to make the changes effective.
# /Library/Ossec/bin/wazuh-control restart
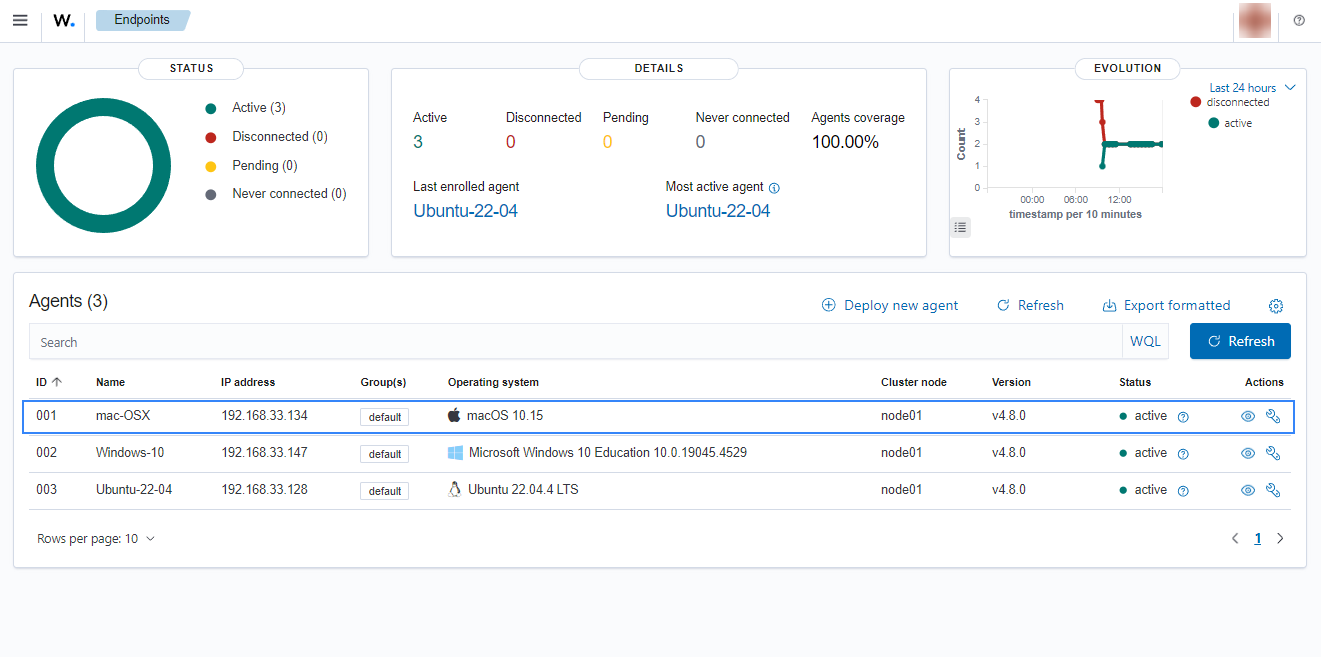
Click on the upper-left menu icon and navigate to Agents management > Summary on the Wazuh dashboard to check for the newly enrolled Wazuh agent and its connection status. If the enrollment was successful, you will have an interface similar to the image below.
