All-in-one deployment
An all-in-one deployment refers to using the Wazuh installation assistant or the pre-built virtual machine image in Open Virtual Appliance (OVA) format provided by Wazuh. This deployment method installs all the Wazuh central components on a single endpoint.
To add a Wazuh server node to your all-in-one Wazuh deployment, complete the following key steps:
Certificate creation
Wazuh server uses certificates to secure communication between its components and related services, including the Wazuh indexer, Filebeat, Wazuh dashboard, and Wazuh agents. The Wazuh server consists of the Wazuh manager and Filebeat. When adding a new Wazuh server node, a certificate is required for Filebeat on that node to securely communicate with the Wazuh indexer. Certificates can also be used to secure communication between Wazuh agents and the Wazuh manager.
In an all-in-one deployment, new certificates are required when adding nodes because the certificates generated by the quickstart installation are intended for a single-node setup and are not valid for multi-node communication.
Perform the following steps on your existing Wazuh server node to generate the certificates required for secure communication among the Wazuh central components.
Create a
config.ymlfile in the/rootdirectory to add the new Wazuh server node(s):# touch /root/config.yml
Edit the
/root/config.ymlfile with its content as follows:nodes: # Wazuh indexer nodes indexer: - name: <WAZUH_INDEXER_NODE_NAME> ip: <WAZUH_INDEXER_IP> # Wazuh server nodes server: - name: <EXISTING_WAZUH_SERVER_NODE_NAME> ip: <EXISTING_WAZUH_SERVER_IP> node_type: master - name: <NEW_WAZUH_SERVER_NODE_NAME> ip: <NEW_WAZUH_SERVER_IP> node_type: worker # Wazuh dashboard nodes dashboard: - name: <WAZUH_DASHBOARD_NODE_NAME> ip: <WAZUH_DASHBOARD_IP>
Replace the node names and IP values with your new node names and IP addresses.
You can assign a different
node_typein your installation. In this documentation, we assign the master role to the existing Wazuh server node and the worker role to the new node.Download and run
wazuh-certs-tool.shfrom your/rootdirectory to create the certificates for the new Wazuh server node and recreate them for the existing one:# curl -sO https://packages.wazuh.com/4.14/wazuh-certs-tool.sh # bash wazuh-certs-tool.sh -A
23/01/2026 10:36:55 INFO: Generating the root certificate.
23/01/2026 10:36:55 INFO: Generating Admin certificates.
23/01/2026 10:36:55 INFO: Admin certificates created.
23/01/2026 10:36:55 INFO: Generating Wazuh indexer certificates.
23/01/2026 10:36:55 INFO: Wazuh indexer certificates created.
23/01/2026 10:36:55 INFO: Generating Filebeat certificates.
23/01/2026 10:36:56 INFO: Wazuh Filebeat certificates created.
23/01/2026 10:36:56 INFO: Generating Wazuh dashboard certificates.
23/01/2026 10:36:56 INFO: Wazuh dashboard certificates created.
Compress the certificates folder and copy it to the new Wazuh server node(s). You can make use of the
scputility to securely copy the compressed file:# tar -cvf ./<CERTIFICATE_ARCHIVE>.tar -C ./wazuh-certificates/ . # scp <CERTIFICATE_ARCHIVE>.tar <TARGET_USERNAME>@<TARGET_IP>:
Replace
<CERTIFICATE_ARCHIVE>.tarwith the name you want to use for the compressed certificate archive (for example,wazuh-certificates.tarorwazuh-install-files.tar).Note
The
scpcommand will copy the certificates to the/homedirectory of the user on the target system. You can change this to specify a path to your installation directory.
Configuring existing components to connect with the new node
Before deploying an additional Wazuh server node, it's essential to reconfigure existing components to ensure communication within the cluster. This step involves updating configuration files and connection parameters so that the Wazuh manager, indexer, and dashboard recognize and properly interact with the newly added Wazuh server node.
Create a file,
env_variables.sh, in the/rootdirectory of the existing Wazuh server node where you define your environmental variables as follows:export NODE_NAME1=<WAZUH_INDEXER_NODE_NAME> export NODE_NAME2=<EXISTING_WAZUH_SERVER_NODE_NAME> export NODE_NAME3=<WAZUH_DASHBOARD_NODE_NAME>
Replace
<WAZUH_INDEXER_NODE_NAME>,<EXISTING_WAZUH_SERVER_NODE_NAME>,<WAZUH_DASHBOARD_NODE_NAME>with the names of the Wazuh indexer, Wazuh server, and Wazuh dashboard nodes, respectively, as defined in/root/config.yml.Create a
deploy-certificates.shscript in the/rootdirectory and paste the following into it:#!/bin/bash # Source the environmental variables from the external file source ~/env_variables.sh rm -rf /etc/wazuh-indexer/certs mkdir /etc/wazuh-indexer/certs tar -xf ./<CERTIFICATE_ARCHIVE>.tar -C /etc/wazuh-indexer/certs/ ./$NODE_NAME1.pem ./$NODE_NAME1-key.pem ./admin.pem ./admin-key.pem ./root-ca.pem mv -n /etc/wazuh-indexer/certs/$NODE_NAME1.pem /etc/wazuh-indexer/certs/wazuh-indexer.pem mv -n /etc/wazuh-indexer/certs/$NODE_NAME1-key.pem /etc/wazuh-indexer/certs/wazuh-indexer-key.pem chmod 500 /etc/wazuh-indexer/certs chmod 400 /etc/wazuh-indexer/certs/* chown -R wazuh-indexer:wazuh-indexer /etc/wazuh-indexer/certs rm -rf /etc/filebeat/certs mkdir /etc/filebeat/certs tar -xf ./<CERTIFICATE_ARCHIVE>.tar -C /etc/filebeat/certs/ ./$NODE_NAME2.pem ./$NODE_NAME2-key.pem ./root-ca.pem mv -n /etc/filebeat/certs/$NODE_NAME2.pem /etc/filebeat/certs/wazuh-server.pem mv -n /etc/filebeat/certs/$NODE_NAME2-key.pem /etc/filebeat/certs/wazuh-server-key.pem chmod 500 /etc/filebeat/certs chmod 400 /etc/filebeat/certs/* chown -R root:root /etc/filebeat/certs rm -rf /etc/wazuh-dashboard/certs mkdir /etc/wazuh-dashboard/certs tar -xf ./<CERTIFICATE_ARCHIVE>.tar -C /etc/wazuh-dashboard/certs/ ./$NODE_NAME3.pem ./$NODE_NAME3-key.pem ./root-ca.pem mv -n /etc/wazuh-dashboard/certs/$NODE_NAME3.pem /etc/wazuh-dashboard/certs/wazuh-dashboard.pem mv -n /etc/wazuh-dashboard/certs/$NODE_NAME3-key.pem /etc/wazuh-dashboard/certs/wazuh-dashboard-key.pem chmod 500 /etc/wazuh-dashboard/certs chmod 400 /etc/wazuh-dashboard/certs/* chown -R wazuh-dashboard:wazuh-dashboard /etc/wazuh-dashboard/certs
The
deploy-certificates.shscript extracts the required certificates from the generated certificate archive and deploys them to the Wazuh indexer, Wazuh server (Filebeat), and Wazuh dashboard directories. It also sets the appropriate ownership and permissions to ensure secure communication between components when adding the new Wazuh server node.Deploy the certificates by executing the following command:
# bash /root/deploy-certificates.sh
This deploys the SSL certificates to encrypt communications between the Wazuh central components.
Recommended action: Save a copy offline for potential future use and scalability. You can remove the
<CERTIFICATE_ARCHIVE>.tarfile on this Wazuh server node by running the command below to increase security:# rm -rf ./wazuh-certificates # rm -f ./<CERTIFICATE_ARCHIVE>.tar
Edit the Wazuh indexer configuration file at
/etc/wazuh-indexer/opensearch.ymlto specify the Wazuh indexer IP address andNODE_NAMEas mentioned in/root/config.ymlfile:network.host: "<WAZUH_INDEXER_IP>" node.name: "<WAZUH_INDEXER_NODE_NAME>" cluster.initial_master_nodes: - "<WAZUH_INDEXER_NODE_NAME>"
Edit the Filebeat configuration file
/etc/filebeat/filebeat.ymlto specify the Wazuh indexer's IP address:output.elasticsearchhosts: - <WAZUH_INDEXER_IP>:9200
Note
The structure of this section varies based on whether you completed your installation using the Wazuh installation assistant or the step-by-step guide. Here, we used the quickstart script.
Generate a random encryption key that will be used to encrypt communication between the cluster nodes:
# openssl rand -hex 16
Save the output from the command above, as it will be used later to configure the Wazuh server and worker nodes.
Edit the configuration file
/etc/wazuh-dashboard/opensearch_dashboards.ymlto include connection details for the Wazuh indexer node:opensearch.hosts: https://<WAZUH_INDEXER_IP>:9200
Edit the
/usr/share/wazuh-dashboard/data/wazuh/config/wazuh.ymlfile and replace theurlvalue with the IP address or hostname of the Wazuh server master node:hosts: - default: url: https://<EXISTING_WAZUH_SERVER_IP> port: 55000 username: wazuh-wui password: <WAZUH-WUI-PASSWORD> run_as: false
Edit the Wazuh server configuration file at
/var/ossec/etc/ossec.confto enable the Wazuh server cluster:<cluster> <name>wazuh</name> <node_name><EXISTING_WAZUH_SERVER_NODE_NAME></node_name> <node_type>master</node_type> <key><ENCRYPTION_KEY></key> <port>1516</port> <bind_addr>0.0.0.0</bind_addr> <nodes> <node><MASTER_NODE_IP></node> </nodes> <hidden>no</hidden> <disabled>no</disabled> </cluster>
The configurable fields in the above section of the
/var/ossec/etc/ossec.conffile are as follows:<name> indicates the name of the cluster.
<node_name> indicates the name of the current node Wazuh server node as defined in the
<node_name>field under the<cluster>block of the/root/config.ymlfile on that node. . Replace<EXISTING_WAZUH_SERVER_NODE_NAME>with this exact value.<node_type> specifies the node's role. In this instance, it should be set to master.
<key> represents a key used to encrypt communication between cluster nodes. It should be the same on all the server nodes. To generate a unique key, you can use the command
openssl rand -hex 16.<port> indicates the destination port for cluster communication. Leave the default as
1516.<bind_addr> is the network IP address to which the node is bound to listen for incoming requests (0.0.0.0 means the node will use any IP address).
<nodes> is the address of the master node and can be either an IP address or a DNS hostname. This parameter must be specified in all nodes, including the master itself. Replace
<MASTER_NODE_IP>with the IP address of your master node.<hidden> shows or hides the cluster information in the generated alerts.
<disabled> indicates whether the node is enabled or disabled in the cluster. This option must be set to no.
Restart the Wazuh central component and Filebeat to apply the changes.
# systemctl restart wazuh-indexer
# systemctl restart wazuh-manager
# systemctl restart wazuh-dashboard
# systemctl restart filebeat
# service wazuh-indexer restart
# service wazuh-manager restart
# service wazuh-dashboard restart
# service filebeat restart
Wazuh server worker node(s) installation
Once the certificates have been created and copied to the new Wazuh server node(s), you can proceed to install and configure the new Wazuh server as a worker node.
Adding the Wazuh repository
This step ensures that the new Wazuh server node can download and install the required Wazuh packages from the official repository.
Import the GPG key:
# rpm --import https://packages.wazuh.com/key/GPG-KEY-WAZUH
Add the repository:
For RHEL-compatible systems version 8 and earlier, use the following command:
# echo -e '[wazuh]\ngpgcheck=1\ngpgkey=https://packages.wazuh.com/key/GPG-KEY-WAZUH\nenabled=1\nname=EL-$releasever - Wazuh\nbaseurl=https://packages.wazuh.com/4.x/yum/\nprotect=1' | tee /etc/yum.repos.d/wazuh.repo
For RHEL-compatible systems version 9 and later, use the following command:
# echo -e '[wazuh]\ngpgcheck=1\ngpgkey=https://packages.wazuh.com/key/GPG-KEY-WAZUH\nenabled=1\nname=EL-$releasever - Wazuh\nbaseurl=https://packages.wazuh.com/4.x/yum/\npriority=1' | tee /etc/yum.repos.d/wazuh.repo
Install the following packages if missing:
# apt-get install gnupg apt-transport-https
Install the GPG key:
# curl -s https://packages.wazuh.com/key/GPG-KEY-WAZUH | gpg --no-default-keyring --keyring gnupg-ring:/usr/share/keyrings/wazuh.gpg --import && chmod 644 /usr/share/keyrings/wazuh.gpg
Add the repository:
# echo "deb [signed-by=/usr/share/keyrings/wazuh.gpg] https://packages.wazuh.com/4.x/apt/ stable main" | tee -a /etc/apt/sources.list.d/wazuh.list
Update the packages' information:
# apt-get update
Installing the Wazuh manager
This step installs the Wazuh manager on the node, which enables it to function as part of the cluster and manage alerts,Wazuh agents, and internal communication.
Install the Wazuh manager package.
# yum -y install wazuh-manager
# apt-get -y install wazuh-manager
Enable and start the Wazuh manager service.
# systemctl daemon-reload
# systemctl enable wazuh-manager
# systemctl start wazuh-manager
RPM-based operating system:
# chkconfig --add wazuh-manager
# service wazuh-manager start
Debian-based operating system:
# update-rc.d wazuh-manager defaults 95 10
# service wazuh-manager start
Check the Wazuh manager status to ensure it is up and running.
# systemctl status wazuh-manager
# service wazuh-manager status
Install and configure Filebeat
Install the Filebeat package.
# yum -y install filebeat
# apt-get -y install filebeat
Download the preconfigured Filebeat configuration file:
# curl -so /etc/filebeat/filebeat.yml https://packages.wazuh.com/4.14/tpl/wazuh/filebeat/filebeat.yml
Edit the
/etc/filebeat/filebeat.ymlconfiguration file and replace the<WAZUH_INDEXER_IP>value with the IP addresses or hostnames of your Wazuh indexer:# Wazuh - Filebeat configuration file output.elasticsearch: hosts: <WAZUH_INDEXER_IP>:9200 protocol: https
hosts:represents the list of Wazuh indexer nodes to connect to. You can use either IP addresses or hostnames. By default, the host is set to localhosthosts: ["127.0.0.1:9200"]. Replace it with your Wazuh indexer IP address accordingly.If you have more than one Wazuh indexer node, you can separate the addresses using commas. For example,
hosts: ["10.0.0.9:9200", "10.0.0.10:9200", "10.0.0.11:9200"]:
Create a Filebeat keystore to securely store authentication credentials:
# filebeat keystore create
Add the admin user and password to the secrets keystore:
# echo admin | filebeat keystore add username --stdin --force
# echo <ADMIN_PASSWORD> | filebeat keystore add password --stdin --force
If you are running an all-in-one Wazuh deployment and have not changed the default admin password, you can retrieve the current admin password by running the following command:
# sudo tar -O -xvf wazuh-install-files.tar wazuh-install-files/wazuh-passwords.txt
Download the alerts template for the Wazuh indexer:
# curl -so /etc/filebeat/wazuh-template.json https://raw.githubusercontent.com/wazuh/wazuh/v4.14.6/extensions/elasticsearch/7.x/wazuh-template.json
# chmod go+r /etc/filebeat/wazuh-template.json
Install the Wazuh module for Filebeat:
# curl -s https://packages.wazuh.com/4.x/filebeat/wazuh-filebeat-0.5.tar.gz | tar -xvz -C /usr/share/filebeat/module
Deploying certificates
When adding a new Wazuh server node, deploy the generated certificate archive on that node before starting its services. This ensures secure TLS communication with the Wazuh indexer, Filebeat and other required components.
Run the following commands in the directory where the wazuh-certificates.tar file was copied to, replacing <NEW_WAZUH_SERVER_NODE_NAME> with the name of the Wazuh server node you are configuring as defined in /root/config.yml. This deploys the SSL certificates to encrypt communications between the Wazuh central components:
Create an environment variable to store the node name:
NODE_NAME=<NEW_WAZUH_SERVER_NODE_NAME>Deploy the certificates:
# mkdir /etc/filebeat/certs
# tar -xf ./wazuh-certificates.tar -C /etc/filebeat/certs/ ./$NODE_NAME.pem ./$NODE_NAME-key.pem ./root-ca.pem
# mv -n /etc/filebeat/certs/$NODE_NAME.pem /etc/filebeat/certs/filebeat.pem
# mv -n /etc/filebeat/certs/$NODE_NAME-key.pem /etc/filebeat/certs/filebeat-key.pem
# chmod 500 /etc/filebeat/certs
# chmod 400 /etc/filebeat/certs/*
#chown -R root:root /etc/filebeat/certs
Starting the service
# systemctl daemon-reload
# systemctl enable filebeat
# systemctl start filebeat
RPM-based operating system:
# chkconfig --add filebeat
# service filebeat start
Debian-based operating system:
# update-rc.d filebeat defaults 95 10
# service filebeat start
Run the following command to verify that Filebeat is successfully installed:
# filebeat test output
An example output is shown below:
elasticsearch: https://10.0.0.9:9200...
  parse url... OK
  connection...
    parse host... OK
    dns lookup... OK
    addresses: 10.0.0.9
    dial up... OK
  TLS...
    security: server's certificate chain verification is enabled
    handshake... OK
    TLS version: TLSv1.2
    dial up... OK
  talk to server... OK
  version: 7.10.2
Configuring the Wazuh server worker nodes
Configure the Wazuh server worker node to enable cluster mode by editing the following settings in the
/var/ossec/etc/ossec.conffile:<cluster> <name>wazuh</name> <node_name><NEW_WAZUH_SERVER_NODE_NAME></node_name> <node_type>worker</node_type> <key><ENCRYPTION_KEY></key> <port>1516</port> <bind_addr>0.0.0.0</bind_addr> <nodes> <node><MASTER_NODE_IP_ADDRESS></node> </nodes> <hidden>no</hidden> <disabled>no</disabled> </cluster>
The configurable fields in the above section of the
/var/ossec/etc/ossec.conffile is as follows:<name>indicates the name of the cluster.<node_name>indicates the name of the current node. Each node of the cluster must have a unique name. Replace<NEW_WAZUH_SERVER_NODE_NAME>with the name specified in the/root/config.ymlfile.node_typespecifies the node's role. In this instance, it should be set as a worker.keyrepresents the key created previously for the master node. It has to be the same for all the nodes. In case you have an already distributed infrastructure, copy this key from the master node's/var/ossec/etc/ossec.conffile.<port>indicates the destination port for cluster communication. Leave the default as1516.<bind_addr>is the network IP address to which the node is bound to listen for incoming requests (0.0.0.0 means the node will use any IP address).<nodes>contain the Wazuh server master node's address, which can be an IP address or a DNS hostname. Replace<MASTER_NODE_IP_ADDRESS>with the IP address of your master node.<hidden>shows or hides the cluster information in the generated alerts.<disabled>indicates whether the node is enabled or disabled in the cluster. This option must be set tono.
You can learn more about the available configuration options in the cluster reference guide.
Restart the Wazuh manager service.
# systemctl restart wazuh-manager
# service wazuh-manager restart
Testing the cluster
Now that installation and configuration are complete, you can proceed to test your cluster to ensure the new Wazuh server node is connected. Two possible ways of doing this:
Using the cluster control tool
Verify that the Wazuh server cluster is enabled and all the nodes are connected by executing the following command on any of the Wazuh server nodes:
# /var/ossec/bin/cluster_control -l
A sample output of the command:
NAME     TYPE    VERSION  ADDRESS
wazuh-1  master  4.14.2   10.0.0.9
wazuh-2  worker  4.14.2   10.0.0.10
wazuh-3  worker  4.14.2   10.0.0.11
Note that 10.0.0.9, 10.0.0.10,10.0.0.11 are example IP addresses.
Using the Wazuh API console
You can also check your new Wazuh server cluster by using the Wazuh API Console accessible via the Wazuh dashboard.
Access the Wazuh dashboard using the credentials below.
URL:
https://<WAZUH_DASHBOARD_IP>Username:
adminPassword:
<ADMIN_PASSWORD>oradmin, in case you already have a distributed architecture and are using the default password.
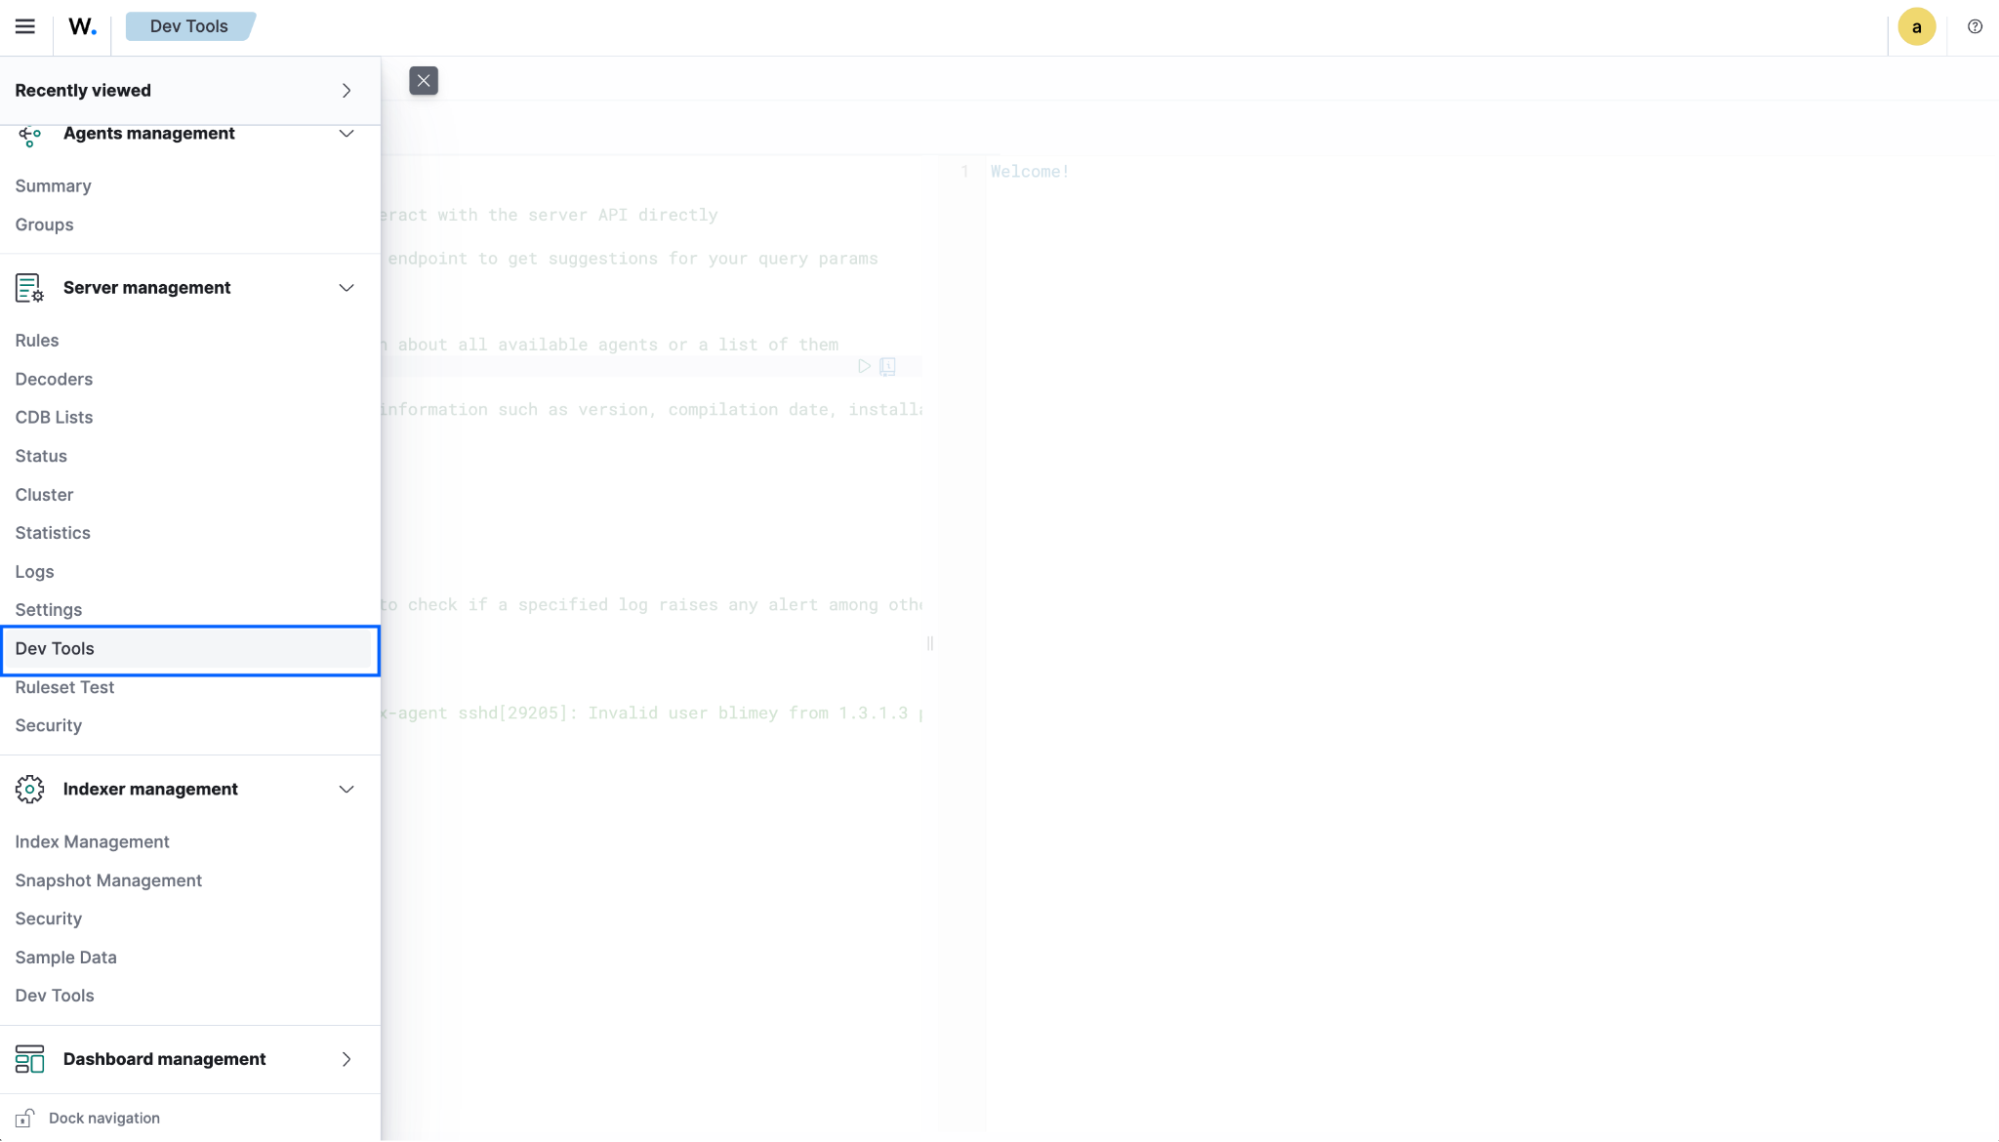
Navigate to Server management > Dev Tools. On the console, run the query below:
GET /cluster/healthcheck
This query will display the global status of your Wazuh server cluster with the following information for each node:
Nameindicates the name of the server node.Typeindicates the role assigned to a node(Master or Worker).Versionindicates the version of theWazuh-managerservice running on the node.IPis the IP address of the Wazuh server master or worker node.n_active_agentsindicates the number of active Wazuh agents connected to the node.
Having completed these steps, the Wazuh infrastructure has been successfully scaled up, and the new server nodes have been integrated into the cluster.
If you want to uninstall the Wazuh server, see Uninstall the Wazuh server documentation.